Form activity - best practices
Explore a set of best practices for working with Casewhere form activities. Learn and apply these practices to your specific use cases when they are appropriate.
Form client rules
These rules prove valuable in enhancing the responsiveness and user-friendliness of forms. Consider a scenario where you need to display or hide a component based on specific conditions. In this example, we will only show (2) when users select 'Custom' for (1).
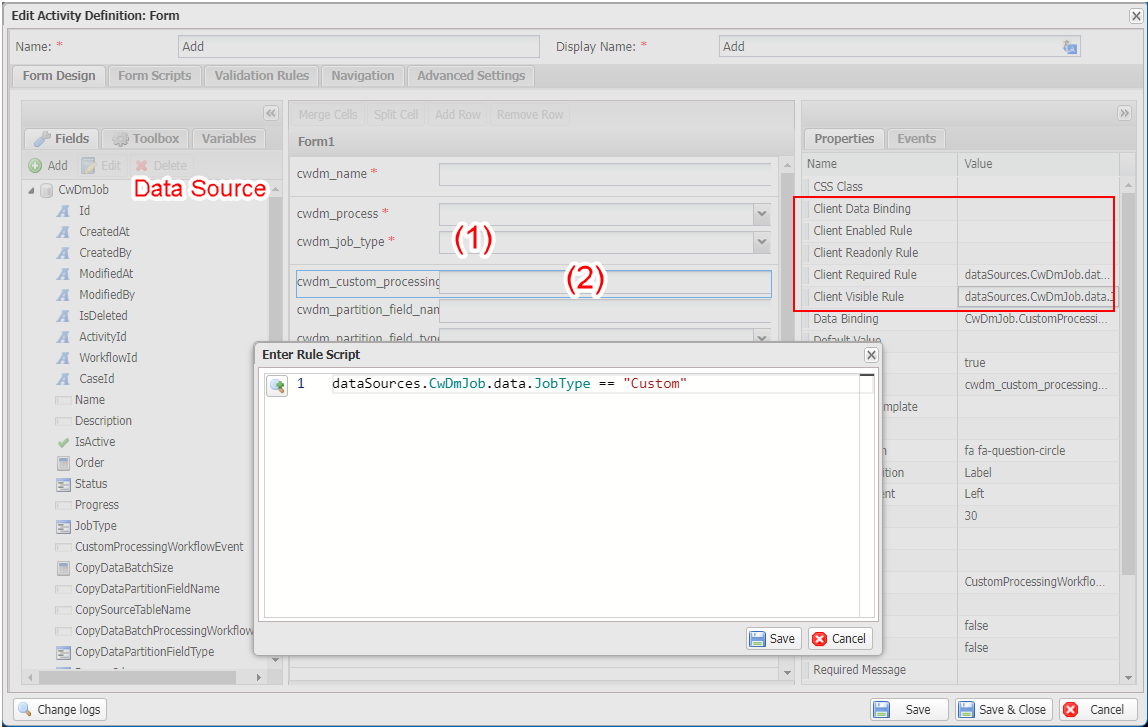
In this case, you can configure the Client Visible Rule and Client Required Rule as shown below:
dataSources.CwDmJob.data.JobType == "Custom"
References form data sources in scripts
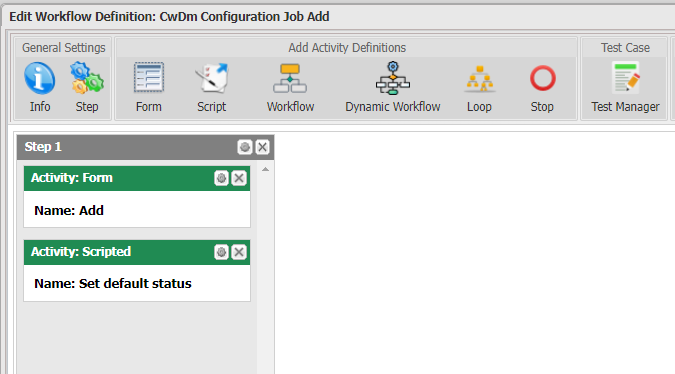
Imagine you're setting a workflow as shown below, and you want to configure the Scripted activity to update the data object created in the preceding Form activity.
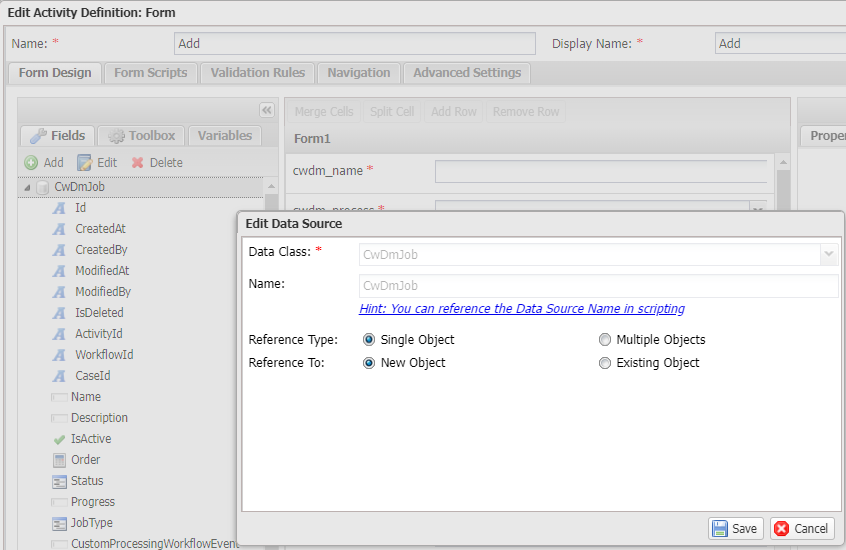
The form has a data source CwDmJob as shown below:
In the Scripted activity, you can use ctx.Ref to reference the data object:
var dataApi = ctx.Use<IDataApi>();
dataApi.Update(ctx.Ref("CwDmJob").Id, new { Status = "Ready", Progress = "" });
Translate text with parameters
Imagine you need to set up a simple workflow illustrated below:
The first step involves creating a text resource key with parameter:
- Key:
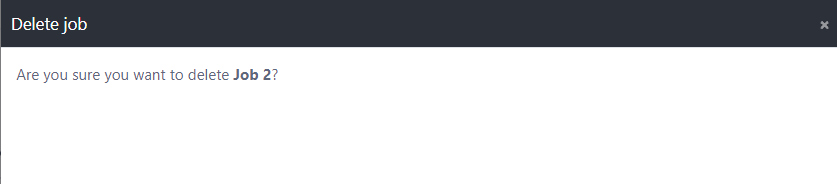
cwdm_common_delete_confirm - Value:
Are you sure you want to delete <b>{{Name}}</b>?
Next, in the form activity, add a new CustomHTML component, bind it to the data source and then update the content
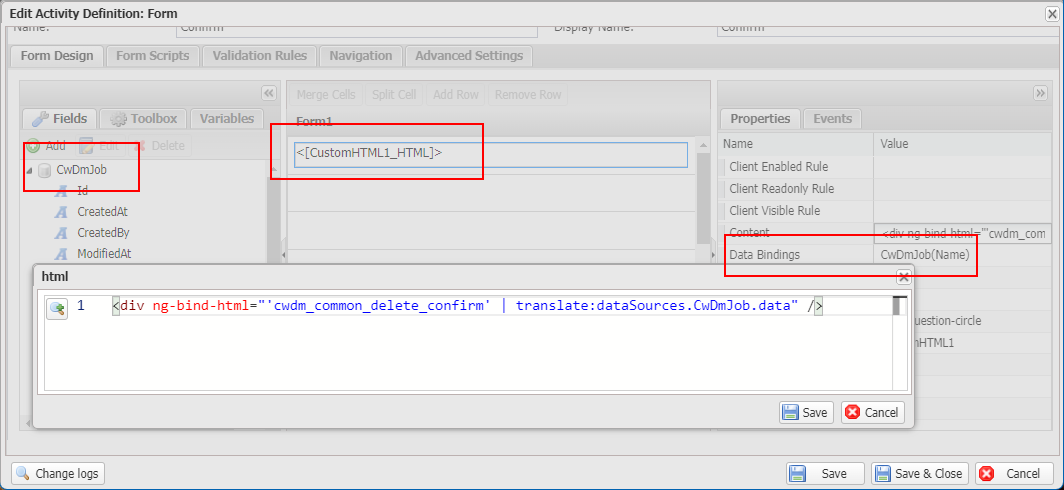
<div ng-bind-html="'cwdm_common_delete_confirm' | translate:dataSources.CwDmJob.data" />
Please note that you can pass any object to the translate filter; it's not limited to a form data source as long as the object has the data needed for translation. For example:
<div ng-bind-html="'cwdm_common_delete_confirm' | translate:{Name: dataSources.CwDmJob.data.Name}" />
Enable save draft
For complex forms, many solutions support end users in saving a draft so that they can later go back and continue to edit it.
By default, Casewhere doesn't display the Save draft button, but you can enable it in the form activity's Navigation settings. To do so, locate SaveDraft and select the Force Show option.
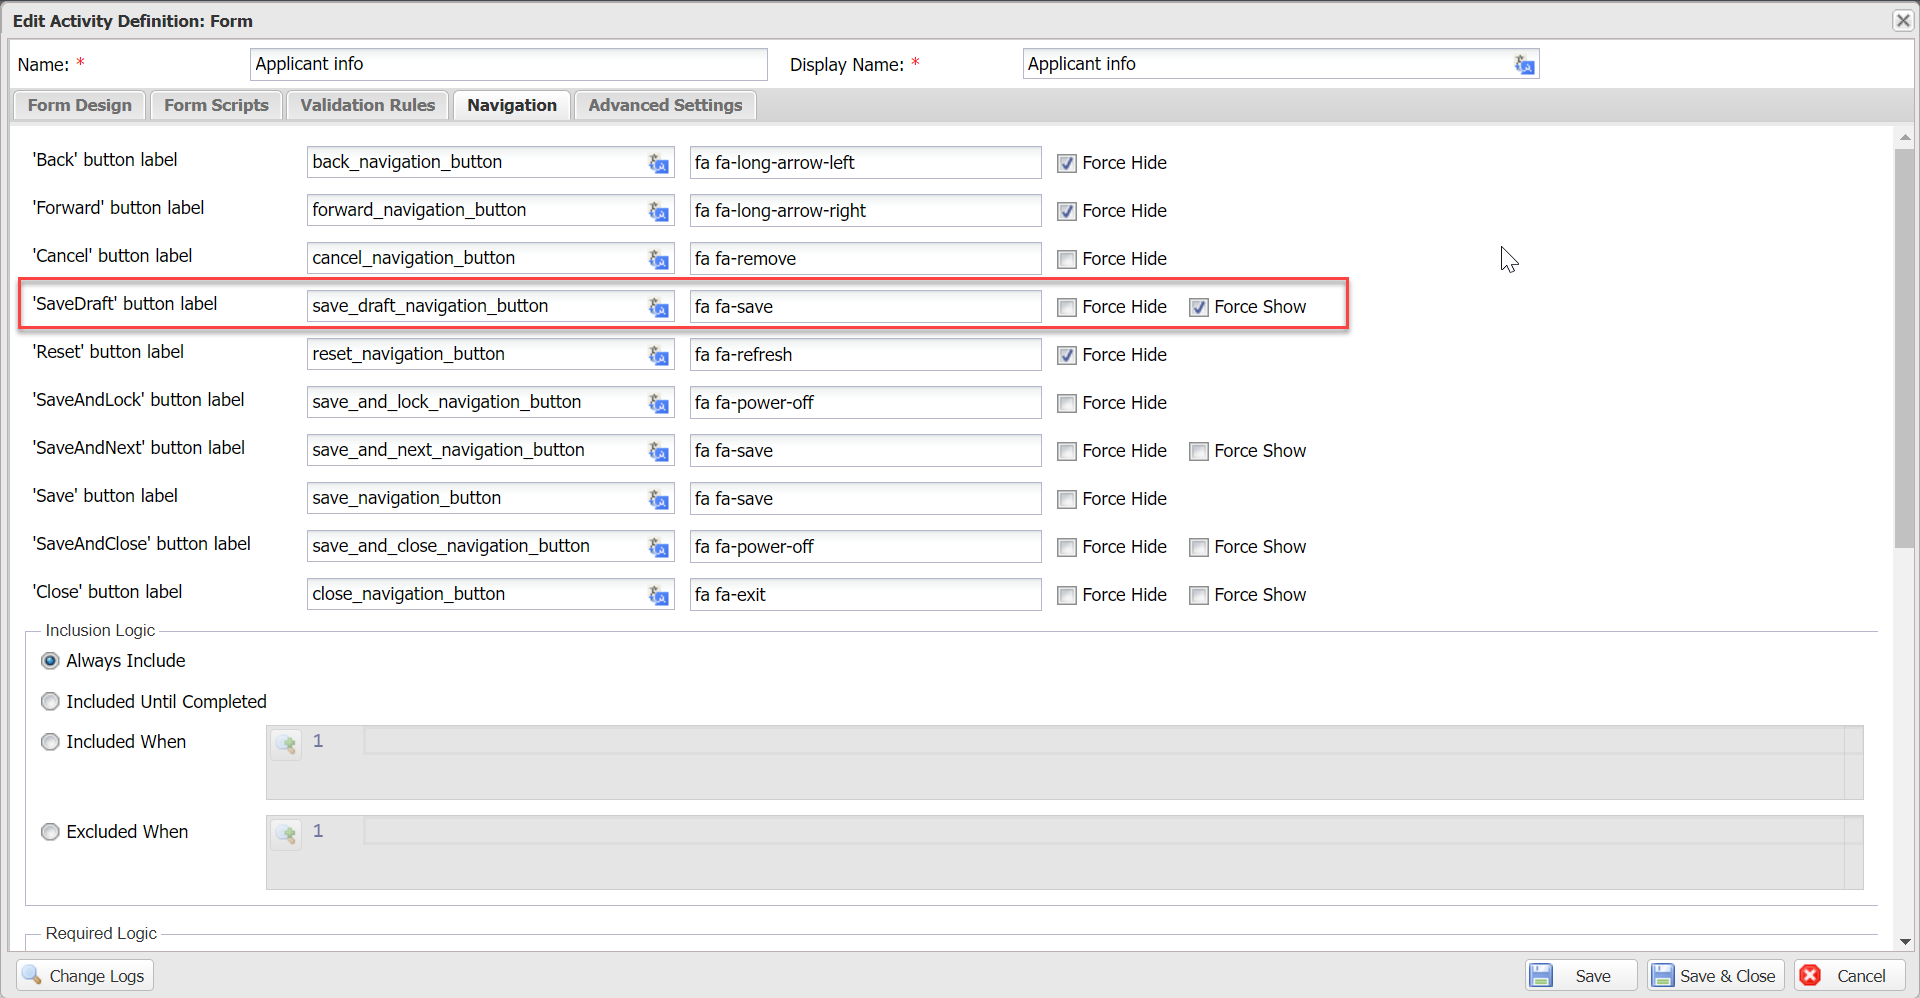
It is also recommended to configure the Save Draft Message to notify users that their draft has been saved successfully.

On the worker site, the form with a save draft button will appear as follows:
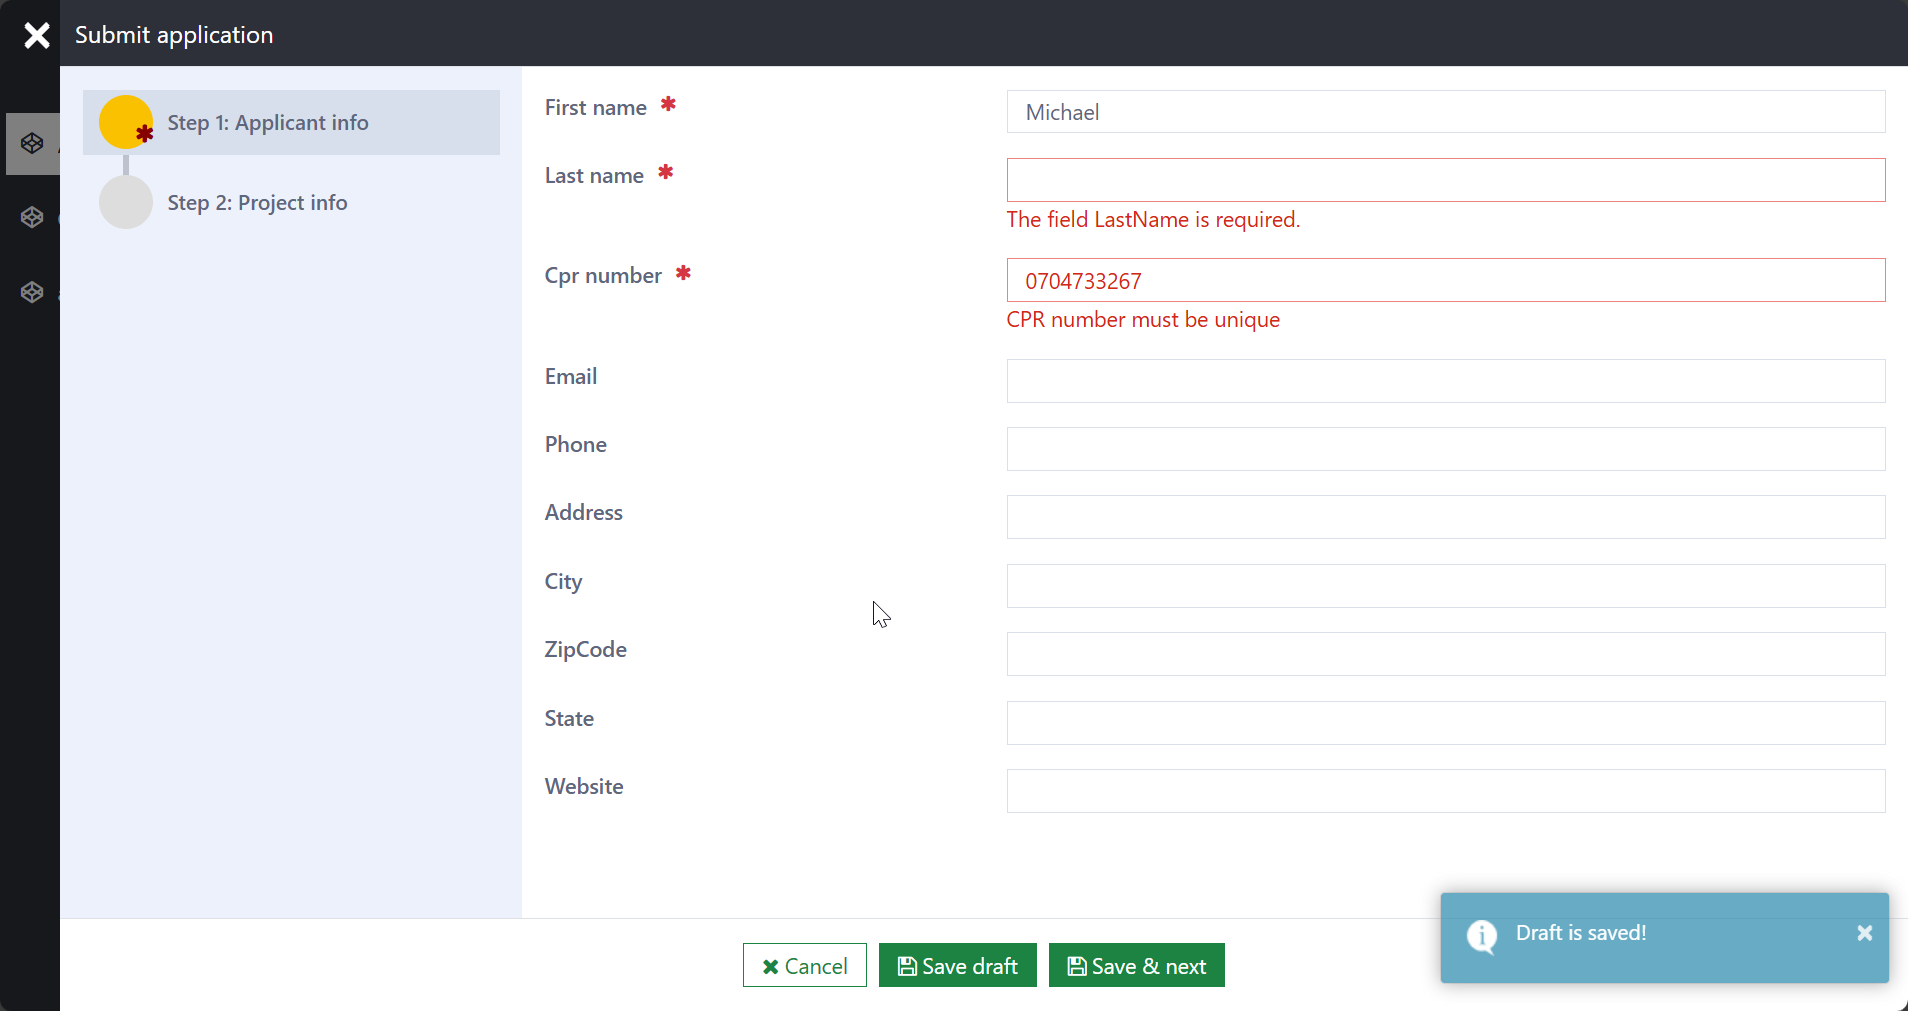
When users click Save draft, Casewhere will bypass validation to save the data, but any validation errors will still be displayed, ensuring users are aware of what needs to be completed. It’s also important to note that when draft saving is enabled, Casewhere will automatically set the CaseState of data objects to Created, ensuring that end users can access and edit data until it is ready to be submitted.