Hot and Cold: transferring events
When your Event database grows to hundreds of millions of events, there could be some potential performance hits when Casewhere writes data. To optimize performance for those scenarios, Casewhere supports a feature called "Hot and cold". When the feature is enabled, Casewhere will maintain two collections for storing events:
- Hot collection: Casewhere writes directly to this collection. The performance is significantly improved when Casewhere only has to write to a smaller data collection.
- Cold collection: All events will eventually be stored in this collection. There will be a background job running at a scheduled time to periodically transfer events from Hot to Cold.
Enable Hot and Cold
Configure Casewhere deployments
In the Casewhere Admin (project Casewhere.Configuration.Web), update the below setting in web.config:
<add key="events:EnableHotAndCold" value="true" />
Similarly, enable the same setting in the web.config of the Worker API (project Casewhere.Worker.Api).
If your deployment is using Azure App Service, just add the key events:EnableHotAndCold in the Application Settings.
Set up the background job for transferring events
Step 1. Download and install
Download the tool here (login is required). After that, copy the tool to the server where you want it to run. The tool is lightweight, so to save cost, you can just run it on the same server with the Web Server or the Database Server.
Install the following dependencies on the server:
Step 2. Configure the appsettings.json
- Update the
MongoDBSettingsConnectionString: The connection string of the Casewhere Events databaseDatbaseName: The name of Casewhere Events databaseSourceEventCollectionName: The Hot collection. The value must beHotEventsTargetEventCollectionName: The Cold collection. The value must beEvents
- Configure logging at
Serilog\WriteTo\Args- Update
databaseUrlusing the same connection string of the Casewhere Log database used in your deployment.
- Update
- Configure the transferring parameters
BatchSize: The number of events transferred per batch. Default is1000MaxDuration: The tool will stop after a configurable period of time. Default is01:00:00DelayDurationWhenNoEvents: The tool will keep listening for new events to transfer until it stops. The default delay is00:00:05
Step 3. Schedule the task
Edit the CreateEventTransferScheduler.ps1 script to:
- Set the
$pathparameter to the location of the tool - Provide the
$passwordof the current user, i.e., the user account you use to run this script - (Optional) Change the
$runTimeparameter. Default is3AM

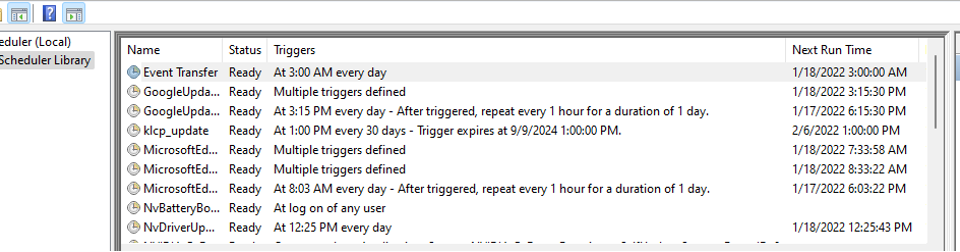
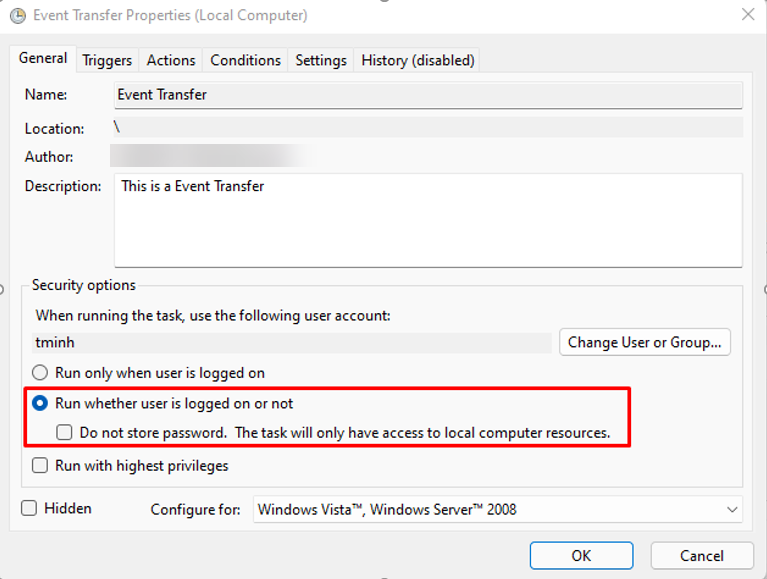
Verify the result in Task Scheduler. Make sure the task will run regardless of whether the user is logged in or not.
Step 4. Monitor the tool
When the tool runs, it will write logs to the Casewhere database so you can monitor it using Log Viewer.
