Workflow steps and activities
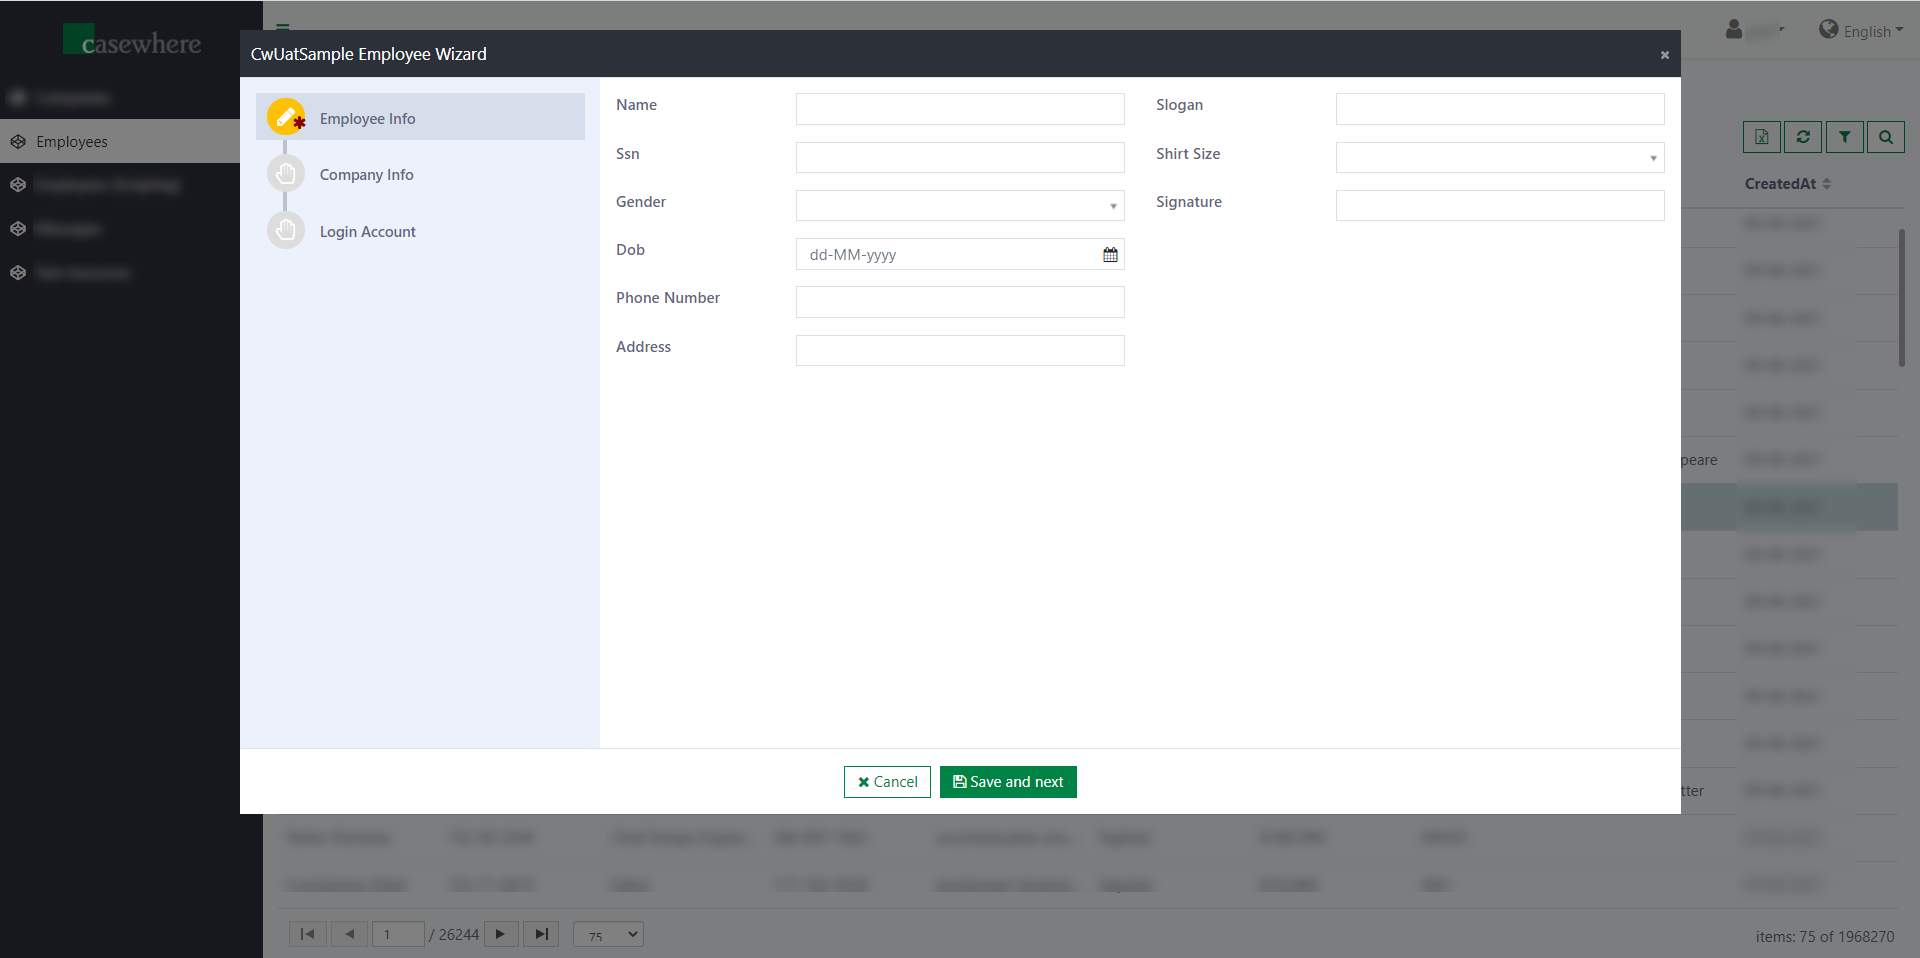
A Casewhere workflow is composed of steps and activities. Steps and activities are executed in the order they were designed. The below example shows how a workflow looks in Casewhere Admin and in worker site. Here you can see that a workflow is generally a sequence of steps, and a step can have one or more activities.

Configure steps
In the Edit Workflow Definition dialog, click Step to add in the toolbar to add a new step.
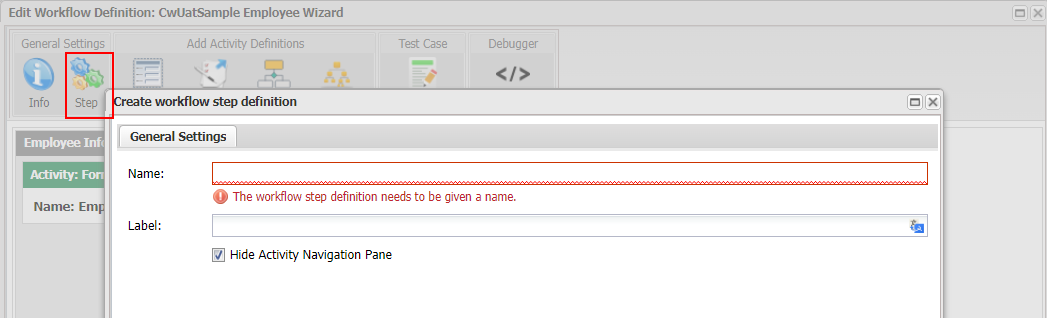
A step has the following fields:
| Name | Description |
|---|---|
| Name | Step name in a workflow must be unique |
| Label | The step title is displayed in the workflow wizard. You can use a text resource key here |
| Hide Activity Navigation Pane | If a step has more than one activity, you can enable a tab-pane to support your users in navigating between activities. |
For automated workflows, steps don't have much meaning as they do in UI workflows and are mostly used for organizing activities in the workflow definitions. It's still a good practice to group related activities in the same step.
Configure activities
You can add one or more activities to a step by dragging items in the Add Activity Definitions section into the step panel.
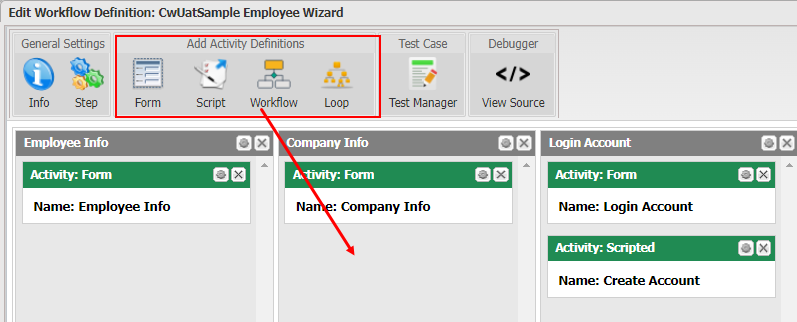
Currently, Casewhere supports the following activity definitions:
| Name | Type | Description |
|---|---|---|
| Form | UI Activity | Collect information from or display information to end-users |
| Script | Automated Activity | Execute a C# script |
| Workflow | Automated Activity | Execute another workflow |
| Dynamic Workflow | Automated Activity | Execute a workflow determined dynamically at runtime based on conditions |
| Loop | Automated Activity | Loop through data objects filtered by a given condition and trigger a new workflow per data object |
| Stop | Automated Activity | Terminate the workflow execution immediately |
The key difference between a UI and an automated activity is that when the workflow engine navigates to a UI activity, it will idle while awaiting end-user interaction. No end-user interaction is needed for automated activities — the workflow engine continues after executing them.