Component: API key management
Introduction
Most projects need to expose APIs so other services can interact with them. This requires an approach for secure service-to-service communication. The common approach is to use API keys. Based on this need, Casewhere provides a standard component to:
- Support generating an API key
- Support managing the API key and its access rights
Feature
To make the API work, we need to provide the API key and grant access rights to each external service.
In the section Api rights, the developer can manage the list of available access rights. The developer can use it to restrict API key access and set up the specific actions that an API key can carry out.
In the section API keys, the developer can manage the list of API keys. Each API key here is used to identify a specific external service and authorize the request.
Api rights
Api rights list overview
The API rights are the list of available permissions that the developer can grant to a specific API key. An API key can have one or more rights.
In the Api right list, you can view all API rights with the following information:
- API right code: the code of the API right
- API right name: the name of the API right
- Description: the description of the API right. It is usually used to describe the API right.
- Is active: the status of the API right. If the API right is not active, the right is disabled and the external system no longer has this access right

Add a new API right
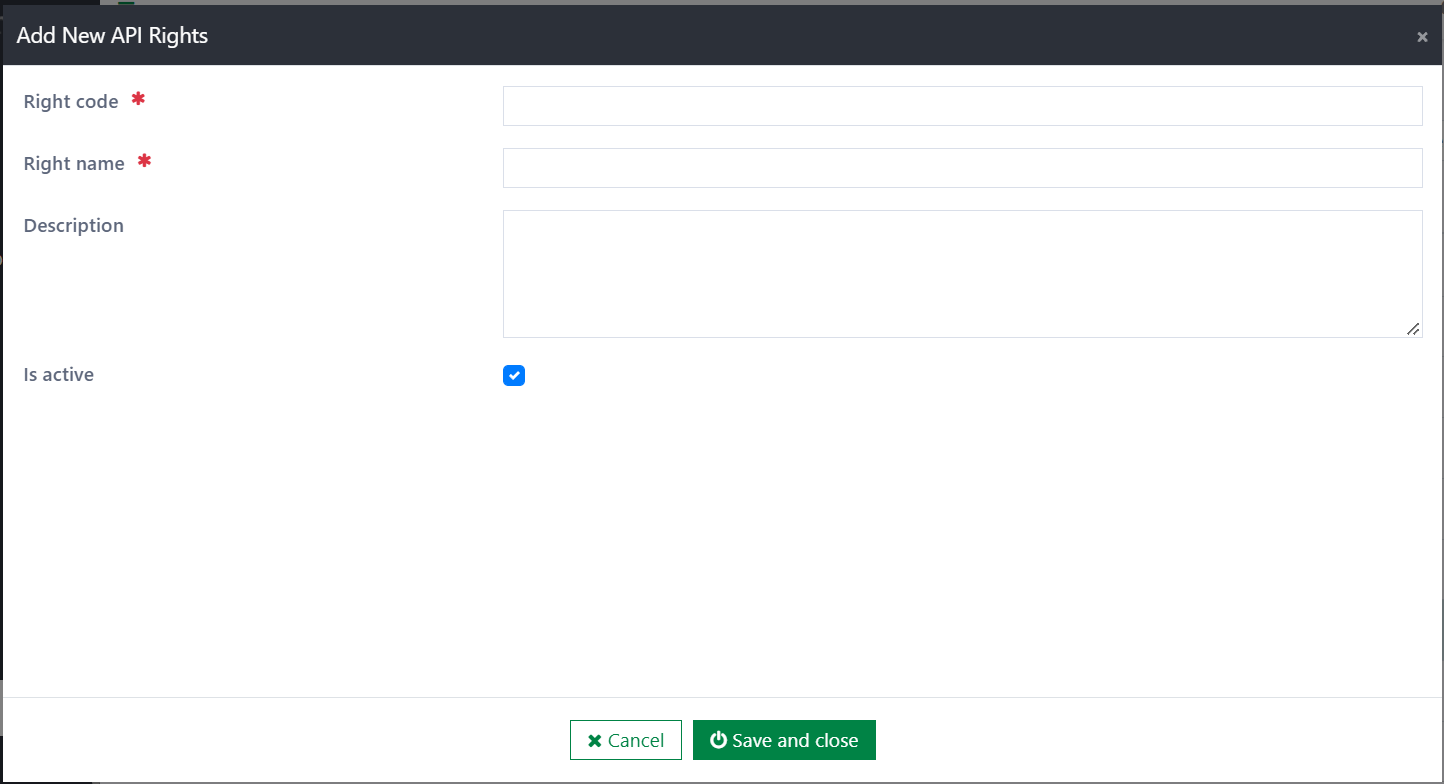
To add a new API right, first click the Add button. Then, in the Add API right dialog, fill out the fields:
Right code: this field is unique and required. You must enter the code of the API right.
Right name: this field is required.
Description: this field is optional. It is used to describe the API right.
Is active: If this checkbox is ticked, the API will be active.
After filling in the information, click the Save and close button to complete adding the API.
Edit an API right
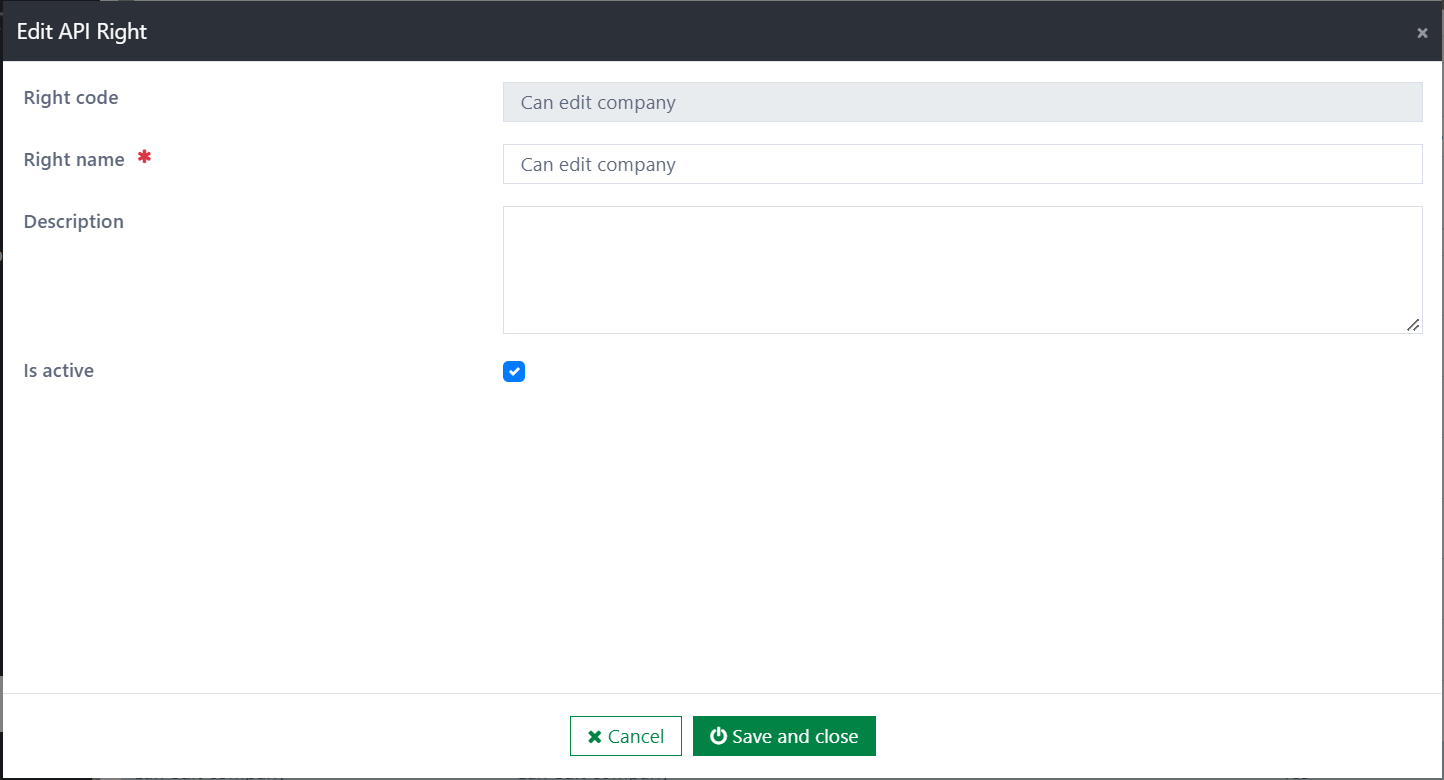
To edit an API right, first click the Edit button. Then, in the Edit API right dialog, fill out the fields:
Right code: this field is read-only. It can only be edited once, at creation time.
Right name: This field is required.
Description: This field is optional. It is used to describe the API right.
Is active: If this checkbox is ticked, the API right will be active.
After filling in the information, click the Save and close button to complete adding the API.
Delete an API right
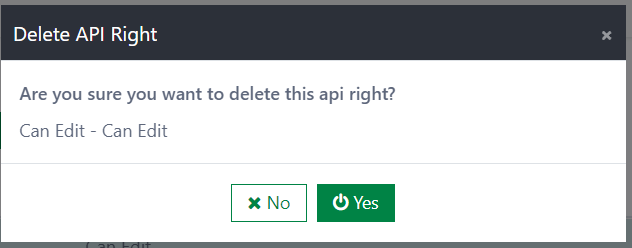
To delete an API right, first select a right. Then click the Delete button.
If the right is not used by any Api key, a confirmation dialog will be shown. If you select the Yes button, the API right will be deleted immediately. If you select the No button, the deletion will be cancelled.
If the right is already used by an Api key, deletion is disallowed and a warning message will be shown.
Import the API right
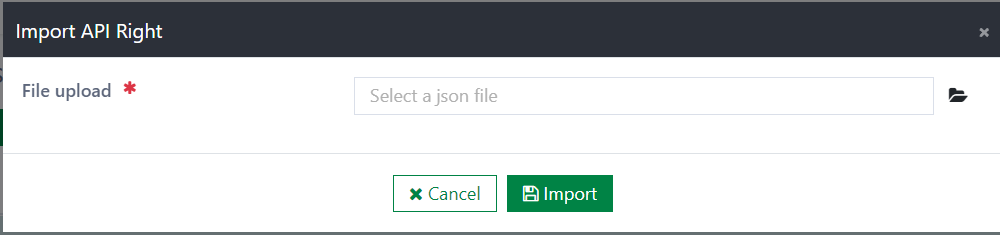
To import the API right, first click the Import button to open the Import API right dialog.
- Note: All API rights that exist in the destination environment will be overridden. (Detected by transform API right code)
Then, click the placeholder of the File upload field to open the file selection dialog.
Next, select a JSON file to import (multiple selection is not supported). After selecting the file, click the Import button to import the API rights from the JSON file. If you do not want to run the import process, click the Cancel button.
Export the API right
To export one or several API rights in the list, select the rights, then click the Export button. The JSON file of the selected API rights will be downloaded immediately.
- Note: All API rights that exist in the destination environment will be overridden. (Detected by API right code)
To export all the rights in the list, click the Export button. The JSON file of all API rights will be downloaded immediately.
Api keys
Api key list overview
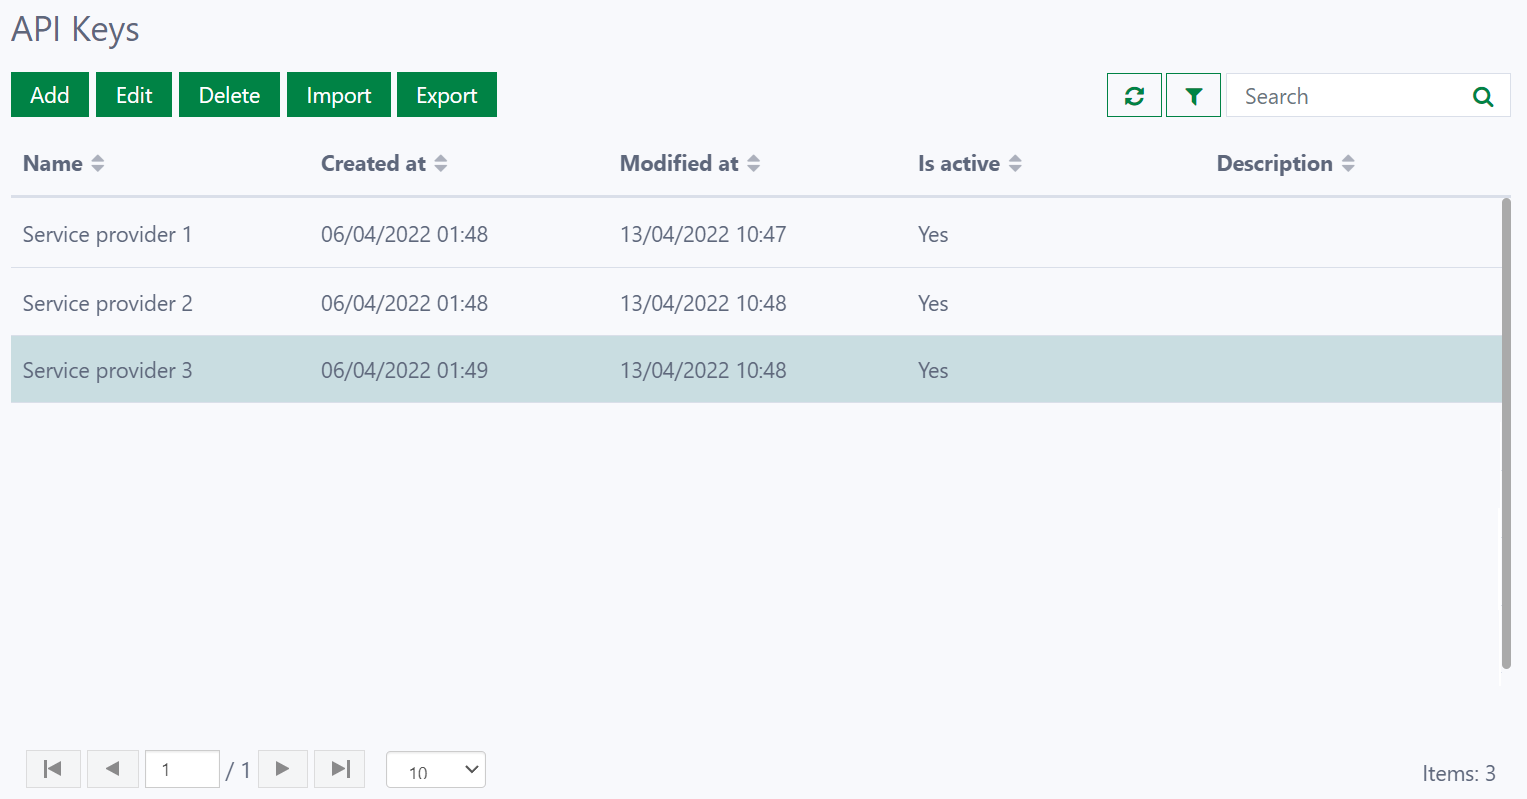
API Keys is a page that manages all the access keys and their access rights for all external systems.
In the Api key list, you can view all API keys with the following information:
- API name: the name of the API key
- Created at: the creation date of this API key
- Modified at: the last modified date of this API key
- Is active: the status of the API.
- Description: the description of the API key. It is usually used to describe the API key.
Add an API key
To add a new API key, first click the Add button. Then, in the Add API key dialog, fill out the fields:
- API name: this field is unique and required. You must enter the name of the API.
- API key: this field is required. You can enter an API key or choose to generate a random one. Because the API key itself is an identity used to identify the external system or the user, it must be unique, random, and non-guessable. Generated API keys also use alphanumeric and special characters. You can enter a desired key or choose to Generate a random value.
- API rights: this field is required. It is used to restrict API key access and choose the specific actions that an API key can carry out.
- Description: this field is optional. It is used to describe the API right.
- Is active: if this checkbox is ticked, the API will be active. Otherwise, it becomes inactive and the system will reject access through this API key.
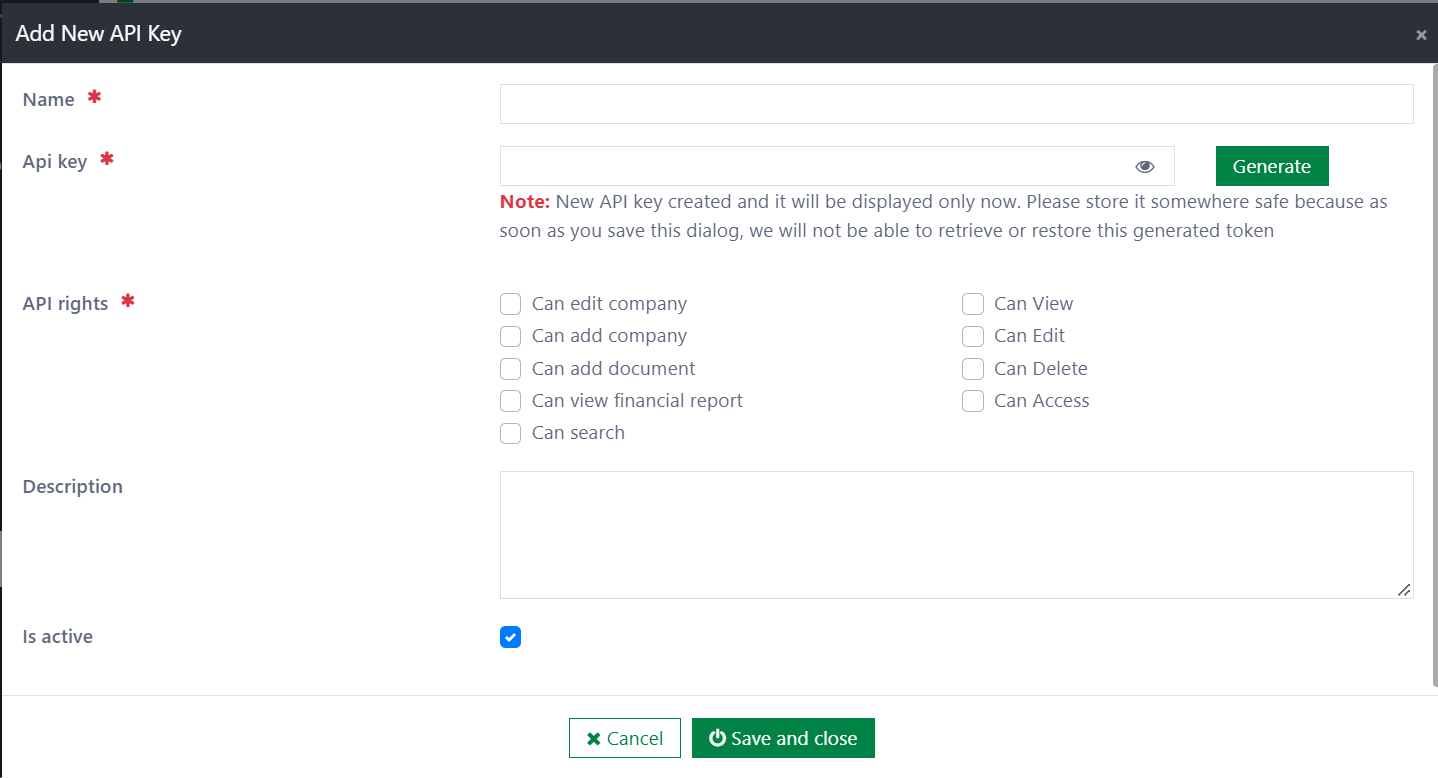
After filling in the information, click the Save and close button to complete adding the API.
Edit an API
To edit an API, first click the Edit button to open the Edit API dialog.
In the Edit API dialog, you can edit API name, API key, API rights,Description,Is active
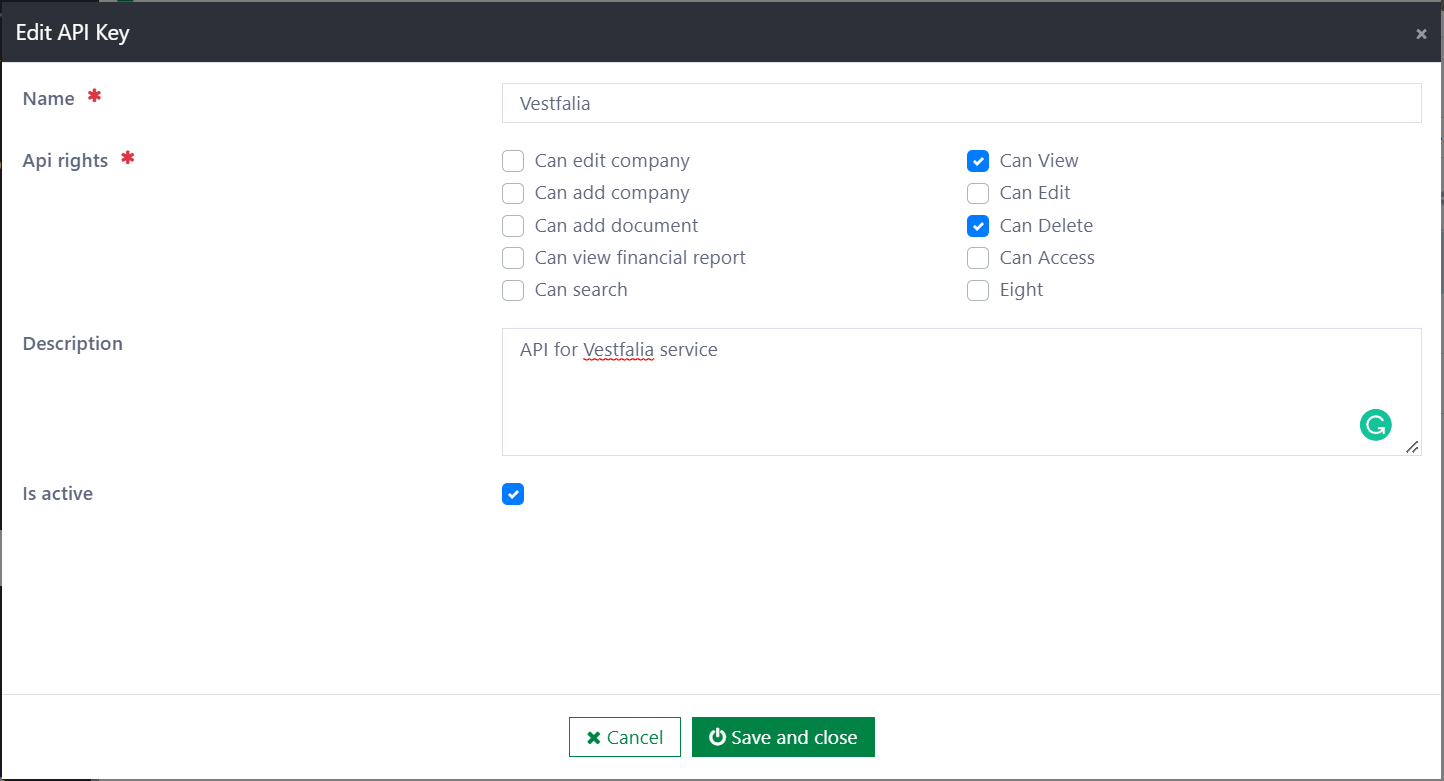
After updating the information, click the Save and close button to save the changes. Or you can click the Cancel button to discard the changes.
Delete an API key
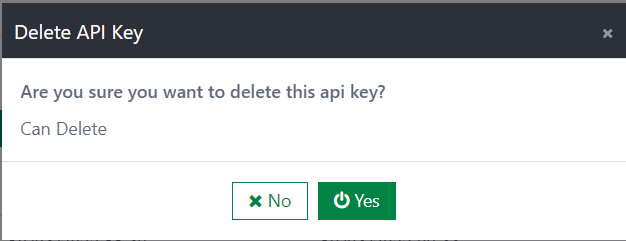
To delete an API key, first click the Delete button.
Then, a confirmation dialog will be displayed. If you select the Yes button, the API key will be deleted immediately. If you select the No button, the deletion will be cancelled.
Import the API key
To import the API keys, first click the Import button to open the Import Data collection Configs dialog.
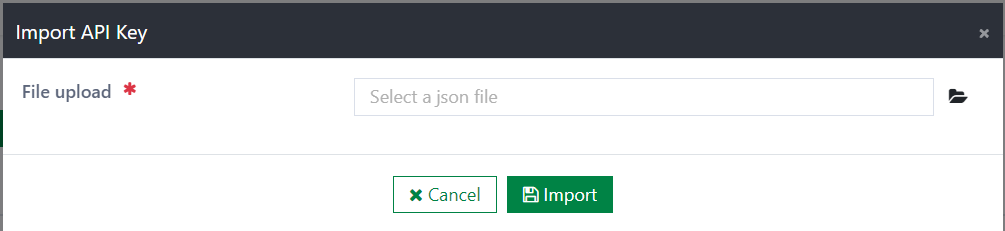
- Note: All API keys that exist in the destination environment will be overridden, but the generated key will be retained (Detected by API name)
Then, click the placeholder of the File upload field to open the file selection dialog.
Next, select a JSON file to import (multiple selection is not supported). After selecting the file, click the Import button to import the API rights from the JSON file. If you do not want to run the import process, click the Cancel button.
Export the API key
To export one or several API keys in the list, select the API key(s), then click the Export button. The JSON file of the selected API keys will be downloaded immediately.
To export all API keys in the list, click the Export button. The JSON file of all API keys will be downloaded immediately.
Extension rules
The Casewhere API management component provides the rule below to support the authentication and authorization process:
- Has Right: Checking if the API key has a specific API right
- Input: API key, API right
- Output: true/false
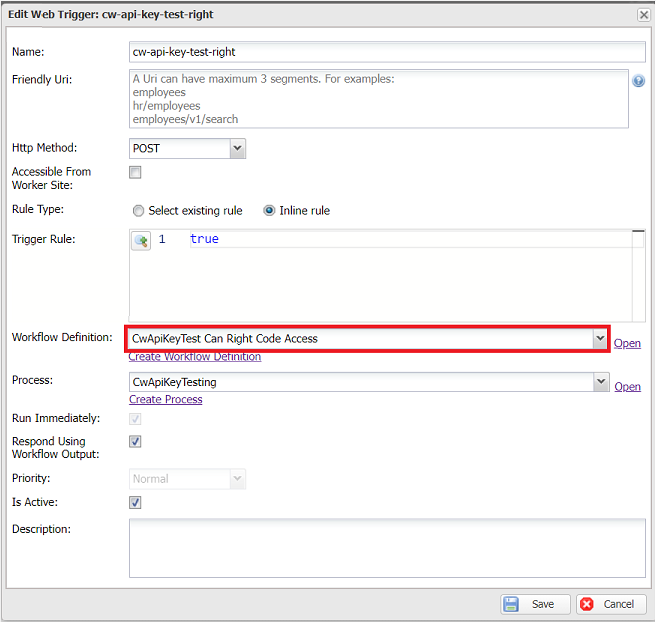
Here is a sample. A web trigger invokes a workflow that calls the rule Has Right
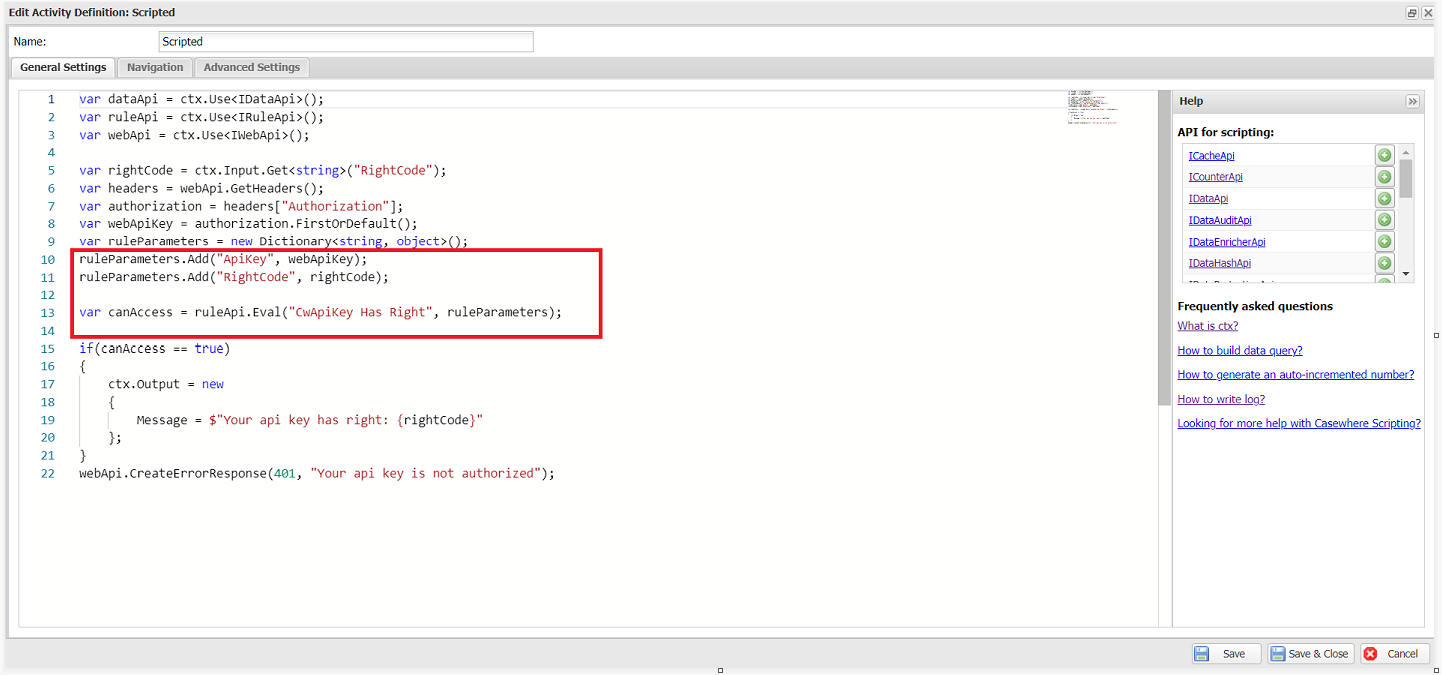
A scripted activity inside the workflow calls the rule Has Right
Installation
Requirements
- Casewhere 2.6.10 or later
Configuration
- Import the product
- Configure the API right and API keys
- When implementing the web trigger, the developer needs to write the code that checks whether the API key is allowed to access the web trigger by querying the API key information in the database. Casewhere also provides a common rule, mentioned in the section Extension rules, to support this check.
Releases
1.0.0 - 24/02/2022
Changelog
- API key management
Download (login required): API Key Management v1.0.0