Component: Data migration - Configuration guide
This article shows you the steps to configure a data migration process, along with some guidelines for monitoring, debugging, and verifying data.
Data migration processes
The component offers a page for managing data migration processes. Here, you can create as many processes as needed.

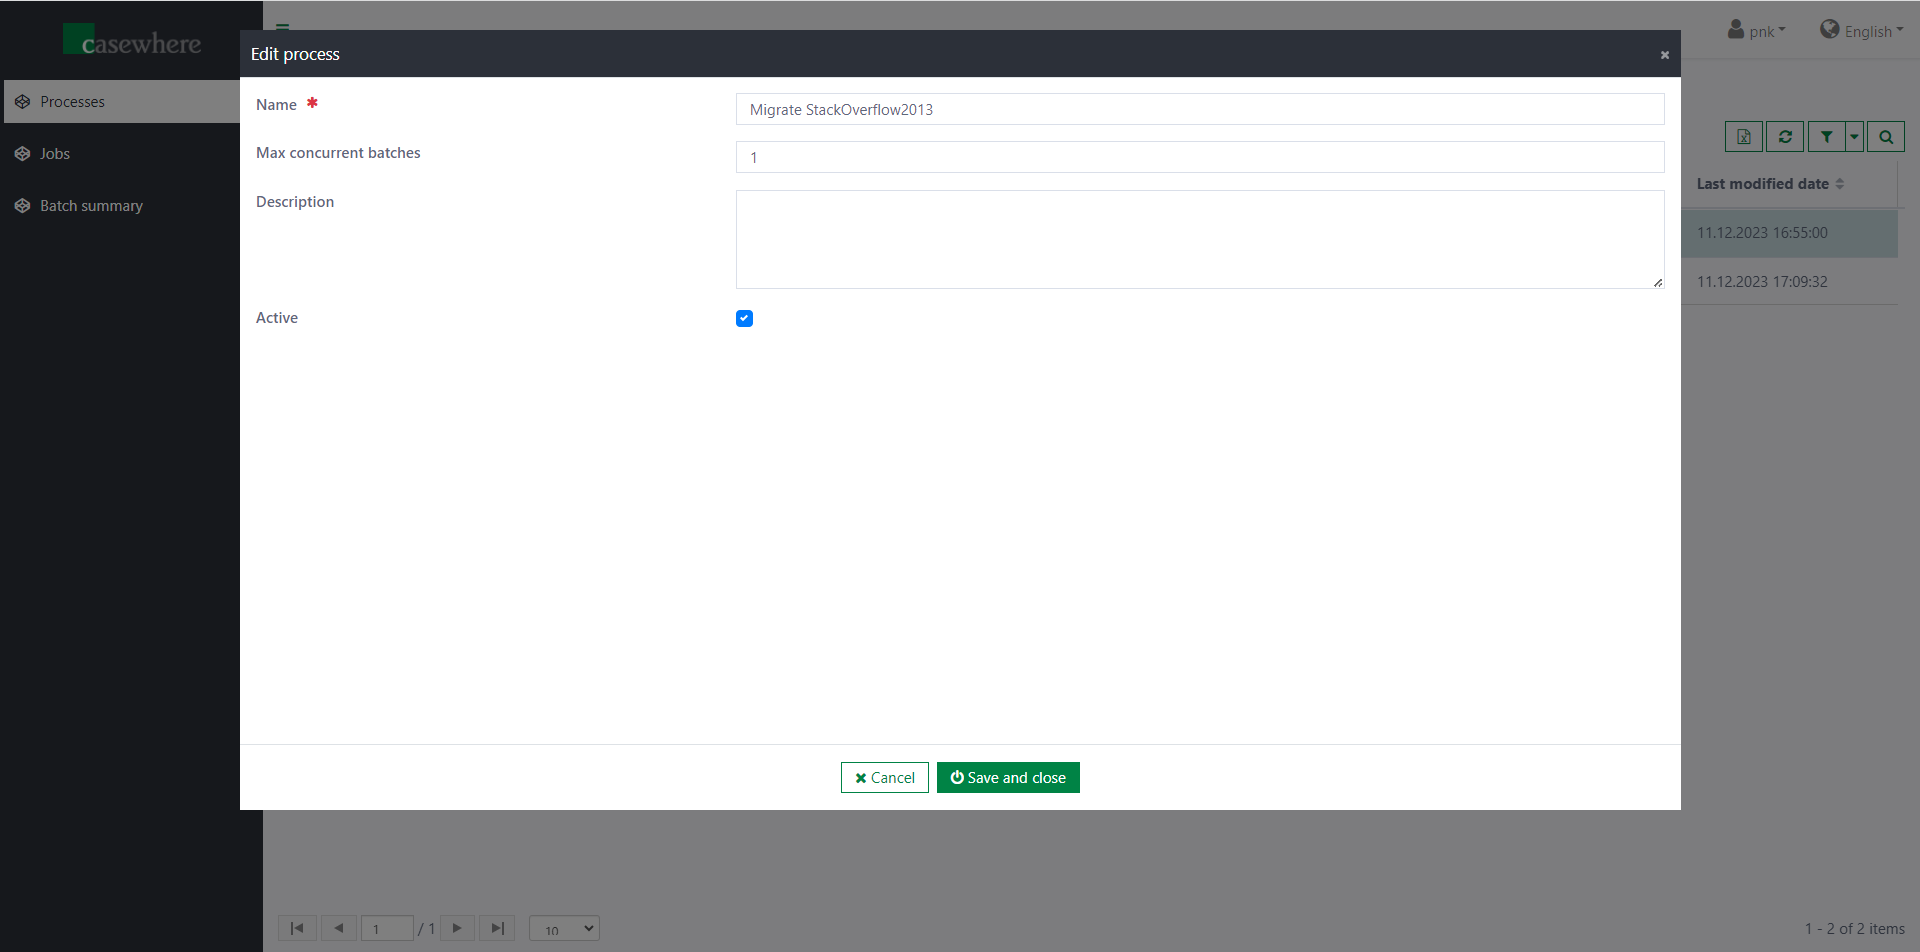
Please note that you cannot edit or delete a running process except to change the maximum concurrent batches.
Data migration jobs
You can add as many jobs as needed for your data migration process. The component will run jobs sequentially in the order you configure.
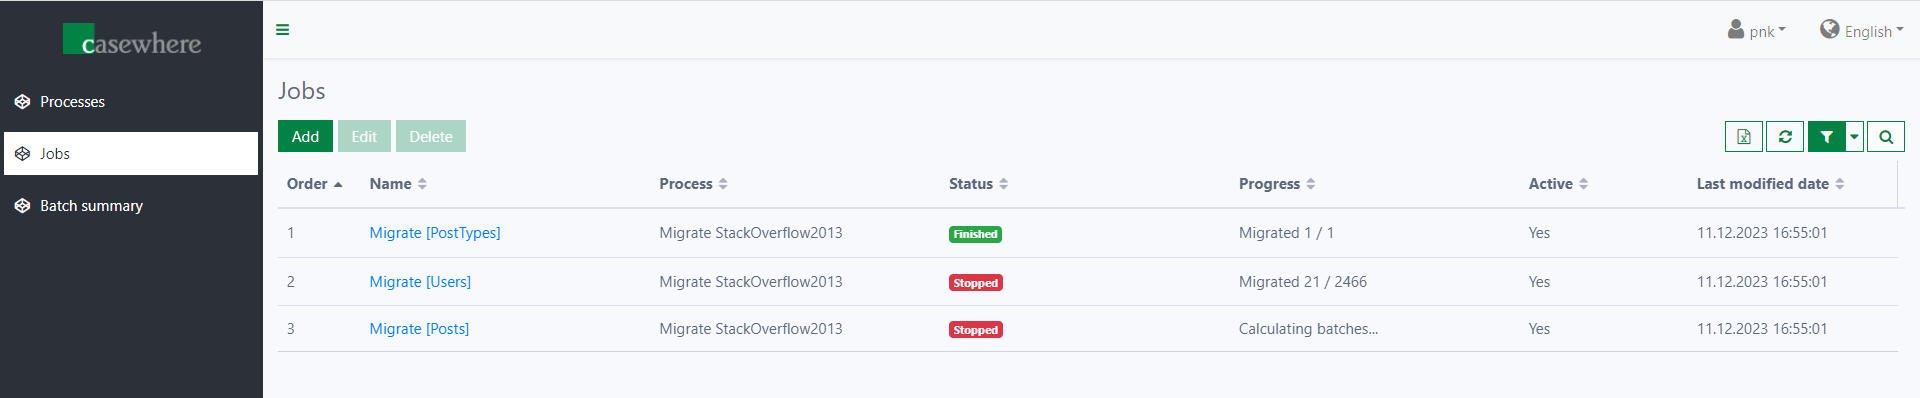
Currently, you can use two types of jobs: Custom and Copy data.
Custom job
The following information is required when configuring a custom job:
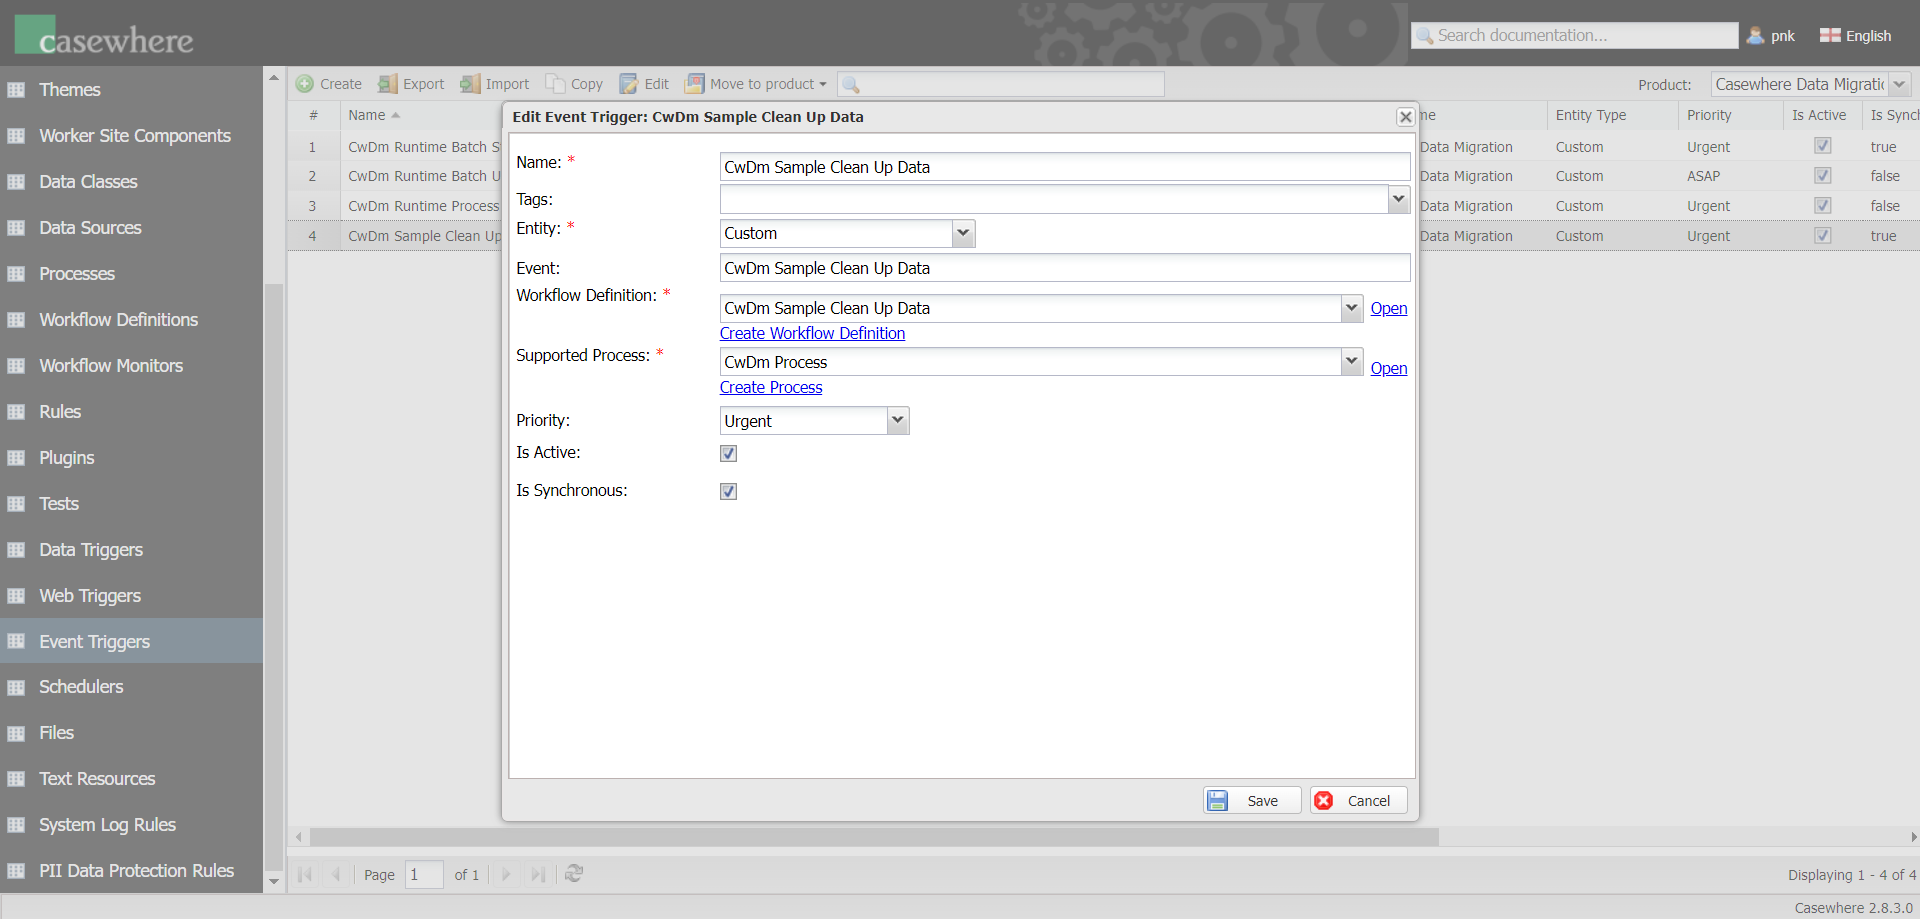
- Custom processing workflow event: The custom event triggers the workflow.
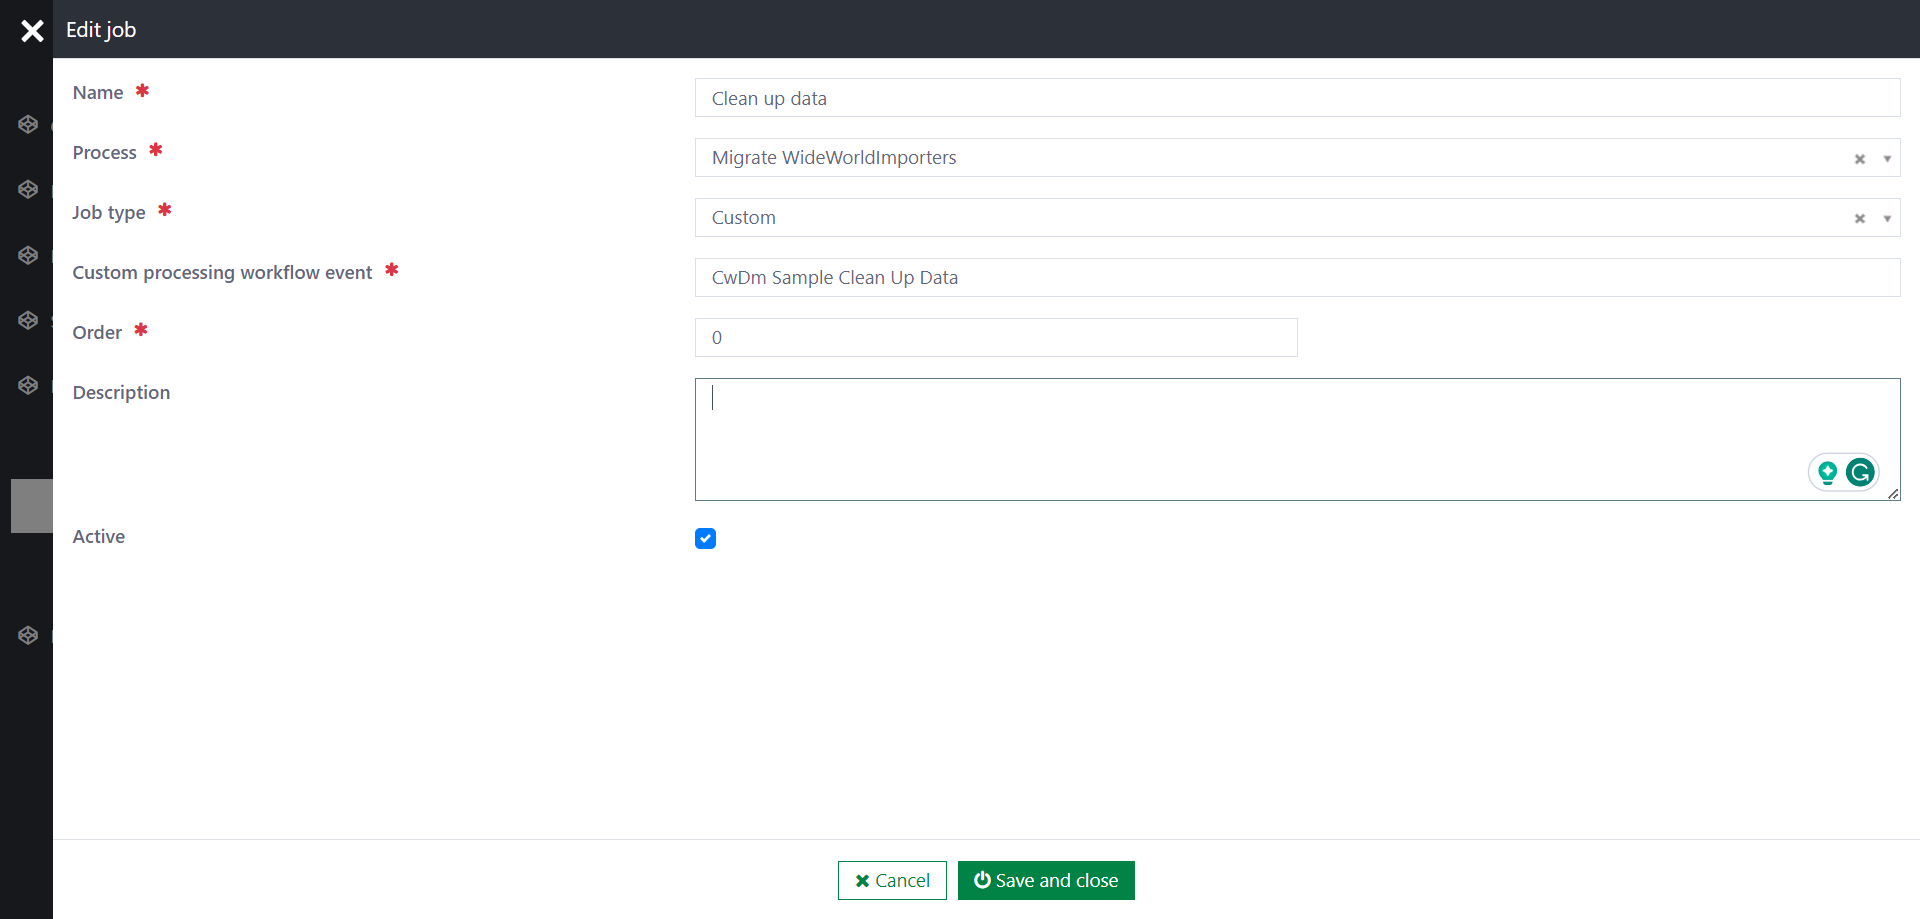
Please note that you must configure the corresponding event trigger in Casewhere Admin. The event data structure should be like this {JobId: <string>}.
It's also possible to enable batch processing for custom jobs. Click here to learn more.
Copy data
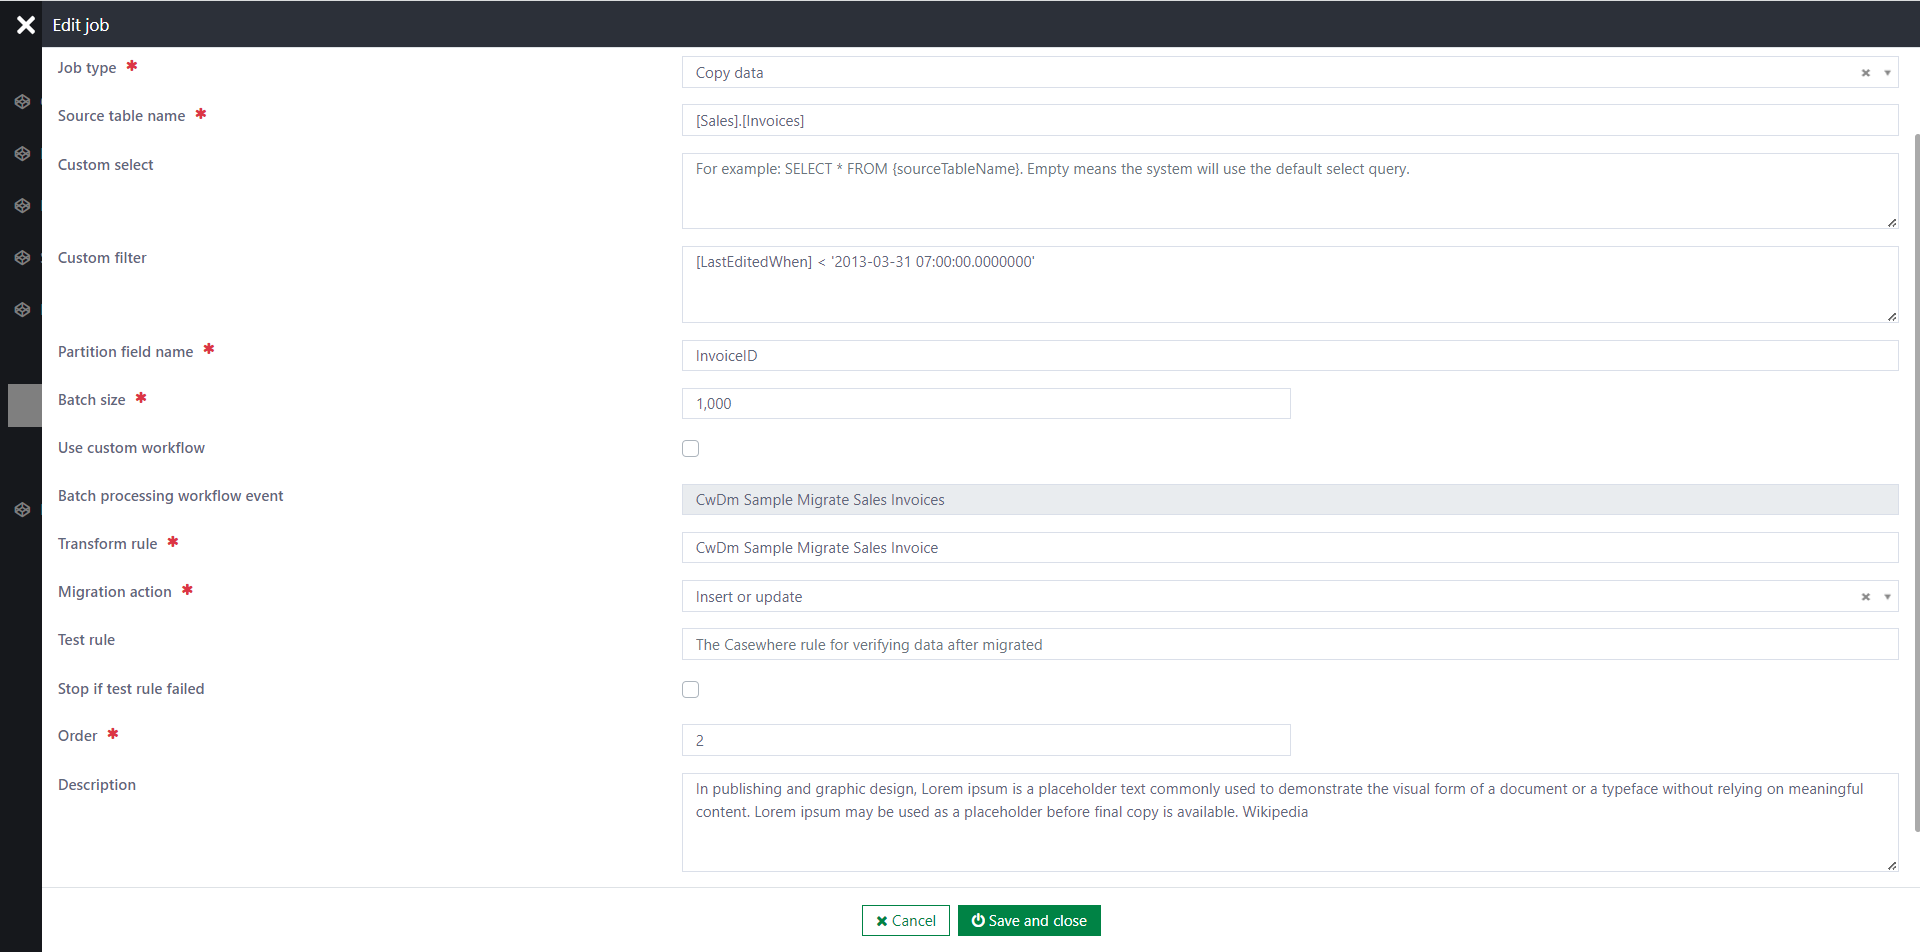
The following information is required when configuring a copy-data job:
Source table name: To identify the table from which you want to copy data. For example:
[Sales].[Invoices]or[StackOverflow2013].[dbo].[Posts]Custom select (Optional): By default, the component selects all fields from the source table. You can customize the select statement here to select specific fields or join with other tables. For example:
-
SELECT [InvoiceID], [LastEditedWhen] FROM [Sales].[Invoices]
-
Custom filter (Optional): By default, the component retrieves all records from the source table. You can customize the filter condition as described below:
-
[LastEditedWhen] < '2013-03-31 07:00:00.0000000'
-
Partition field name: The component will use this field to partition the source table into batches of data. For example, if we use
[InvoiceID]as the partition field, each batch represents a range of data whereInvoiceID >= from_value and InvoiceID <= to_value.Batch size: The default maximum number of records per batch is 1000. You can customize it to optimize for your particular scenario. Please note that larger batches might require more server resources (CPU, RAM) to process.
Use custom workflow: Use this if you have custom logic that the standard workflow cannot handle. You can copy the standard workflow and customize it to adapt to your needs.
- Batch processing workflow event: The custom event triggers the workflow. Please note that you must configure the corresponding event trigger in Casewhere Admin. The event data structure should be like this
{BatchId: <string>}.
- Batch processing workflow event: The custom event triggers the workflow. Please note that you must configure the corresponding event trigger in Casewhere Admin. The event data structure should be like this
Transform rule: To transform the source data into the destination data object. The rule is required if you don't use a custom workflow.
Parameters:
- SourceItem: A
JObjectthat represents the data fetched from the source table.
- SourceItem: A
Output: A
DynamicDataObjectwith the following structure. You can also return an array ofDynamicDataObjectif needed.-
#predicate
var item = @parameters["SourceItem"];
var data = new
{
  Name = item["DeliveryMethodName"],
  CwDmLegacyId = item["DeliveryMethodID"] // Must have
};
// You can also return an array of DynamicDataObject if needed.
return new DynamicDataObject(new {
  DataClassName = "CwDmSampleDeliveryMethod",
  Data = data,
  LegacyId = item["DeliveryMethodID"]
});
-
Migration action: The following options are applicable:
- Insert only: Always insert new records. Please note that the system will create duplicate records if you run the same batch more than once.
- Insert or update: The component inserts a new record if it cannot find the legacy ID in the database. If the legacy ID is already present, the component updates the existing record instead. This ensures no data duplication, even when you run the same batch twice. This mode is slower than Insert only.
- Ignore: The component will not do anything if it finds the legacy ID in the database.
Test rule: To verify the data after migration. Please note that, to ensure overall performance, the component only runs the rule against the last data item in the batch. Below is an example:
-
#predicate
var item = @parameters["SourceItem"];

var dataApi = @apiFactory.Get<IDataApi>();

var filter = FilterBuilder.Create().Eq("CwDmLegacyId", item["Id"]).Build();
var migratedItem = (dataApi.Search(DataObjectApiQuery
    .For("CwDmSoPostType")
    .Paging(0, 1)
    .FilterBy(filter)).Data as IList<DynamicDataObject>).FirstOrDefault();

if(migratedItem == null) {
    Log.Error("CwDmSoPostType not found for {Id}", item["Id"]);
    return false;
}

if(migratedItem.Get<string?>("Name") != item["Type"])
{
    Log.Error("Name is not matched. Expected={Expected}. Actual={Actual}", item["Type"], migratedItem.Get<string?>("Name"));
    return false;
}

return true;
-
Stop if test rule failed: If checked, the job will stop when a test fails.
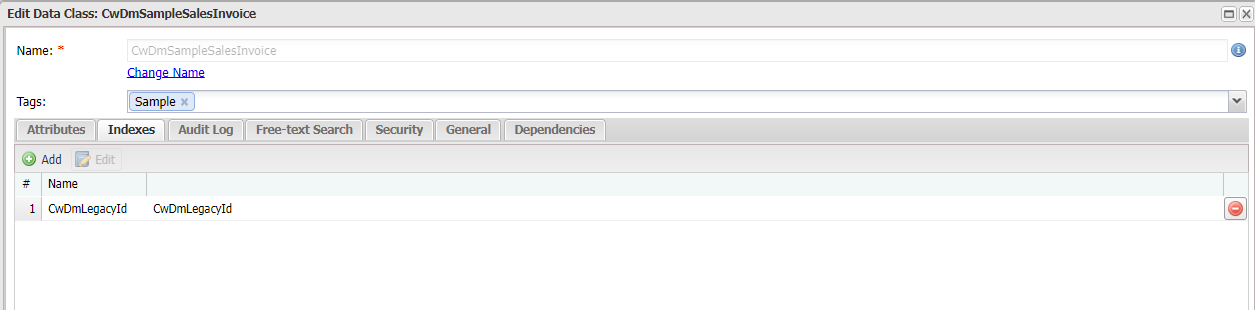
For all destination data classes, you must add a new data attribute CwDmLegacyId.
- The attribute type depends on the source field
- Remember to add an index for
CwDmLegacyIdto improve migration performance