Component: IdP Sync
Introduction
User management is a feature that appears in most applications. It lets you create, edit, or delete users in a given identity provider (IdP) such as Safewhere Identity Provider, Azure Active Directory (AAD), or OneLogin. The way users are created in an IdP is the same, but the user information in each application is different. To address this, the IdP sync component provides a mechanism to synchronize users from Casewhere to the IdP whenever a change occurs.
Features
Settings
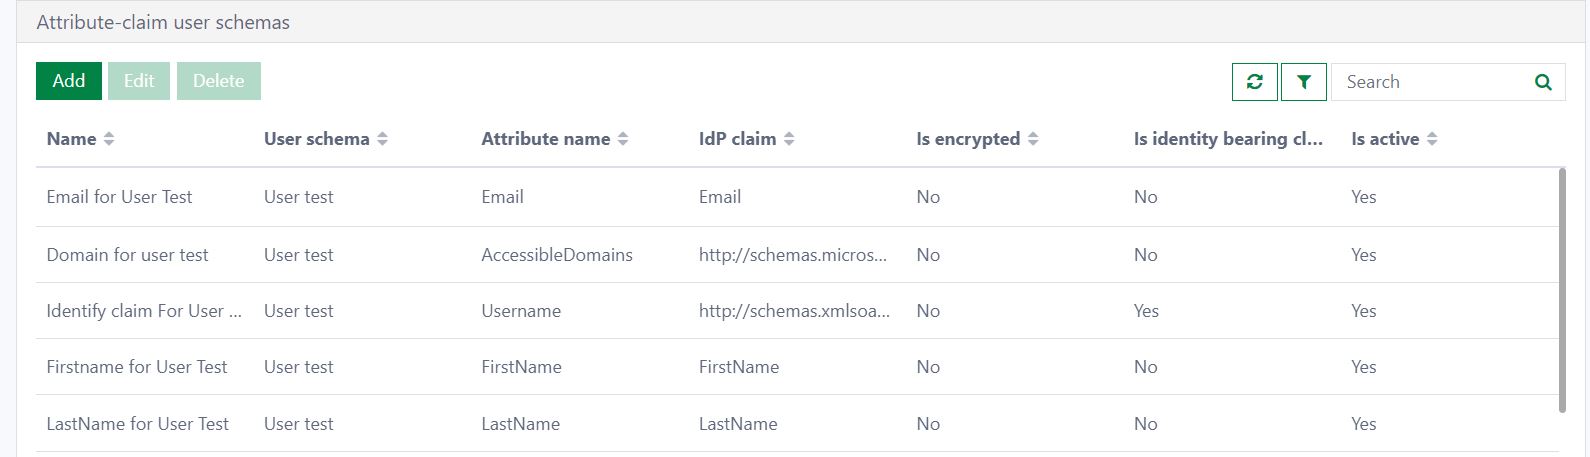
The Settings page provides two data grids. The first one is used to manage user schemas. You can add, edit, delete, import, and export user schemas. The second grid holds the attribute claims of a user schema; you can add, edit, and delete attribute claims. If you select a user schema, all attribute claims of the selected schema appear in the attribute claims grid.
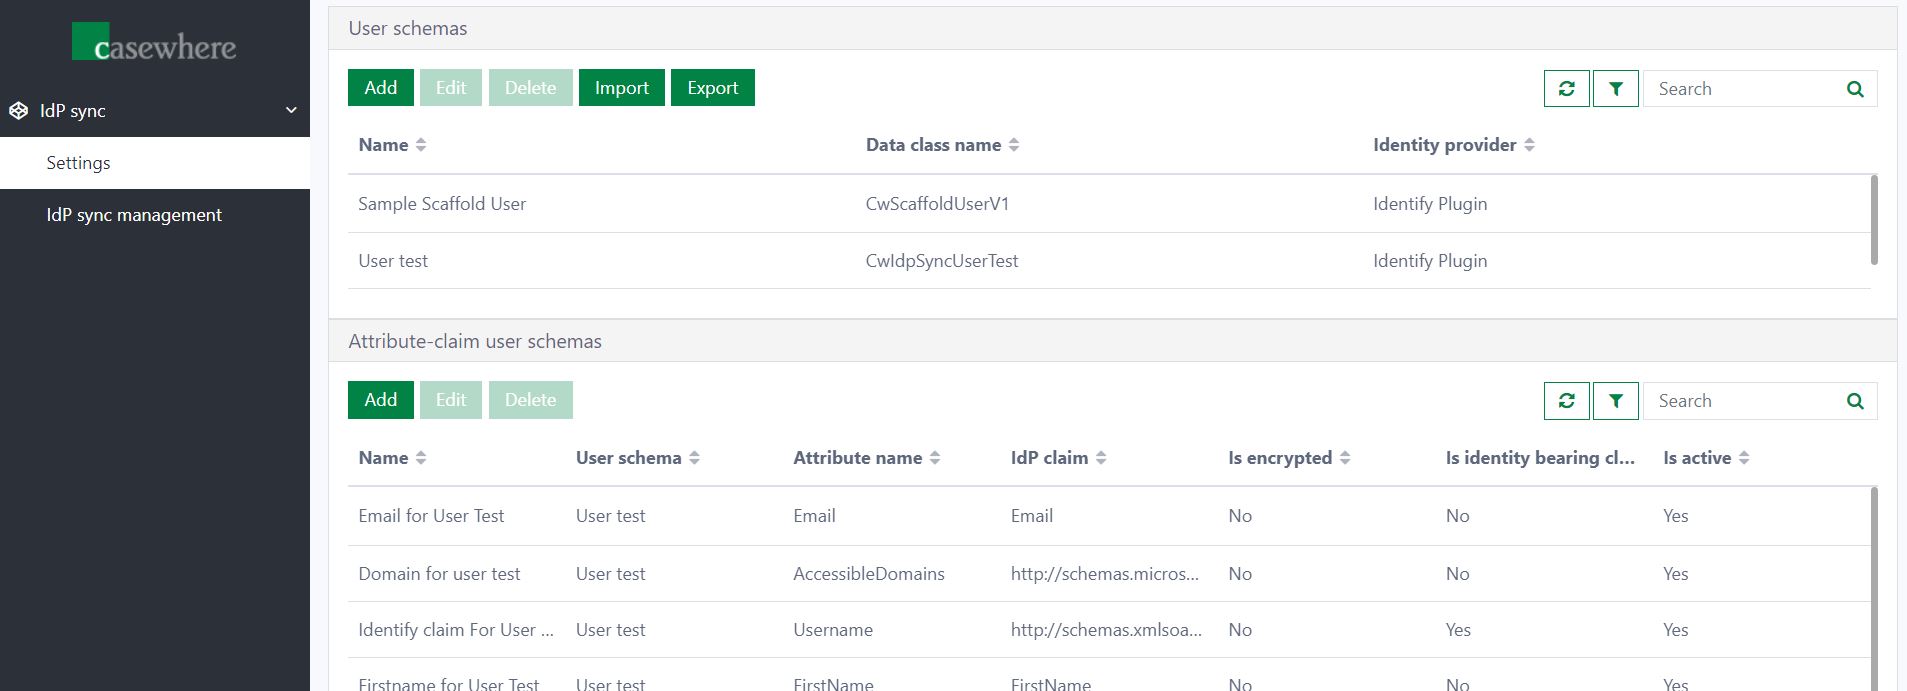
Manage user schemas
The user schema determines which data class in Casewhere is used to store the users and which identity provider is used to create the corresponding users.

Add new user schema
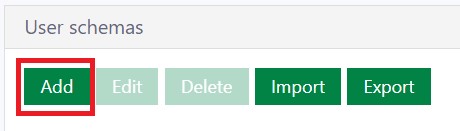
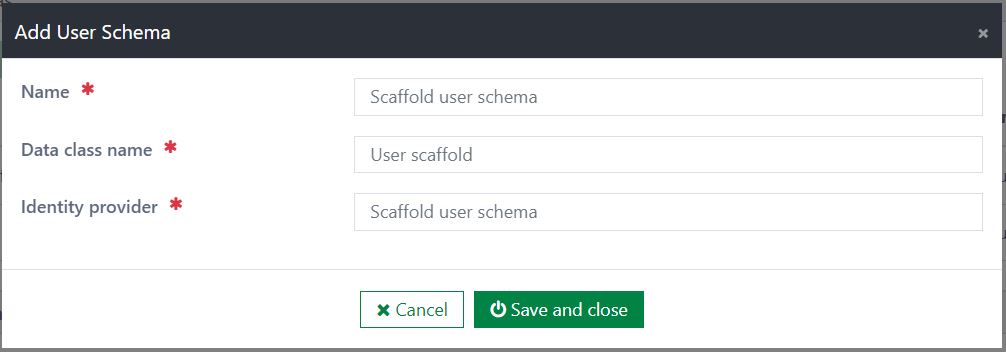
To add a new user schema, click the Add button to open the Add User Schema dialog.
Then, enter values for the fields:
Name: The name of the user schema. This field is required and unique.
Data class name: The data class in Casewhere where users are stored. This field is required and unique.
Identity provider: The plugin name in Casewhere. This field is required.
- Example: Identify Plugin
Edit user schema
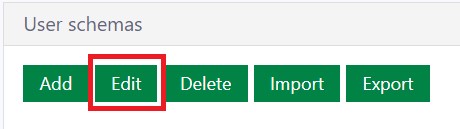
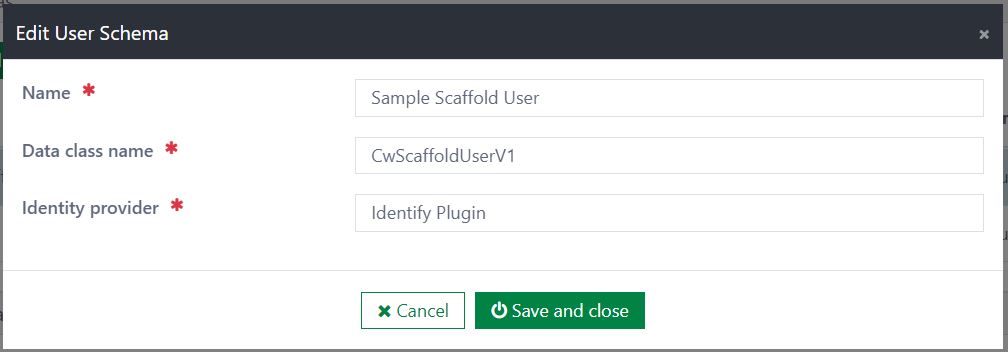
To edit a user schema, first select it, then click the Edit button to open the Edit User Schema dialog.
In the Edit User Schema dialog, you can update the fields:
- Name
- Data class name
- Identity provider
Delete user schema
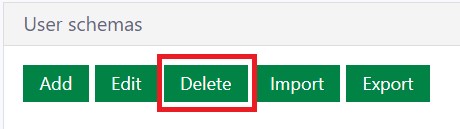
To delete a user schema, select it, then click the Delete button.
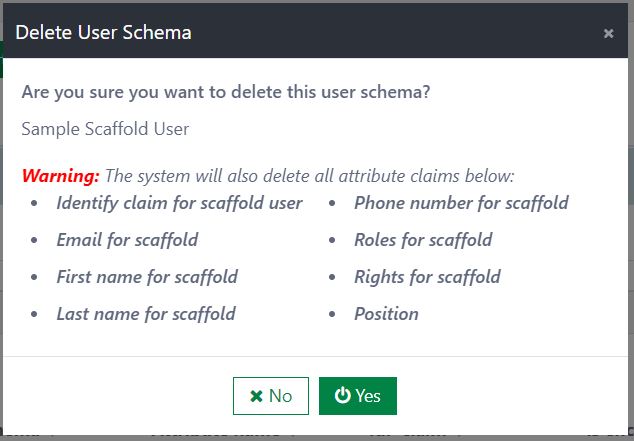
A confirmation dialog is shown. If you select the Yes button, the user schema is deleted immediately. If you select the No button, the deletion is cancelled.
- Note: The system also deletes all attribute claims linked to the user schema.
Import user schemas
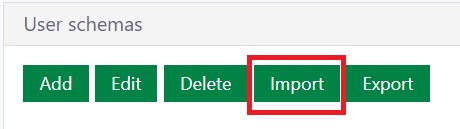
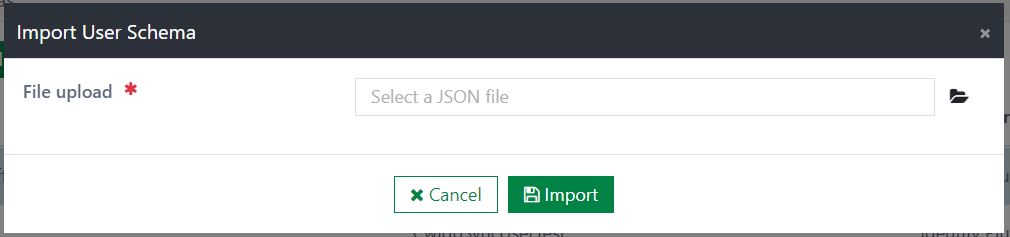
To import user schemas, first click the Import button to open the Import User Schema dialog.
- Note: All user schemas that already exist in the destination environment will be overridden. (Detected by user schema name)
Then, click the placeholder of the File upload field to open the file selection dialog.
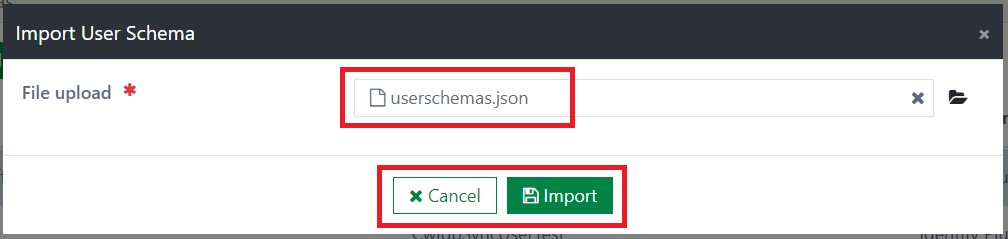
Next, select a JSON file to import (multiple selection is not supported). After selecting the file, click the Import button to import the schemas from the JSON file. If you do not want to run the import, click the Cancel button.
Export user schemas
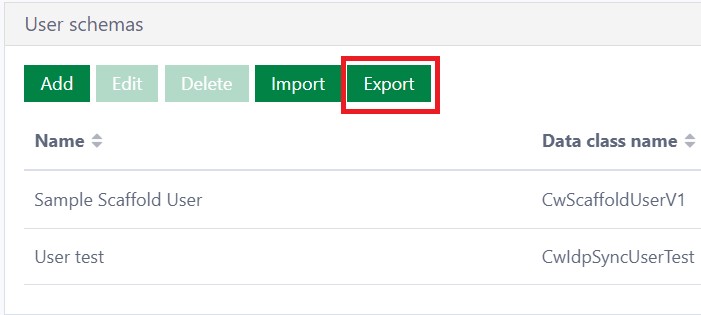
To export one or several schemas in the list, select them, then click the Export button. A JSON file of the selected schemas is downloaded immediately.
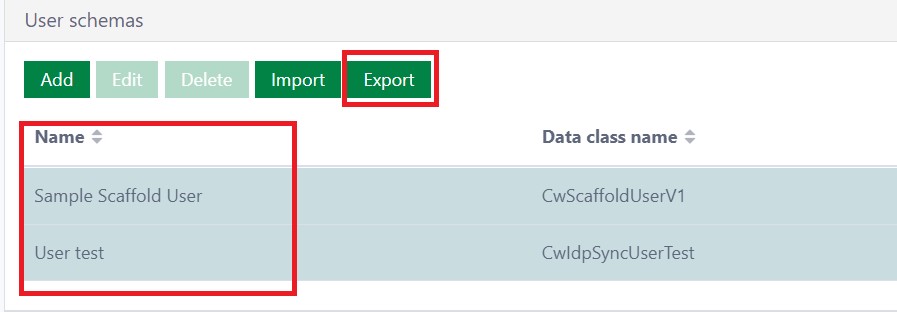
To export all schemas in the list, click the Export button. A JSON file of all schemas is downloaded immediately.
Manage attribute claims
The attribute claim defines the mapping between a data class attribute in Casewhere and a corresponding claim in the IdP.
- Note: The claim definition must exist in the IdP before you set up the claim mapping.
Add new attribute claim
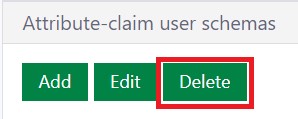
To add a new attribute claim, click the Add button.
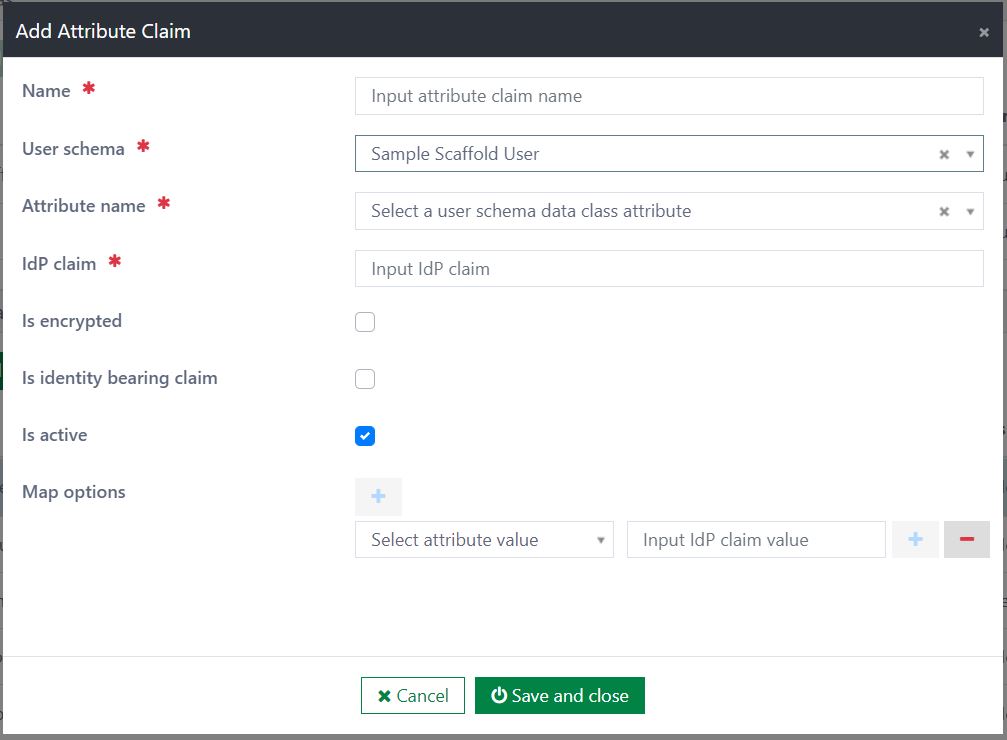
Then, in Add Attribute Claim dialog, fill out the fields:
Name: Enter the name of the attribute claim. This field is required and unique within a user schema.
User schema: It is a dropdown list with all user schemas. This field is required.
Attribute name: The list of attribute names is generated from the selected user schema's data class. This field is required.
IdP claim: The claim name in the external IdP system. This field is required and unique within a user schema.
Is encrypted: If this checkbox is ticked, the value is encrypted before it is sent to the identity provider.
Is identity bearing claim: There is only one identity bearing claim in a user schema. The bearing claim is used to identify the user. Normally, email is used as the bearing claim.
- The first attribute claim of a user schema must have Is identity bearing claim ticked.
- If you add or edit a claim with Is identity bearing claim ticked, the system automatically changes the previous bearing claim to a normal claim, and the new claim becomes the identity bearing claim of the selected user schema.
Is active: This field is the status of the attribute claim. The default value is Active.
Map options: This field is only visible when the selected Attribute name in the data class is an array of enum type. Click the + button to display the additional fields for Map options. You can add multiple fields:
- Attribute value: This field is required. It is a list of the attribute enum options.
- IdP claim value: This field is required. It is used to enter the IdP claim option in the IdP system.
Edit attribute claim
To edit an attribute claim, first click the Edit button to open the Edit Attribute Claim dialog.

In the Edit Attribute Claim dialog, you can edit:
Name
User schema
Attribute name
IdP claim
Is encrypted
Is identity bearing claim
Is active
Map options:
- Attribute value
- IdP claim value
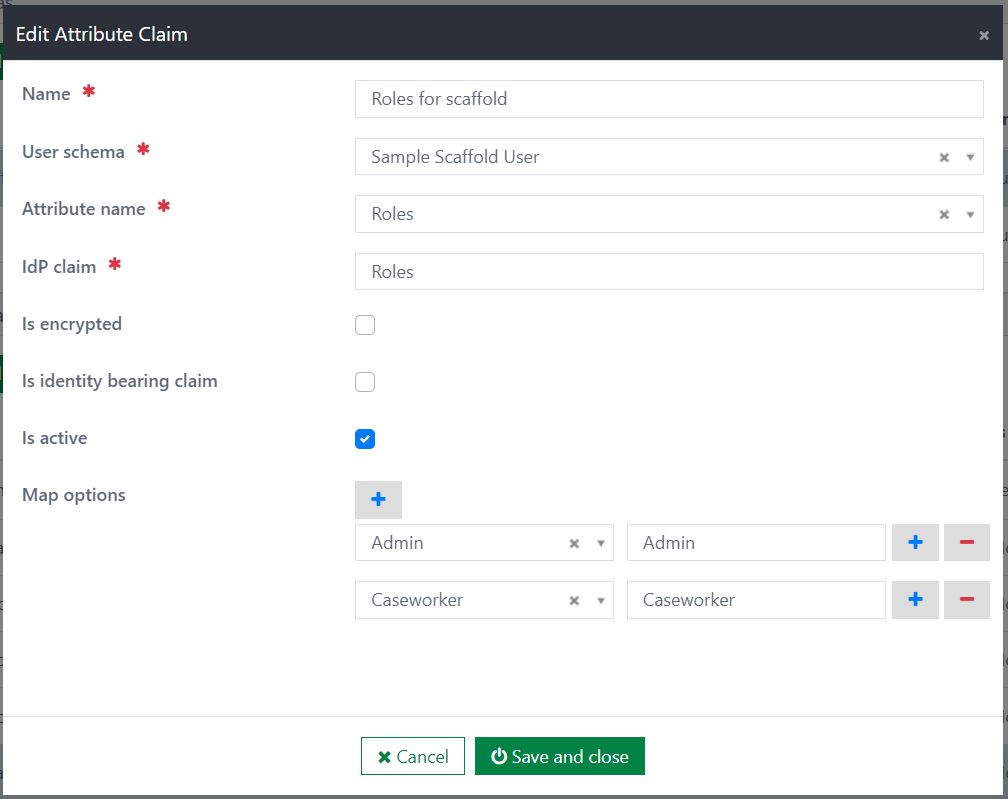
After updating the information, click the Save and close button to save the changes, or click the Cancel button to discard them.
Delete attribute claim
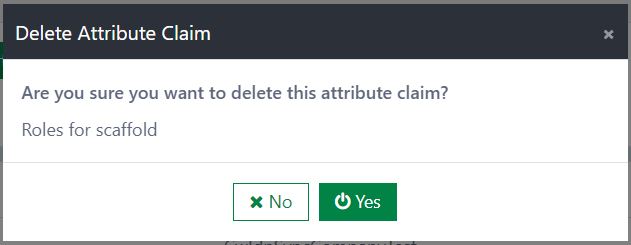
To delete an attribute claim, first click the Delete button.
Then, a confirmation dialog is displayed. If you select the Yes button, the config is deleted immediately. If you select the No button, the deletion is cancelled.
Synchronize users to IdP
This is the core of the component: it synchronizes users from Casewhere to the IdP automatically. It can be reused across many applications and avoids duplicating the code to create users in each one. It works by broadcasting custom events that are predefined in the component. Each time you collect the user information to create or update a user in Casewhere, you need to raise the corresponding custom event with its data.
Custom events
This component includes 3 custom events:
CW_CreateUser: This event is raised when a user is created. Its data includes:
- UserId: A data object containing the user information in the application.
- Username: A value that identifies the user. It is used to support troubleshooting.
CW_EditUser: This event is raised when a user is updated. Its data includes:
- UserId: A data object that contains the user information in the application.
- Username: A value that identifies the user. It is used to support troubleshooting.
- IdentifyUserId: The user ID returned from the identity provider.
CW_DeleteUser: This event is raised when a user is deleted. Its data includes:
- UserId: A data object that contains the user information in the application.
- Username: A value that identifies the user. It is used to support troubleshooting.
- IdentifyUserId: The user ID returned from the identity provider.
The workflow that handles this event finds the user schema that corresponds to the data class of that object. From that, the component knows where to create, update, or delete the users in the IdP.
Monitor IdP sync status
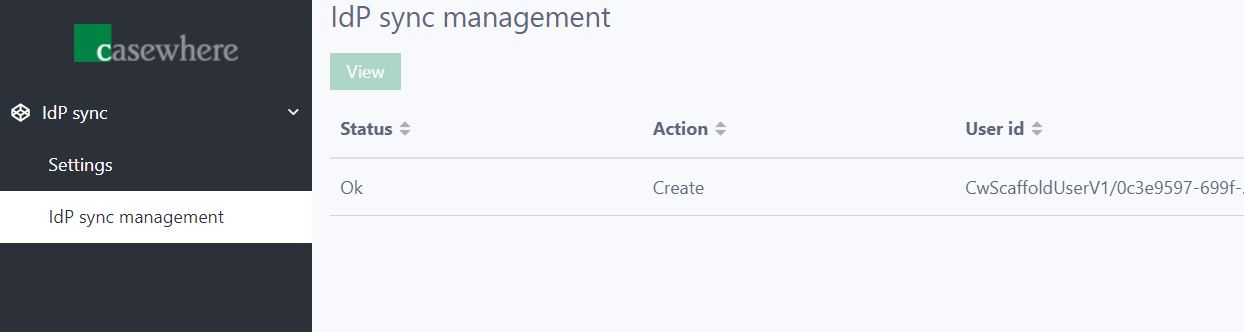
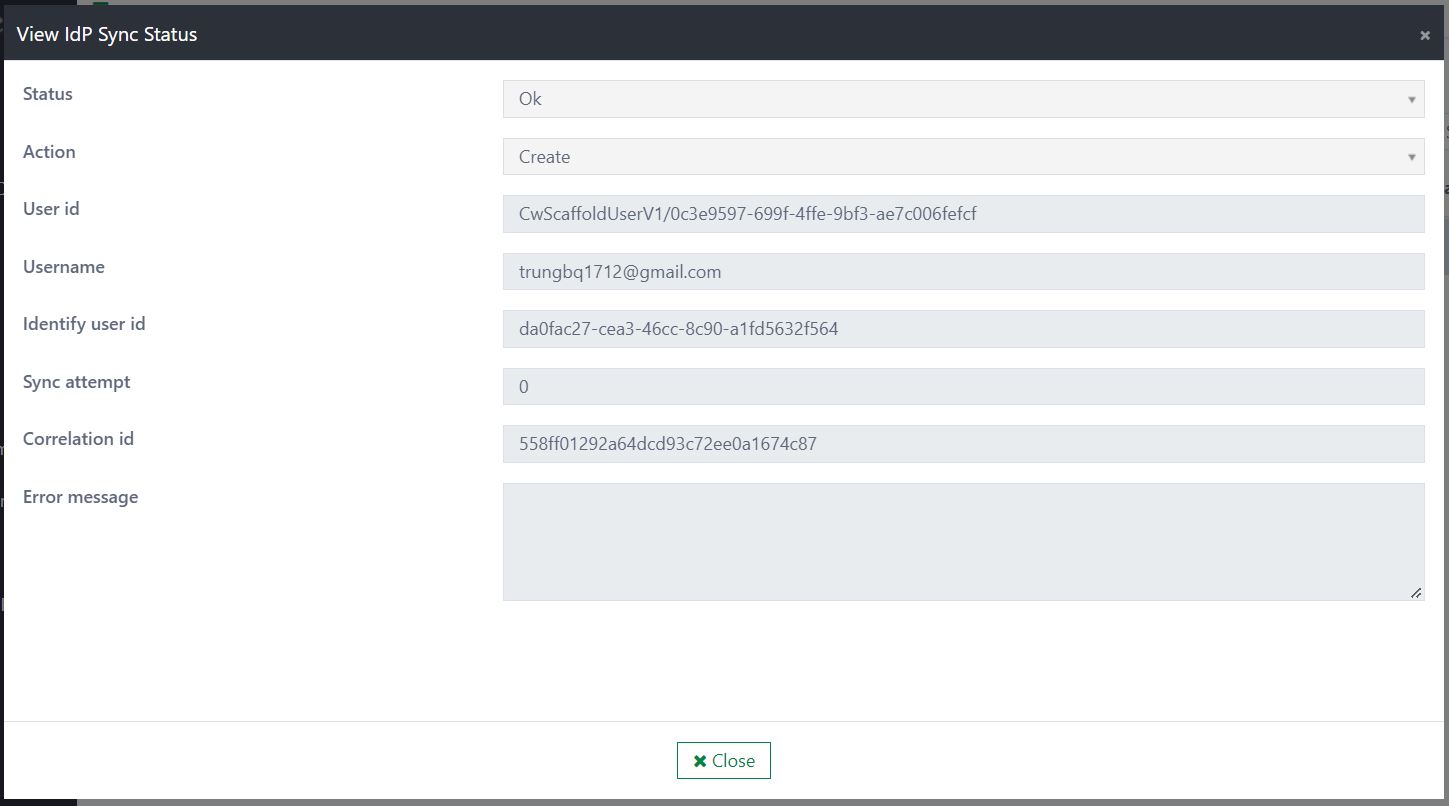
On the IdP sync management page, you can view the following IdP sync data:
Status: the status of the event data. There are 3 statuses:
- Pending: the user data has just been created.
- OK: the user data has been synced to the IdP successfully.
- Failed: the user data failed to sync to the IdP, or the data has errors during preparation.
Action: the type of action event. There are 3 actions:
- Create: the action raised when a user is created.
- Edit: the action raised when a user is updated.
- Delete : the action raised when a user is deleted.
User id: the user ID of the event data.
Username: the user name of the event data.
Identify user id: the user ID in the IdP system.
Sync attempt: the number of resend attempts that have been triggered.
Correlation id: the ID used to identify related log entries.
Error message: the error message shown when preparation or syncing of the data has failed.
- Note: The system automatically retries three times if the sync fails.
Installation
Requirements
- Casewhere 2.7.1 or later.
Configuration
- Import the product
- Link the page to your worker sites and configure access control
- Configure the IdP sync settings
Dependencies
- Plugin: Identify Plugin
Releases
1.0.0 - 24/04/2022
Changelog
- Mapping the user from Casewhere to IdP
- Synchronize users to IdP
Download (login required): IdP Sync v1.0.0
Roadmap
- Activate/deactivate the user
- Sync the possible values of the claims to IdP
- Configure the connection string to IdP