Component: Location data
Introduction
Location data is present in all projects, from small to large, because it is master data for the project. The Casewhere system is no exception. We also use Location data such as country and city. Developing the Location data component for each new project in Casewhere is very time-consuming, and reimplementing it every time is inefficient and takes a lot of project resources. Therefore, we provide the Location data component package, which is easy to import into new projects to save time and cost.
Features
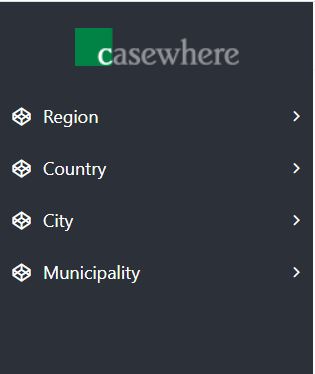
Administration interfaces for managing the following:
- Country
- Region
- Municipality
- City
Import/export: To export the data from an environment, e.g., DEV, and import it to another, e.g., PROD.
A friendly configuration page with many applicable settings. There you can also generate default data for your application.
Manage country
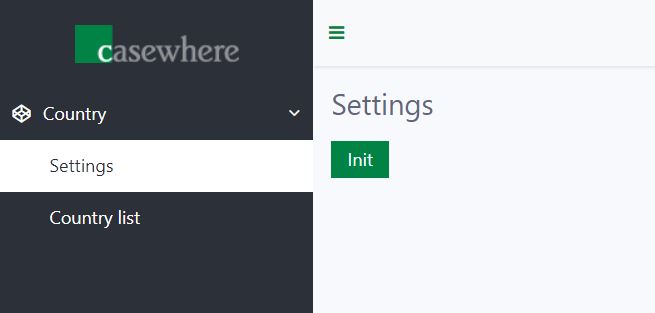
The component provides two pages to manage and set up the country.
Settings
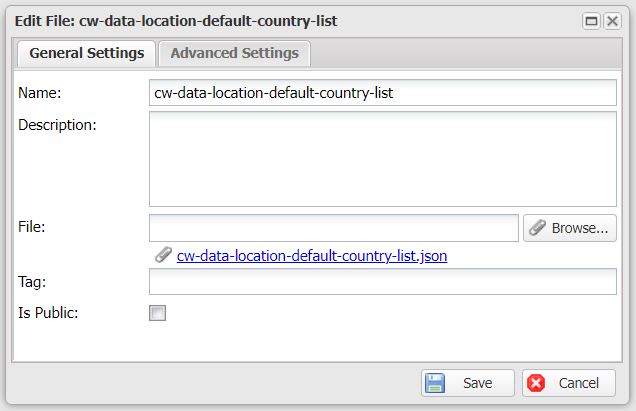
The settings page is where you configure the country settings and generate the default country data by clicking the Init button. All the default countries are in a JSON file stored on the back-end site. If you click the Init button twice, the system clears all existing countries and regenerates the data. Therefore, take care when using the initialization data feature.
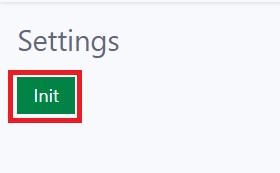
To initialize data on the settings page, click the Init button.
After that, the Settings confirmation dialog opens with two options: Yes/No.
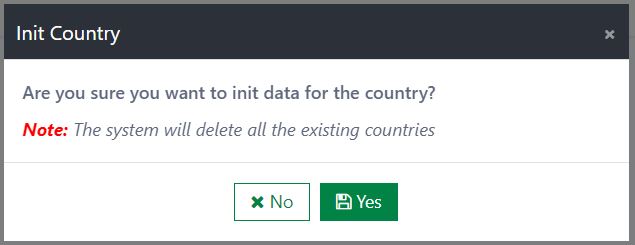
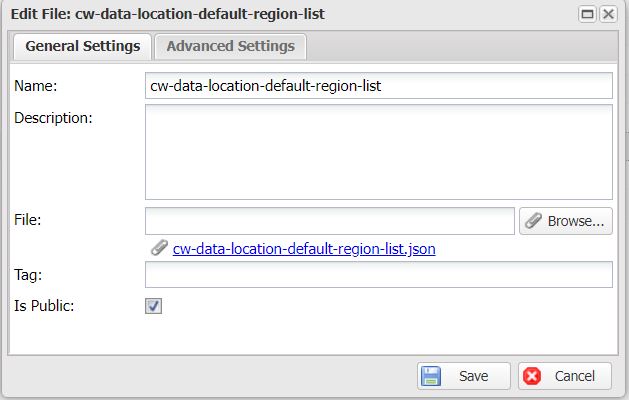
All default countries will be listed in the JSON file. You can modify their values based on your needs.
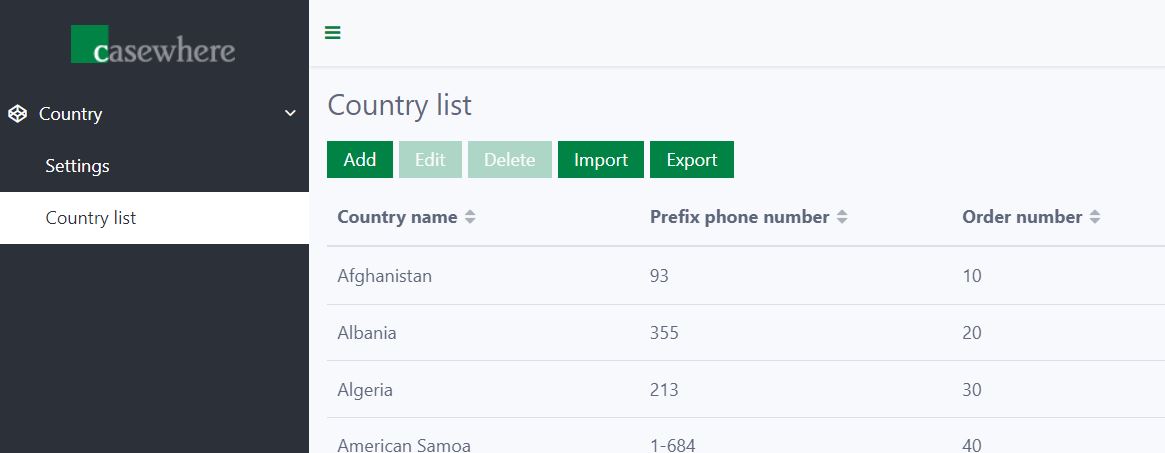
Country list
The Country list page is used to manage the country data. On the Country list page, you can view all the created countries and add, edit, delete, import, and export the country data.
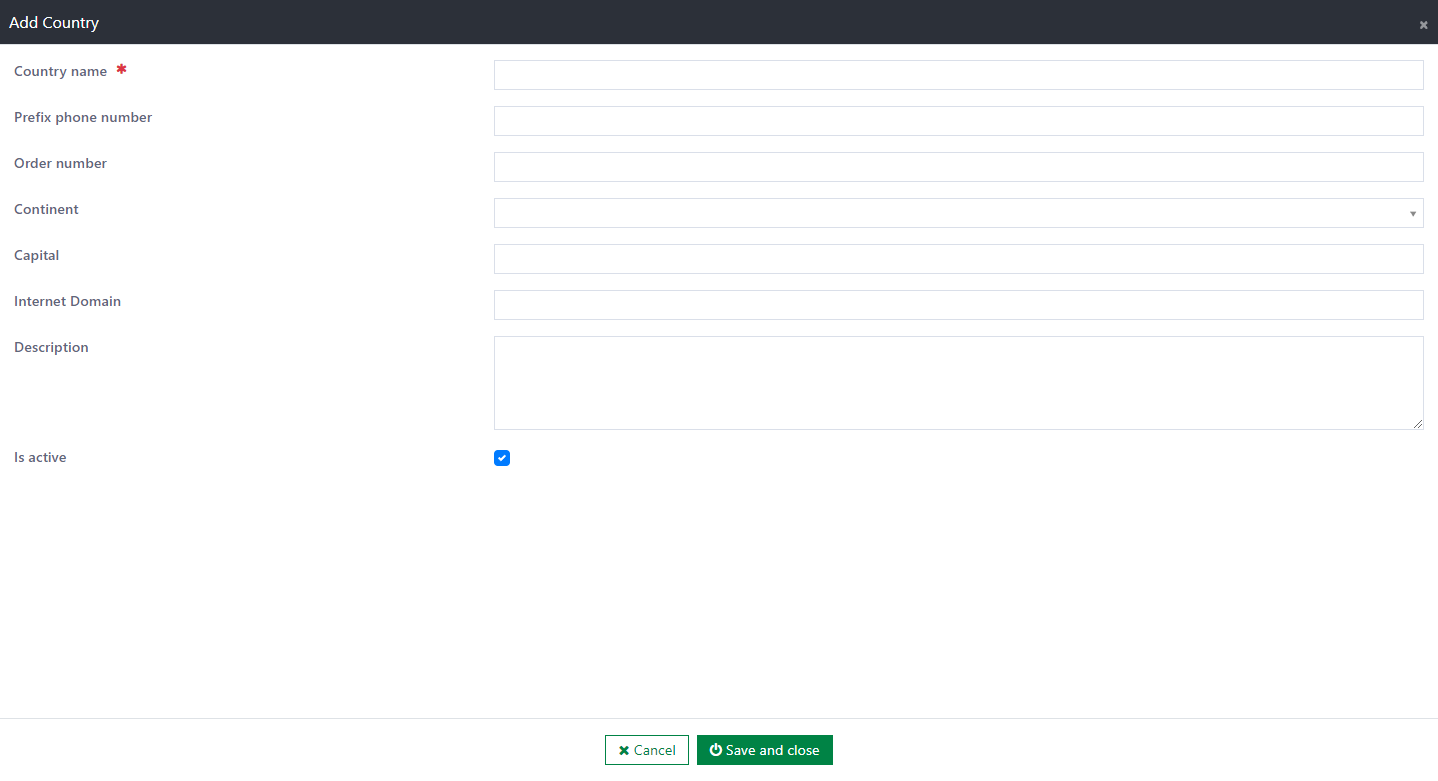
The following information must be provided when creating or editing a country:
- Country name: The name of the country. This field is required and unique.
- Prefix phone number: This field is used to enter the prefix phone number of the country. This field is optional.
- Order number: This field defines the priority of the country you want to show. This field is optional.
- Continent: This field is used to enter the continent of the country. This field is optional.
- Capital: This field is used to enter the capital of the country. This field is optional.
- Internet domain: This field is used to enter the internet domain of the country. This field is optional.
- Description: This field is used to describe information about the country. This field is optional.
- Is active: This field is the status of the country. The default value is Active.
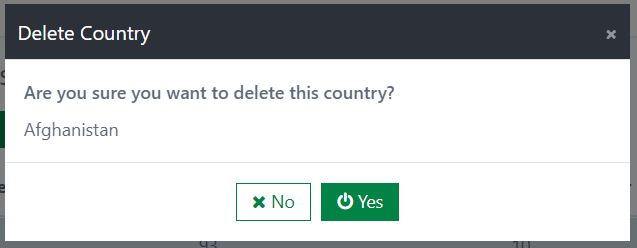
Delete a country:
To delete a country, click the Delete button. Then, a confirmation dialog is displayed. If you select the Yes button, the country is deleted immediately. If you select the No button, the deletion is canceled.
- Note: If the country is in use in the system, this may cause an error in the UI.
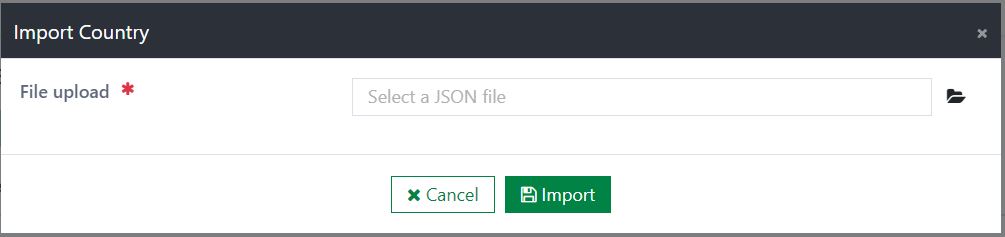
Import the country data:
To import the country data, click the Import button to open the Import Country dialog. All the country data that already exists in the destination environment will be overridden. (Detected by country name)
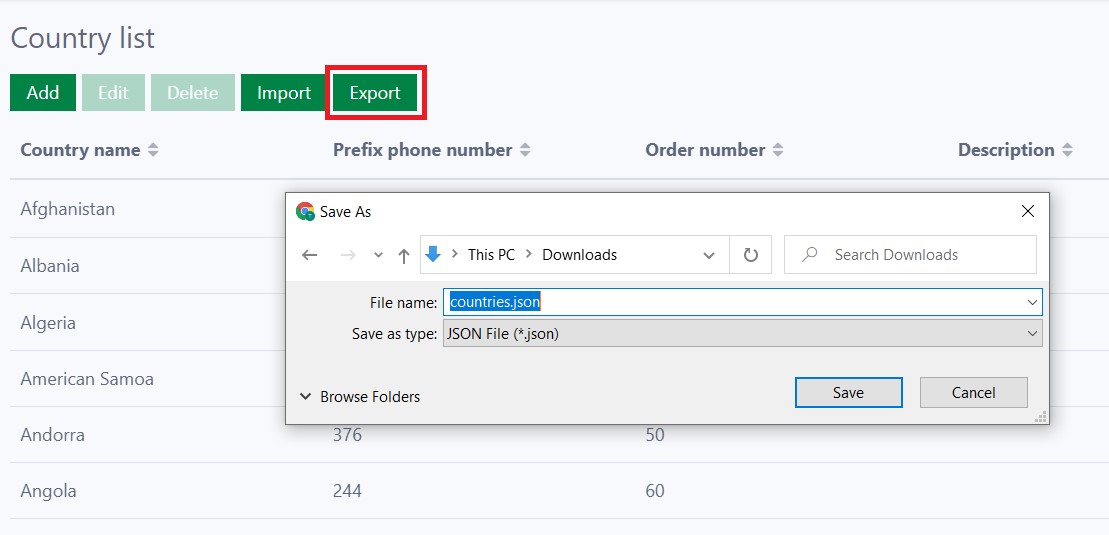
Export the country data:
To export one or several countries in the list, select the countries, then click the Export button. A JSON file of the selected countries is downloaded immediately.
Manage region
The component provides two pages to manage and set up the region.
Settings
The settings page is where you configure the region settings and generate the default region data by clicking the Init button. All the default regions are in a JSON file stored on the back-end site. If you click the Init button twice, the system clears all existing regions and regenerates the data. This breaks the relationship between regions and cities or municipalities. Therefore, take care when using the initialization data feature.
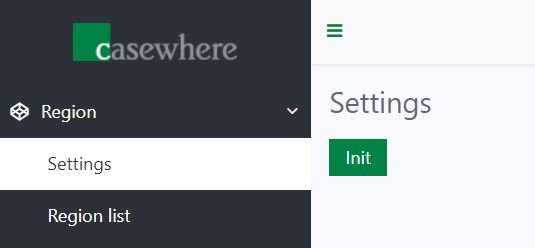
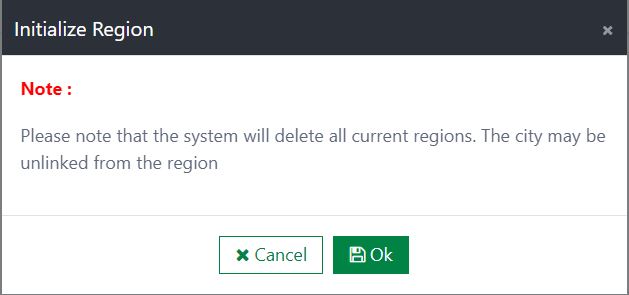
To initialize data on the settings page, click the Init button.
After that, the Settings confirmation dialog opens with two options: Cancel/Ok.
All default regions will be listed in the JSON file. You can modify their values based on your needs.
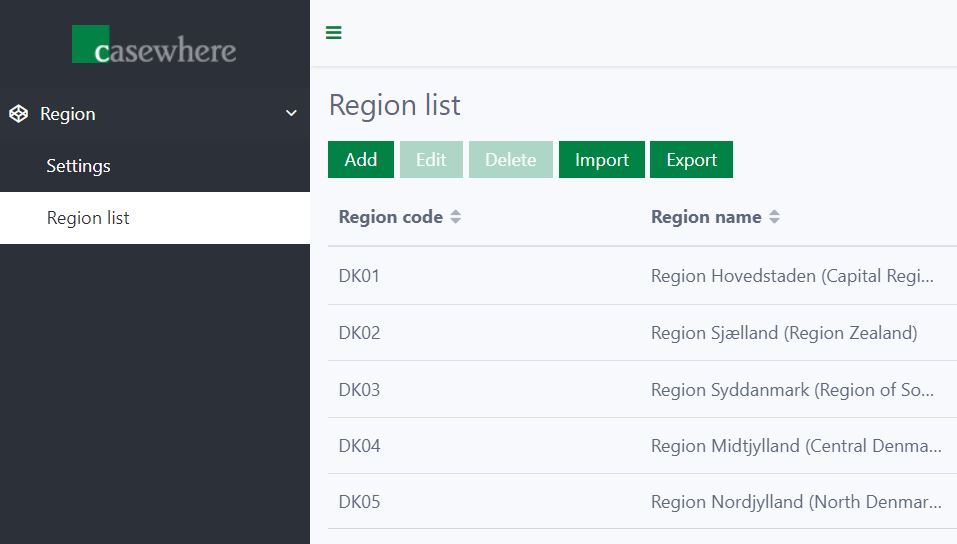
Region list
The Region list page is used to manage the region data. On the Region list page, you can view all the created regions and add, edit, delete, import, and export the region data.
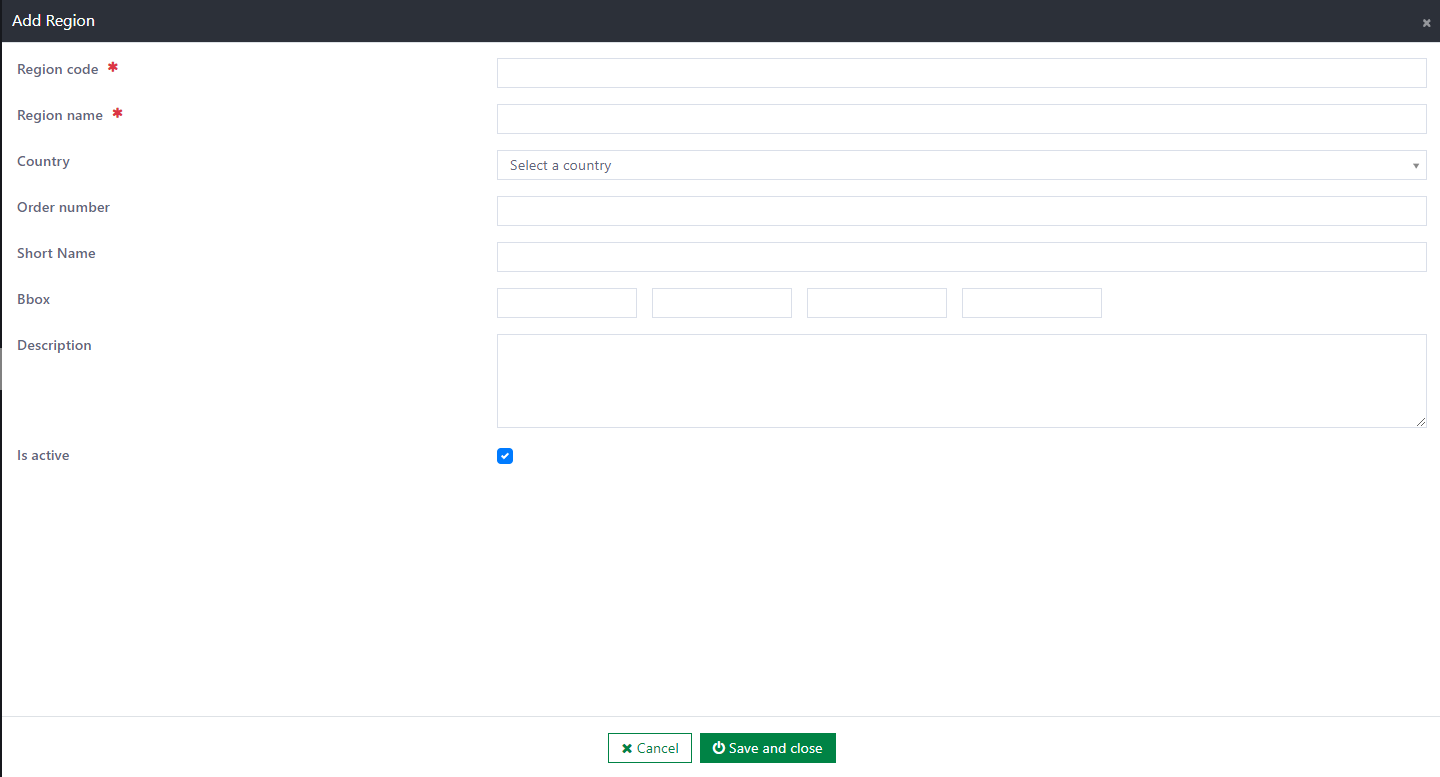
The following information must be provided when creating or editing a region:
- Region code: The code of the region. This field is required and unique.
- Region name: The name of the region. This field is required and unique.
- Country: The dropdown of the country. It loads data from the country list in the system. This field is optional.
- Order number: This field defines the priority of the region you want to show. This field is optional.
- Short name: The short name of the region. This field is optional.
- Bbox: This field returns the bounding rectangle of the geometry of the region. This field is optional.
- Description: This field is used to describe information about the region. This field is optional.
- Is active: This field is the status of the region. The default value is Active.
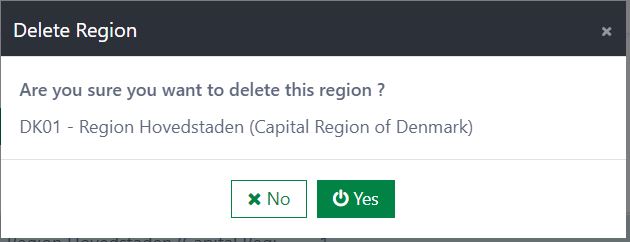
Delete a region:
To delete a region, click the Delete button. Then, a confirmation dialog is displayed. If you select the Yes button, the region is deleted immediately. If you select the No button, the deletion is canceled.
- Note: If the region is in use in the system, this may cause an error in the UI.
Import the region data:
To import the region data, click the Import button to open the Import Region dialog. All the region data that already exists in the destination environment will be overridden. (Detected by region code)

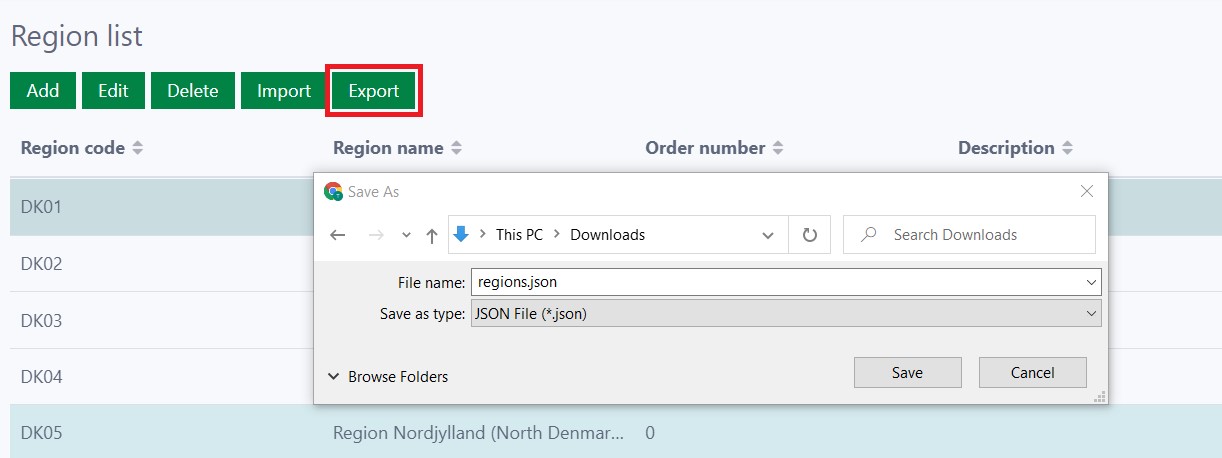
Export the region data:
To export one or several regions in the list, select the regions, then click the Export button. A JSON file of the selected regions is downloaded immediately.
Manage municipality
The component provides two pages to manage and set up the municipality.
Settings
The settings page is where you configure the municipality settings and generate the default municipality data by clicking the Init button. All the default municipalities are in a JSON file stored on the back-end site. If you click the Init button twice, the system clears all existing municipalities and regenerates the data. Therefore, take care when using the initialization data feature.
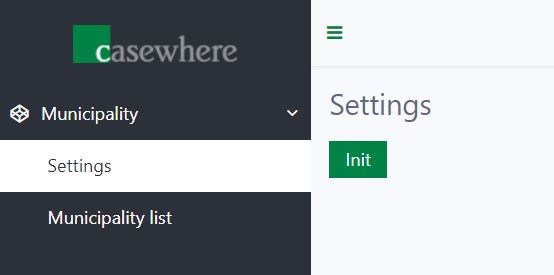
To initialize data in the settings page, click on Init button
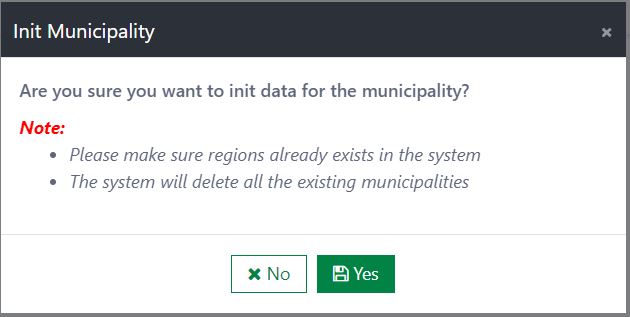
After that, the Settings confirmation dialog opens with two options: Yes/No.
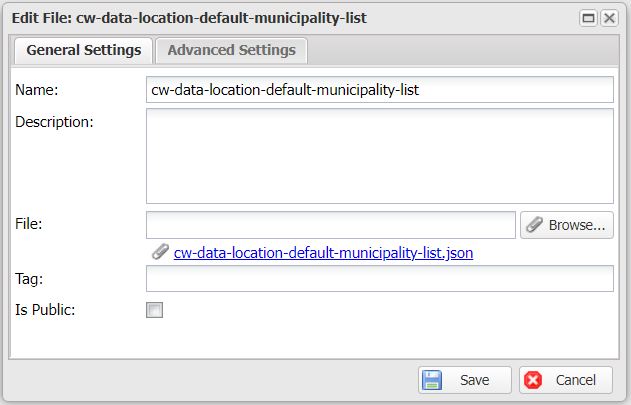
All default municipalities will be listed in the JSON file. You can modify their values based on your needs.
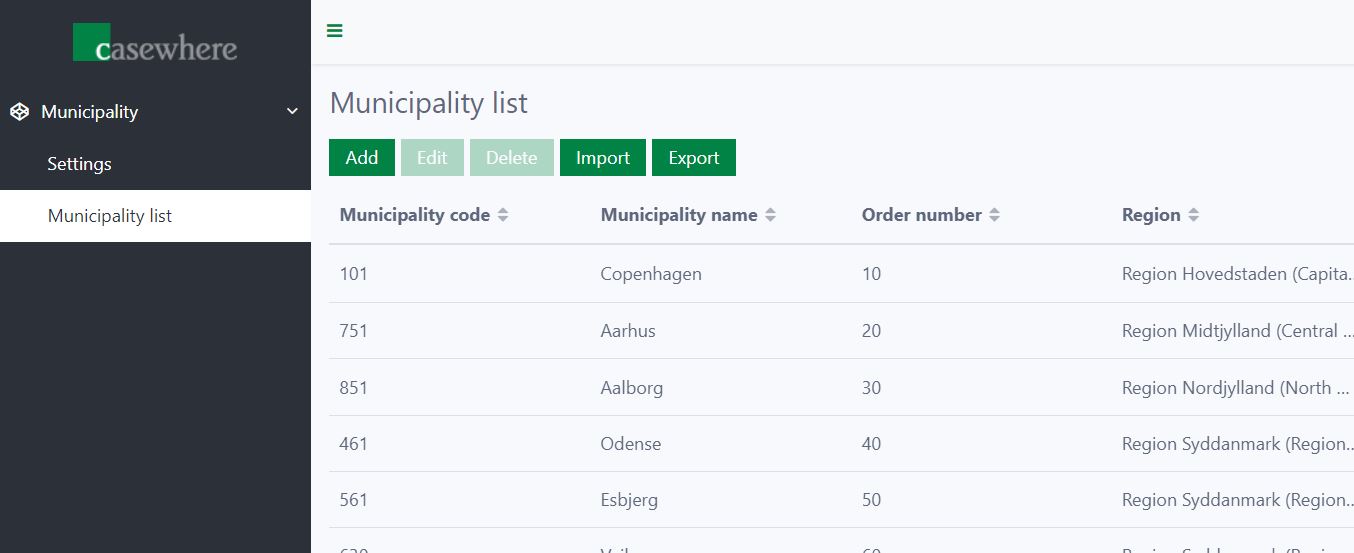
Municipality list
The Municipality list page is used to manage the municipality data. On the Municipality list page, you can view all the created municipalities and add, edit, delete, import, and export the municipality data.
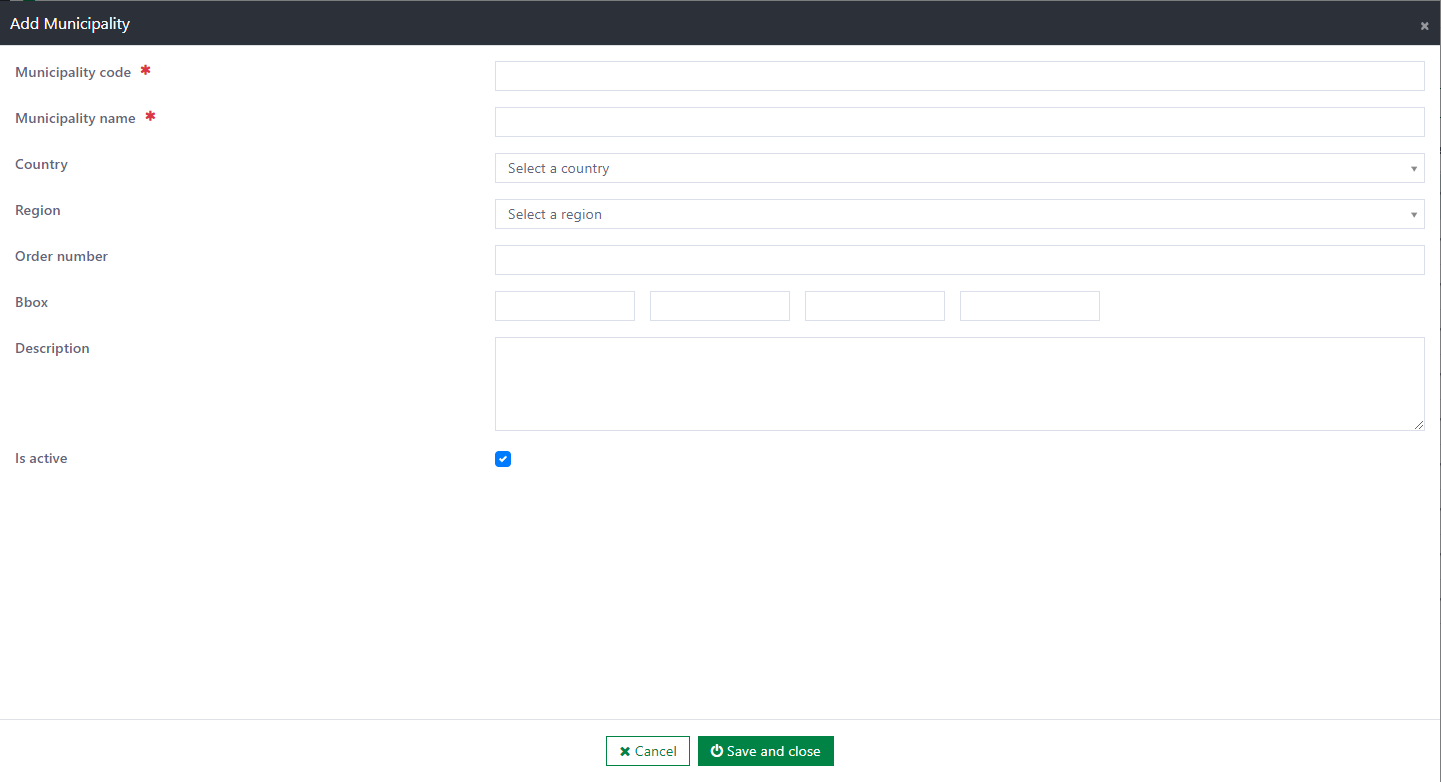
The following information must be provided when creating or editing a municipality:
- Municipality code: The code of the municipality. This field is required and unique.
- Municipality name: The name of the municipality. This field is required and unique.
- Country: The dropdown of the country. It loads data from the country list in the system. This field is optional.
- Region: The dropdown of the region. It loads data from the region list in the system. This is the area to which the municipality belongs. This field is optional.
- Order number: This field defines the priority of the municipality you want to show. This field is optional.
- Bbox: This field returns the bounding rectangle of the geometry of the region. This field is optional.
- Description: This field is used to describe information about the municipality. This field is optional.
- Is active: This field is the status of the municipality. The default value is Active.
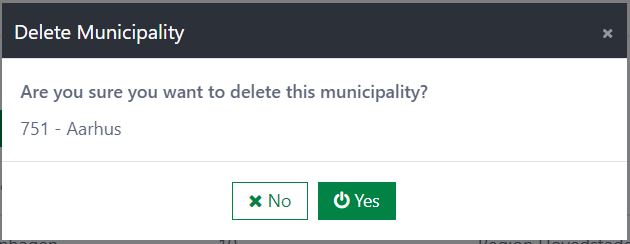
Delete a municipality:
To delete a municipality, click the Delete button. Then, a confirmation dialog is displayed. If you select the Yes button, the municipality is deleted immediately. If you select the No button, the deletion is canceled.
- Note: If the municipality is in use in the system, this may cause an error in the UI.
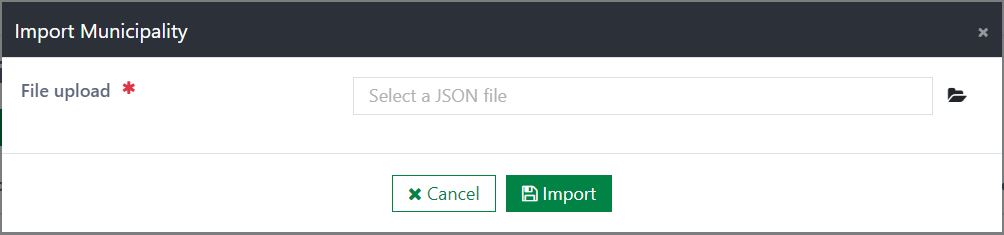
Import the municipality data:
To import the municipality data, click the Import button to open the Import Municipality dialog. All the municipality data that already exists in the destination environment will be overridden. (Detected by municipality code)
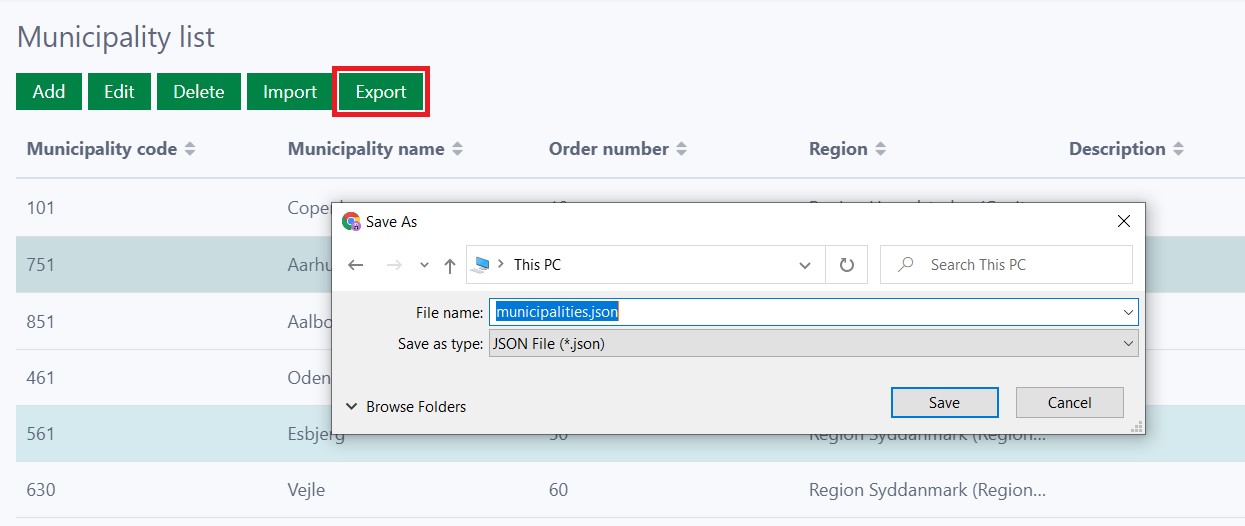
Export the municipality data:
To export one or several municipalities in the list, select the municipalities, then click the Export button. A JSON file of the selected municipalities is downloaded immediately.
Manage city
The component provides two pages to manage and set up the city.
Settings
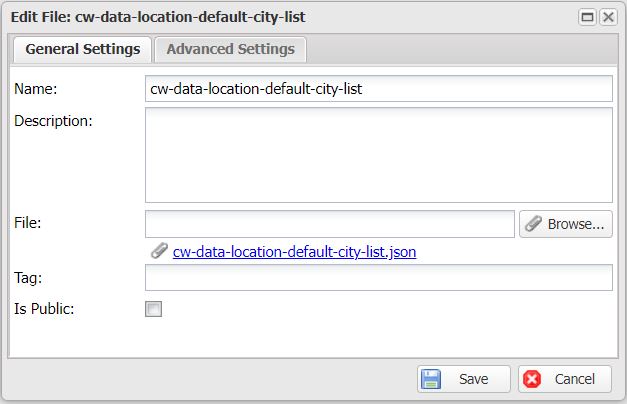
The settings page is where you configure the city settings and generate the default city data by clicking the Init button. All the default cities are in a JSON file stored on the back-end site. If you click the Init button twice, the system clears all existing cities and regenerates the data. Therefore, take care when using the initialization data feature.

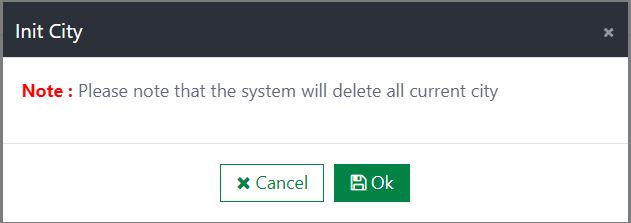
To initialize data in the settings page, click on Init button
After that, the Settings confirmation dialog opens with two options: Cancel/Ok.
All default cities will be listed in the JSON file. You can modify their values based on your needs.
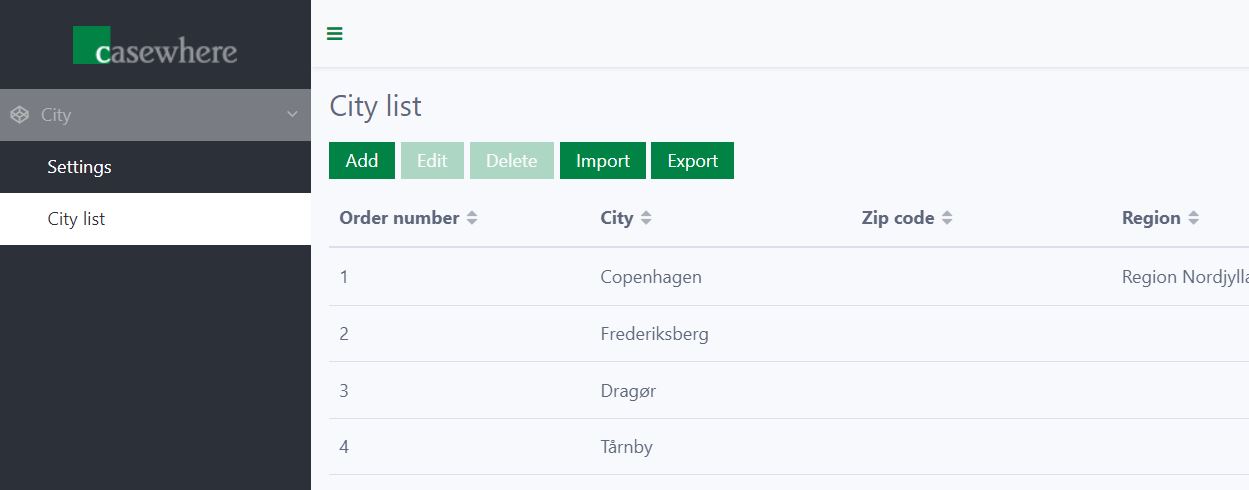
City list
The City list page is used to manage the city data. On the City list page, you can view all the created cities and add, edit, delete, import, and export the city data.
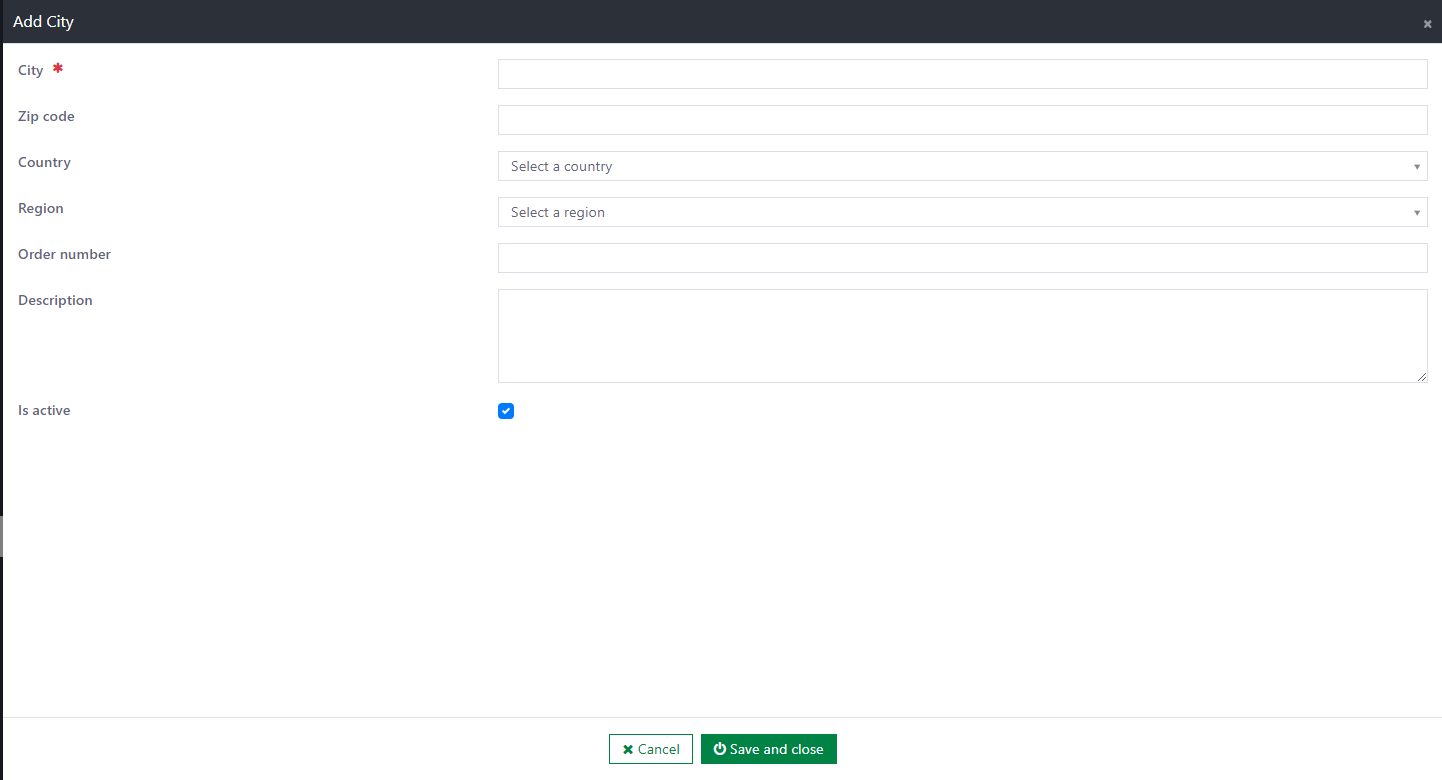
The following information must be provided when creating or editing a city:
- City: The name of the city. This field is required and unique.
- Zip code: The postal code of the city. It is a series of numbers that conveys information about people within different geographic groupings. This field is optional.
- Country: The dropdown of the country. It loads data from the country list in the system. This field is optional.
- Region: The dropdown of the region. It loads data from the region list in the system. This is the area to which the city belongs. This field is optional.
- Order number: This field defines the priority of the city you want to show. This field is optional.
- Description: This field is used to describe information about the city. This field is optional.
- Is active: This field is the status of the city. The default value is Active.
Delete a city:
To delete a city, click the Delete button. Then, a confirmation dialog is displayed. If you select the Yes button, the city is deleted immediately. If you select the No button, the deletion is canceled.
- Note: If the city is in use in the system, this may cause an error in the UI.

Import the city data:
To import the city data, click the Import button to open the Import City dialog. All the city data that already exists in the destination environment will be overridden. (Detected by city name)

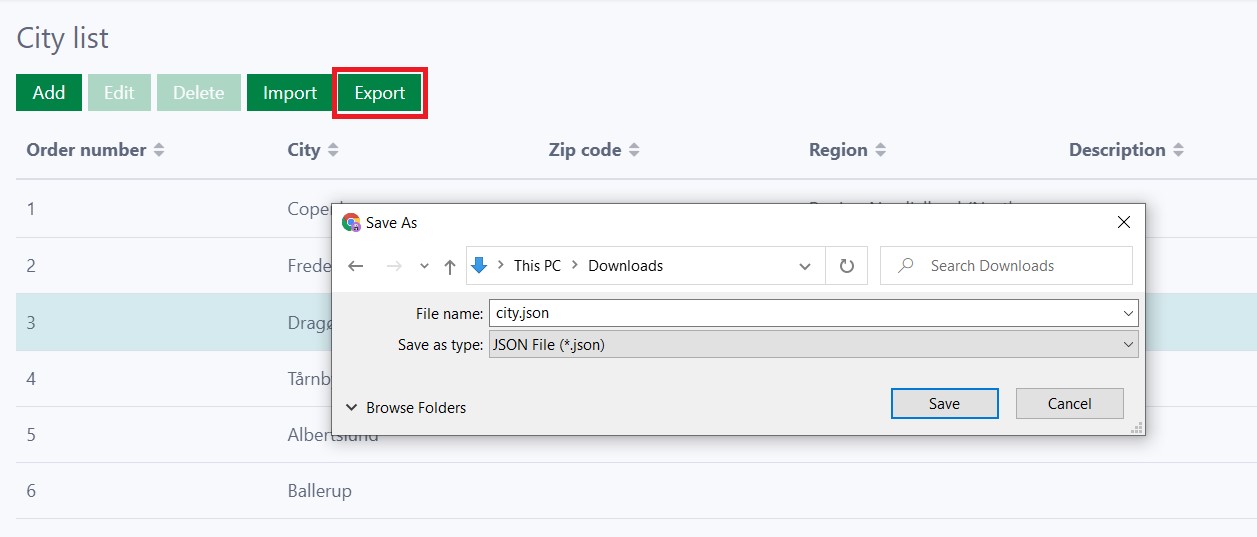
Export the city data:
To export one or several cities in the list, select the cities, then click the Export button. A JSON file of the selected cities is downloaded immediately.
Installation
Requirements
- Casewhere 2.6.10 or later
Configuration
- Import the product
- Link the page to your worker sites and configure access control
- You can generate default data in the component's configuration page
Dependencies
- None
Releases
1.1.0 - 11/07/2022
Changelog
- Administration interfaces for managing regions, municipalities, cities.
- Import/export
- Initialization data
Download (login required): Location Data v1.1.0
Roadmap
- Integration ISO code