Enable and configure
Source Control is enabled per environment by pointing Casewhere at a local folder. That folder becomes the Git-tracked configuration folder: Casewhere keeps it in sync, and you manage the Git side with your own tooling.
Enable the feature
Set the config:ConfigFolderPath application setting on the configuration web site to the path of the folder you want to use:
<appSettings>
  <!-- Empty value = feature disabled. Set a local folder path to enable. -->
  <add key="config:ConfigFolderPath" value="C:\Repos\my-solution-config" />
</appSettings>
- Leave the value empty (or omit the setting) to keep Source Control disabled — the page still appears but reports Disabled and performs no file operations.
- When set, Casewhere mirrors configuration read models into the folder as
<EntityType>/<resource-name>.<id>.json.
Git itself (commit, push, pull, clone) is managed entirely by external tooling — Casewhere never runs Git. The setting is deployment configuration, not an in-app option, so it is the same key on every environment that participates in source control.
Prepare the folder as a Git working tree
The configured folder should be an ordinary Git working tree that you set up outside Casewhere — for example by cloning your configuration repository to that path, or running git init there and adding a remote. Casewhere only writes and reads files inside it; everything else is normal Git.
A typical first-time setup:
- Clone (or create) your configuration repository at the path you will use, e.g.
C:\Repos\my-solution-config. - Set
config:ConfigFolderPathto that path and let the configuration site reload. - Open Deployment → Source Control and confirm the status.
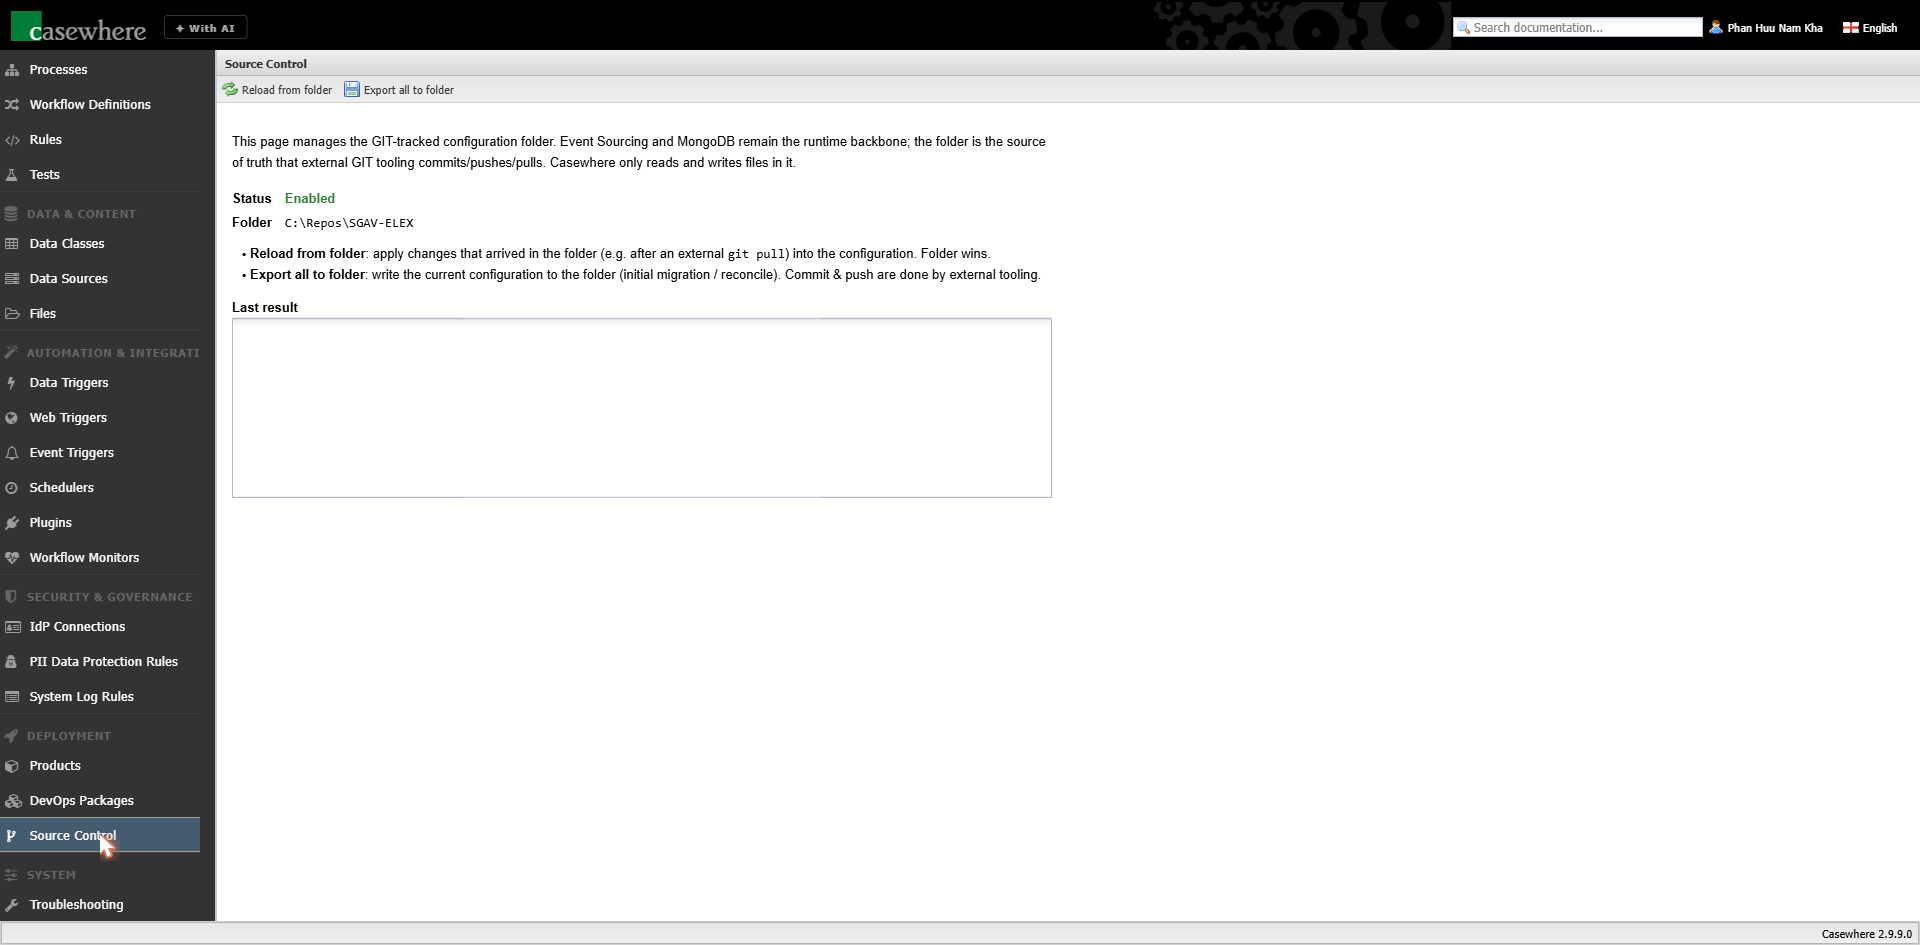
Verify on the Source Control page
Open Deployment → Source Control in Casewhere Admin. The page shows:
- Status — Enabled when
config:ConfigFolderPathis set, otherwise Disabled. - Folder — the configured path Casewhere is mirroring to.
- Reload from folder and Export all to folder toolbar buttons, and a Last result area that reports the outcome of the last operation.
Seed the folder
When you first enable the feature against an existing solution, the folder is empty. Click Export all to folder to write the current configuration of every product and its resources into the folder. Then commit and push with your Git tooling:
git add .
git commit -m "Initial Casewhere configuration export"
git push
From this point on, changes you make in Casewhere Admin are exported to the folder automatically — see Synchronize configuration.
Access and permissions
There is no separate permission for Source Control: any authenticated Casewhere Admin user who can reach the configuration site can open the page and run Reload from folder / Export all to folder. Because these operations can overwrite live configuration (Reload) or rewrite the whole folder (Export all), restrict access to the configuration site to trusted configurators, exactly as you would for any other administrative function.
Recommendations
- One repository per solution. Keep the configuration folder dedicated to Casewhere configuration so its history stays clean and reviewable.
- Use branches and pull requests. Because every resource is a readable JSON file, configuration changes review just like code.
- Don't hand-edit unless you must. Prefer making changes in Casewhere Admin (which keeps the runtime and folder consistent). If you do edit files directly after a
git pull, bring them into the runtime with Reload from folder.