Create a data class
Introduction
Designing data models is one of the most critical tasks in building software applications. In this step, you need to instruct Casewhere on how to store data by defining data classes.
Let's spend some time putting together a sample dataset.
| Title | Genre | Price | Purchase Date |
|---|---|---|---|
| War and Peace | Fiction | 60.000 | 20/5/2021 |
| Atomic Habits | Self-Help | 50.000 | 14/7/2021 |
| 1491 | History | 70.000 | 16/8/2021 |
| 100 Years of Solitude | Fiction | 50.000 | 19/8/2021 |
| Lessons of History | History | 50.000 | 19/9/2021 |
Look at the above dataset. Do you notice how each data type is presented differently?
A title, for example, could be represented by characters or numbers. So could genre, but genre will only contain limited constants. Prices will simply be a number. Meanwhile, special date/month/year formatting will be required for the purchase date.
Each data type has its own list of criteria!
Casewhere supports many types of data. In this tutorial, we will although only deal with array, enum, integer, and datetime.
Guide
- Step 1. In Casewhere Admin site, navigate to Data Classes
- Step 2. Click Create button

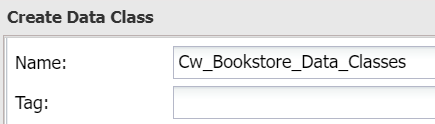
The Create Data Class dialog will appear.
Fill in your data class Name as "Cw_Bookstore_Data_Classes".
Tip: Most dialogs in Casewhere Admin will have a similar steps flow: (1) Fill in name, (2) Config, and (3) Save it.
Fill in the following attributes to complete the data model:
| Name | Title | Type | Required |
|---|---|---|---|
| Title | title | Array | ☑ |
| Genre | genre | Enum | ☑ |
| Price | price | Integer | ☑ |
| PurchaseDate | purchase_date | Datetime | ☑ |

Looks good! But if you click Save now a system error will appear:
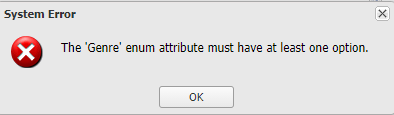
That's because the "Genre" attribute is set as Enum, which will require us to define a set of possible options.
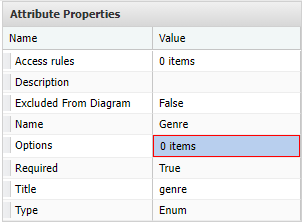
- Step 3. To fix the error, simply choose "Genre", then in Attribute Properties, double click to Options
- Step 4. Fill in options for Genre. And click Save
| Text | Value |
|---|---|
| Fiction | Fiction |
| Self-Help | Self-Help |
| History | History |
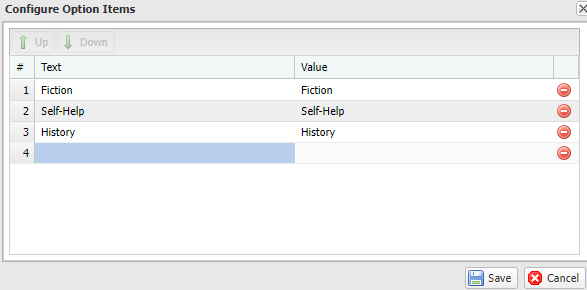
Click Save and close of the Configure Option Items dialog.
Click Save and close of the Create Data Class dialog.
All good, now you can move to the next step.