Create a page
Introduction
This tutorial will show you how to use Casewhere to make a page and add that page to a worker site.
You will not be required to write any coding scripts for this tutorial. With just a few clicks and drag-and-drop actions, you'll be able to create a basic page.
Meanwhile, Casewhere includes a scripting tool for users who want to create custom pages with unique looks or override a default behavior; these instructions will be covered in more advanced tutorials.
Guide
- Step 1. In Casewhere Admin site, navigate to Pages.
- Step 2. Click Create button

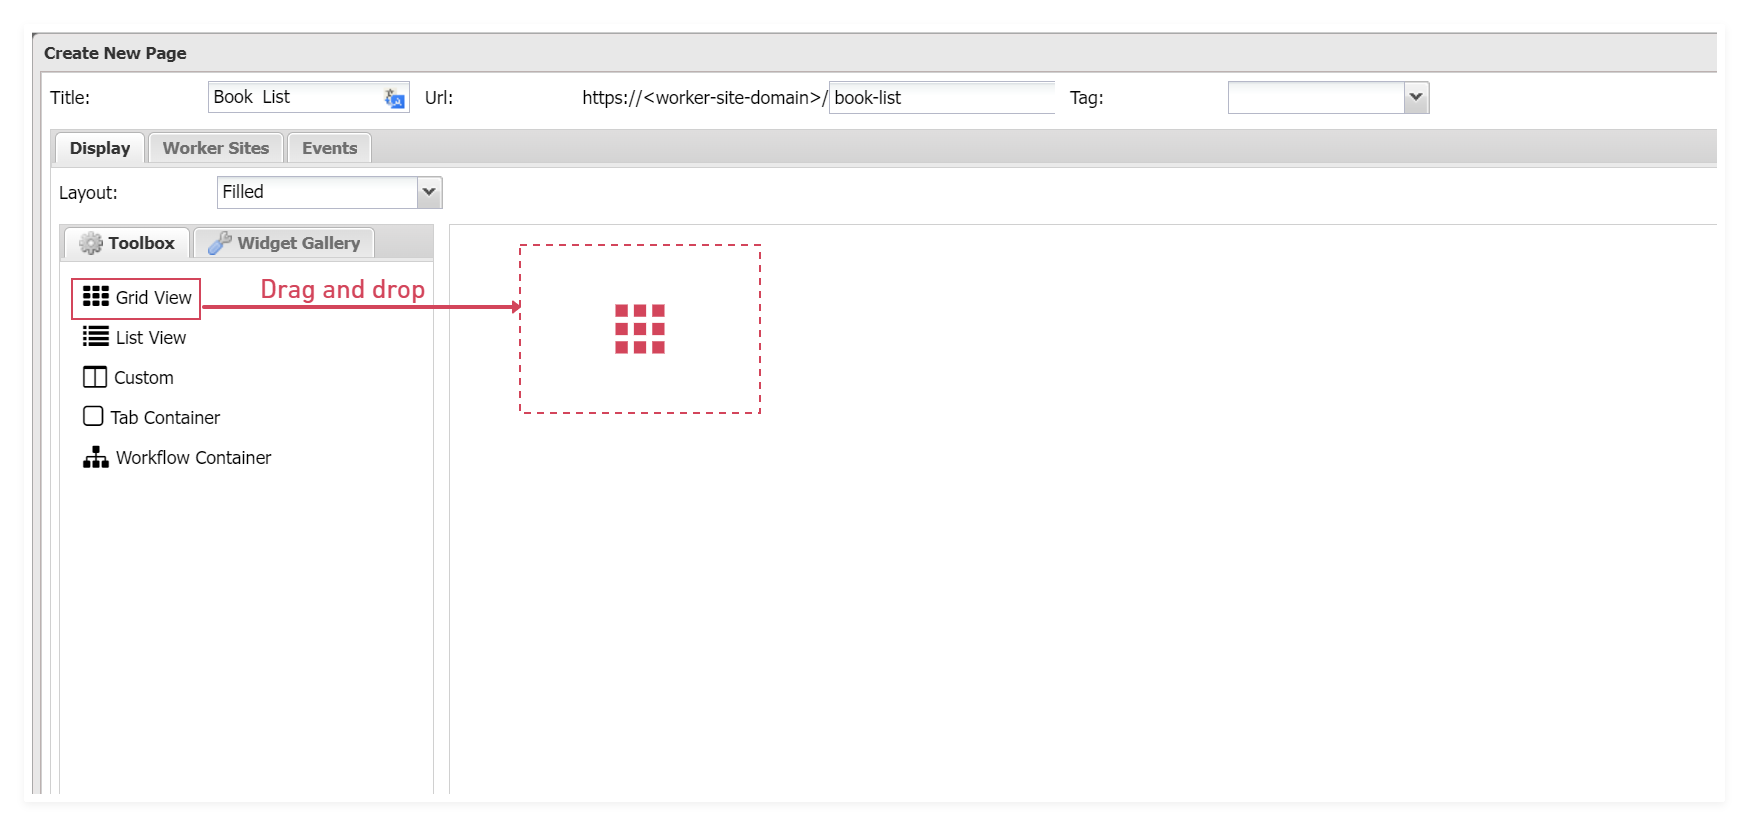
The Create New Page dialog will appear.
Fill in page title and sub-domain that will link to it.
| Field name | Actions |
|---|---|
| Title | Fill in "Book List" |
| Url | Fill in "book-list" |
Next, drag and drop the Grid view from Toolbox window to the empty window area.
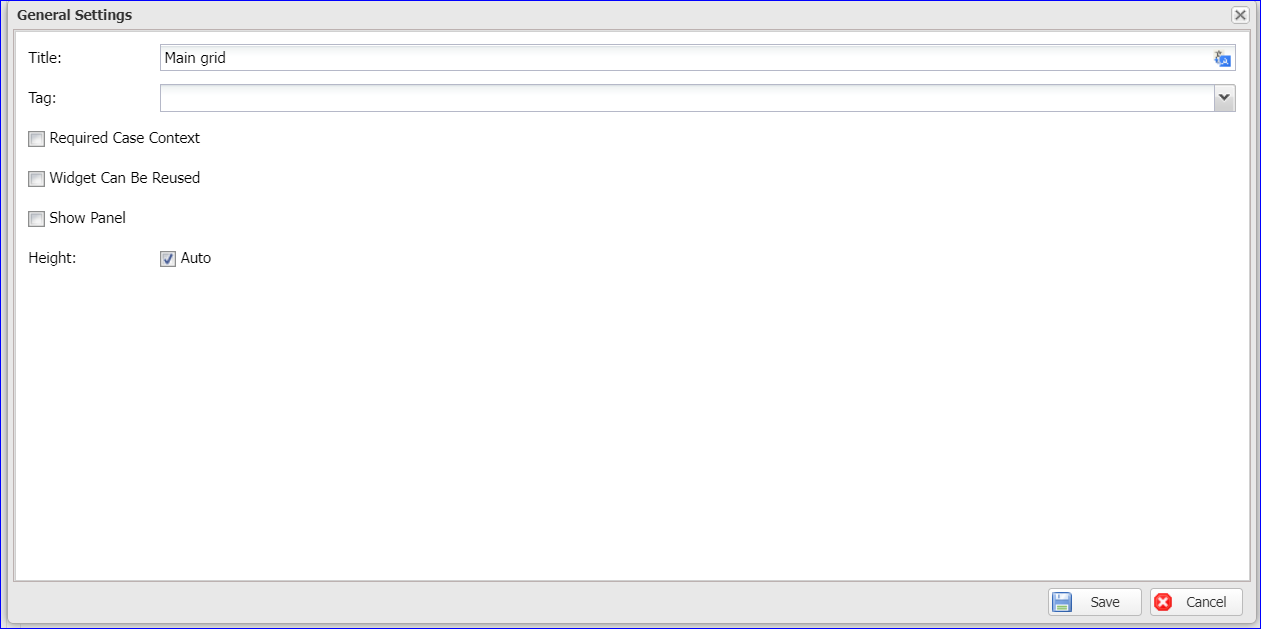
- Step 3. The General Settings dialog will show up. Name your grid as "Main grid" and click Save. You do not need to config any field in this dialog.
| Field name | Actions |
|---|---|
| Title | Fill in "Main grid" |
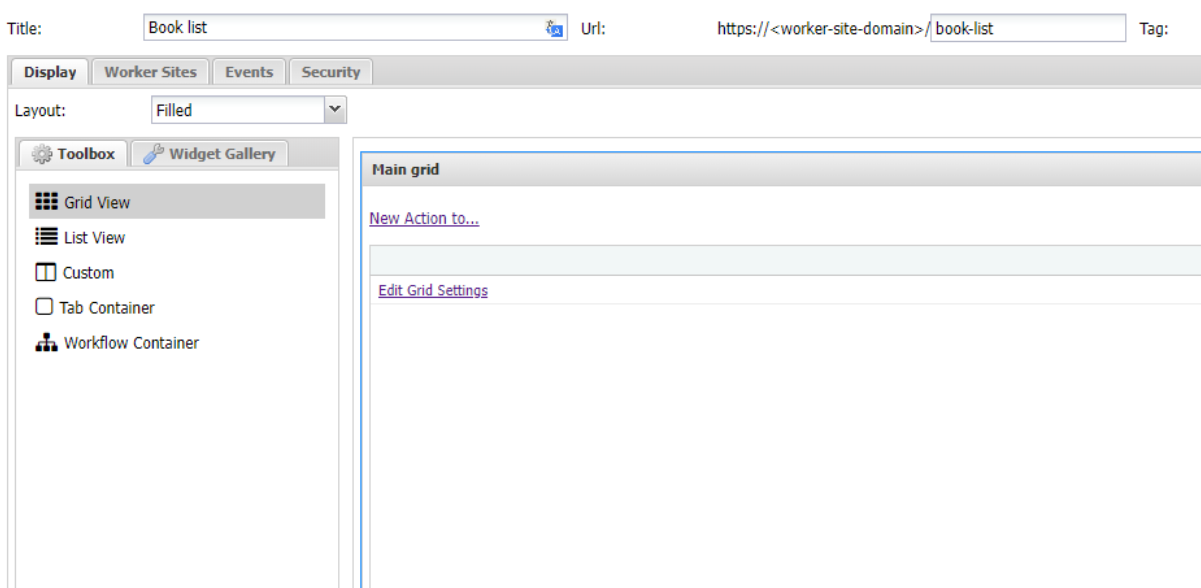
Your grid will be activated as below. Click Save.
- Step 4. Now you will add you page into the worker site. Let navigate to Worker Sites tab.
In the Page group window, find and check your worker site "Cw Bookstore Site".
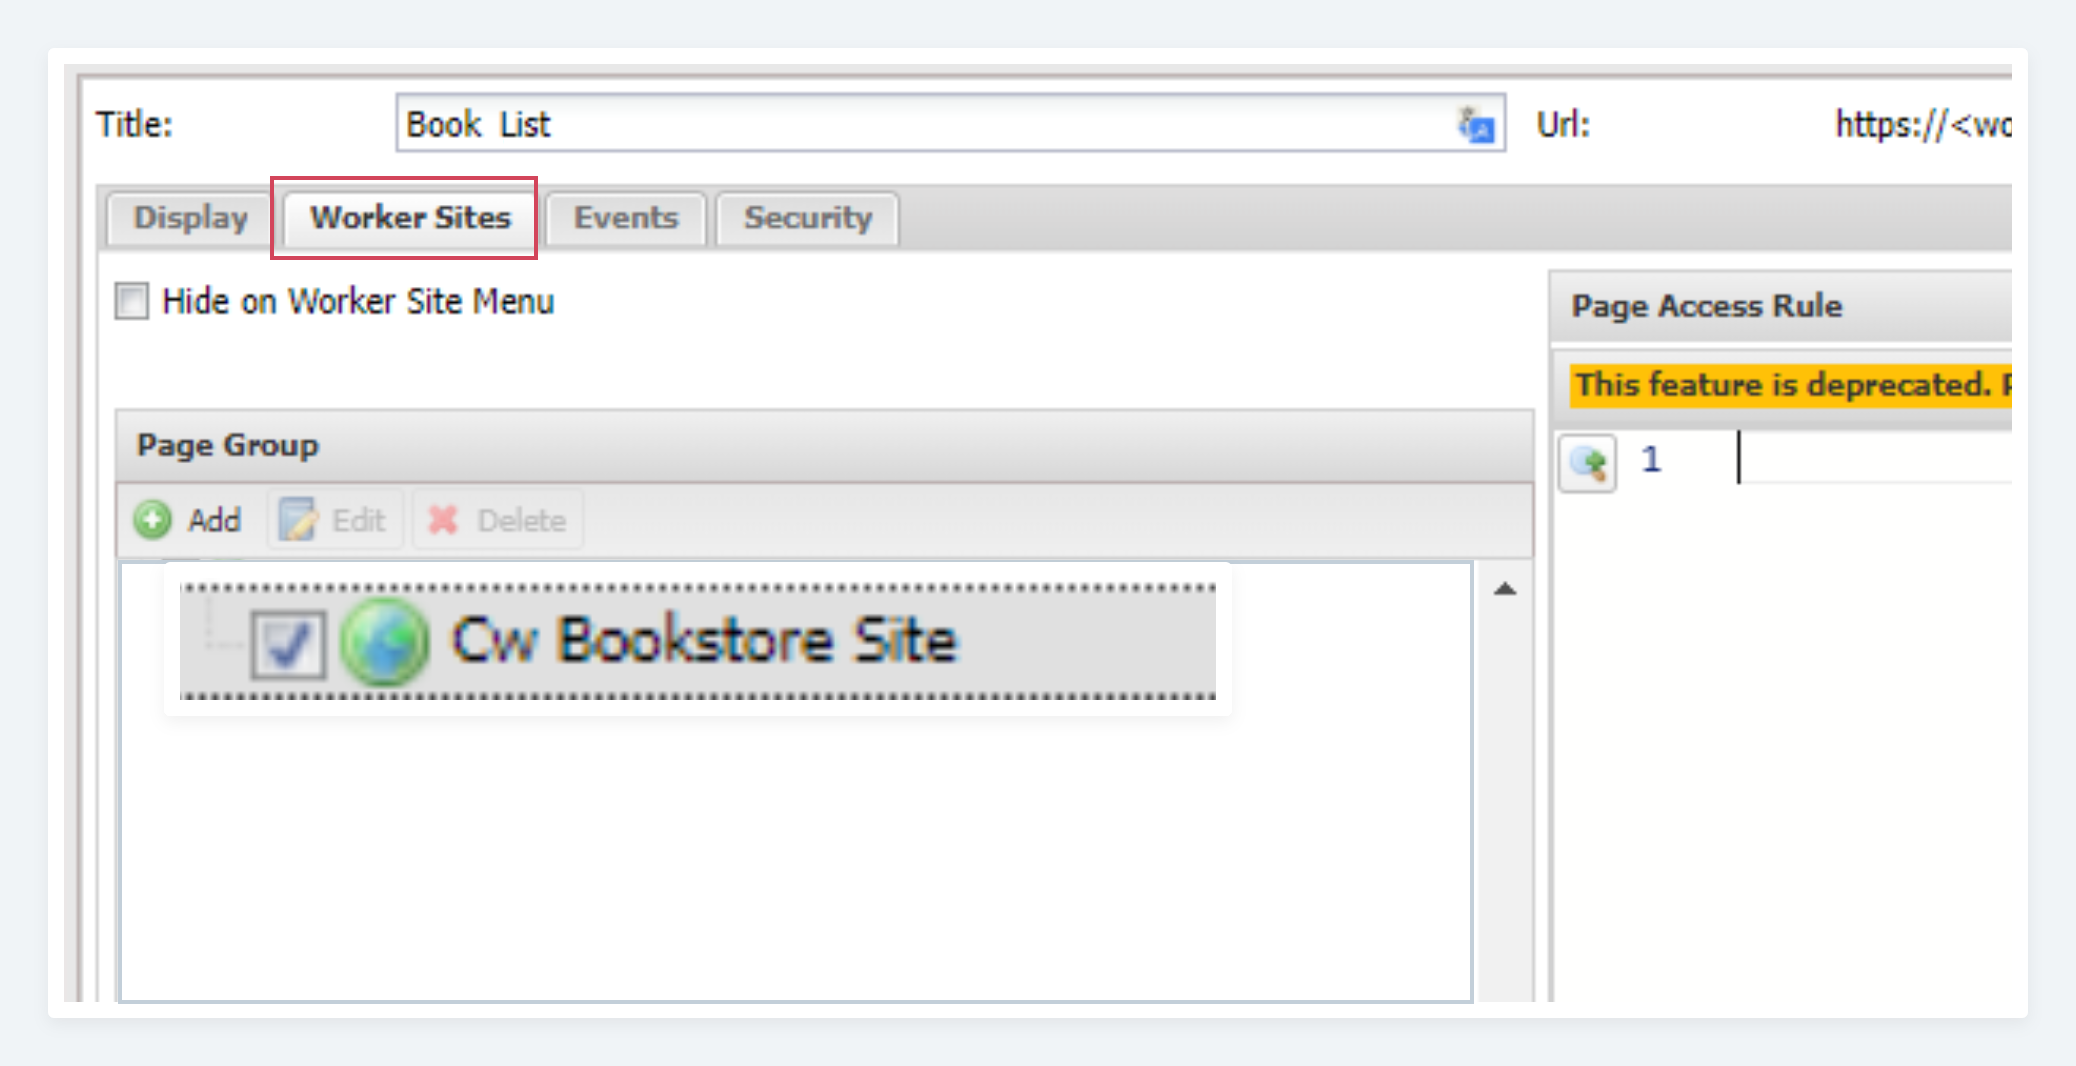
Click Save
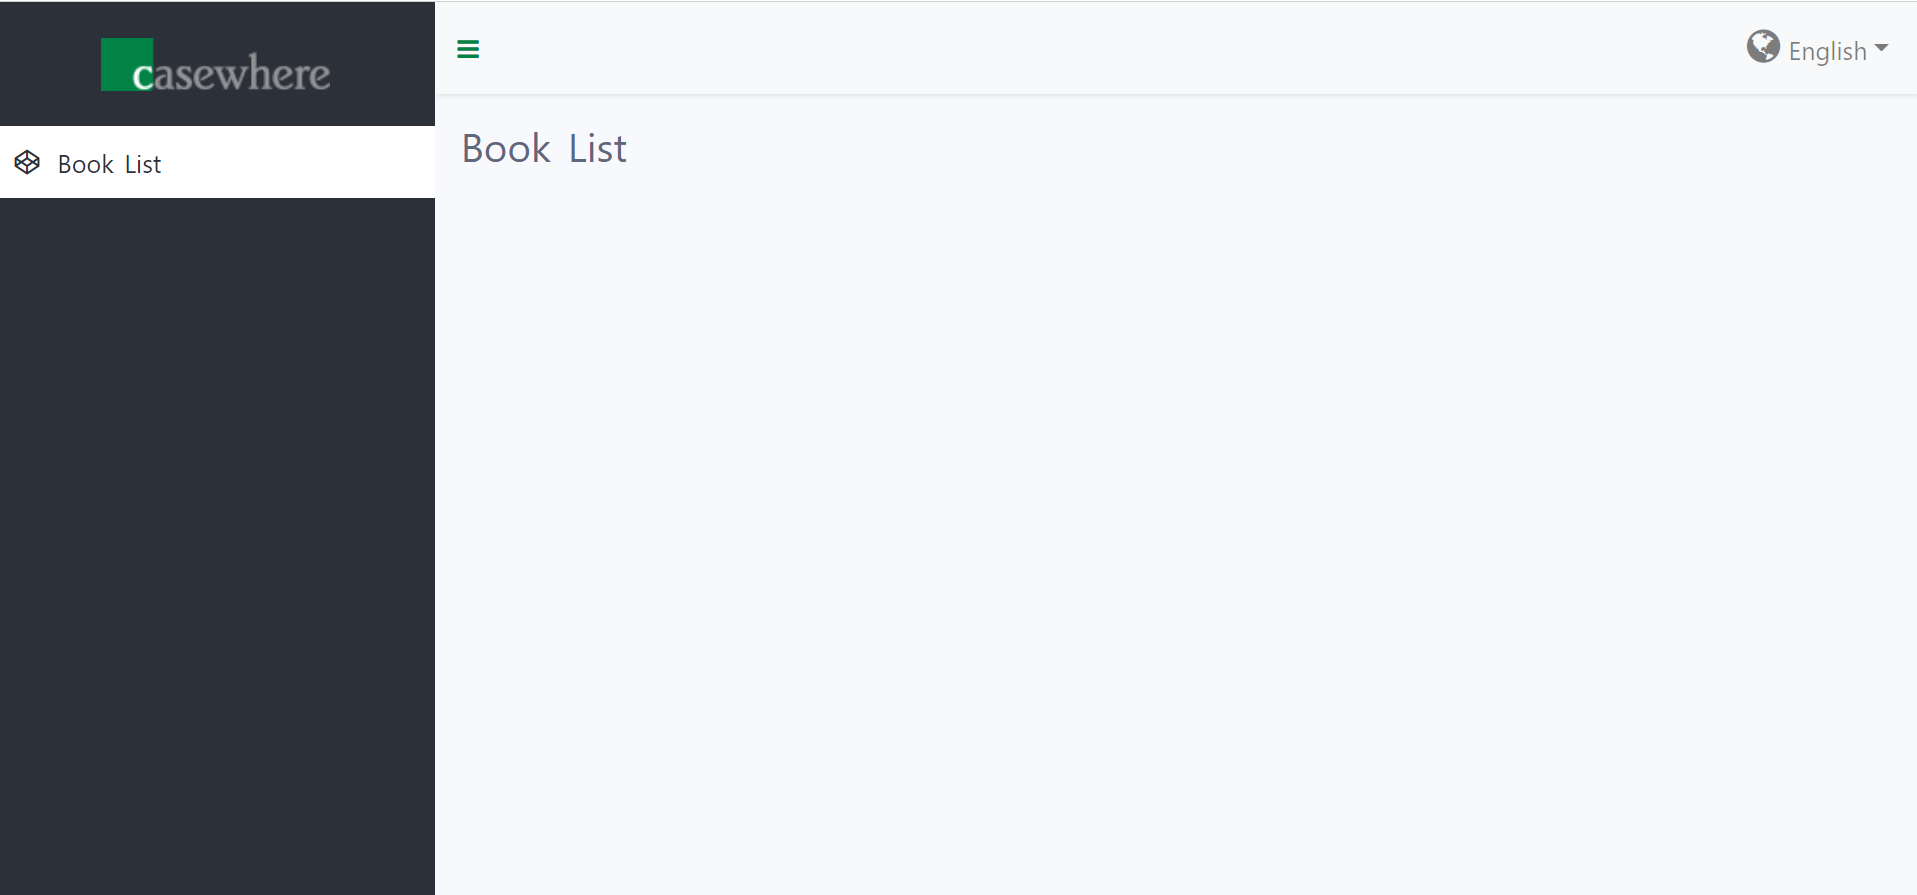
Good work! Your page is now being added to the worker site, you could check it out at https://academy.casewhere.com/cw-bookstore#!/book-list
You are ready to move into next step!
