Deploy a Casewhere product
Introduction
In this tutorial you will learn how to deploy a Casewhere product to different environments.
Tip: A typical enterprise solution usually has at least three different environments:
- Development
- Testing
- Production
This tutorial has two parts
- Link all resources to a product
- Deploy the product to a new environment
Guide
Part 1. Link all resources to a product
- Step 1. In Casewhere Admin site, navigate to Pages
Select the page's name "book-list"
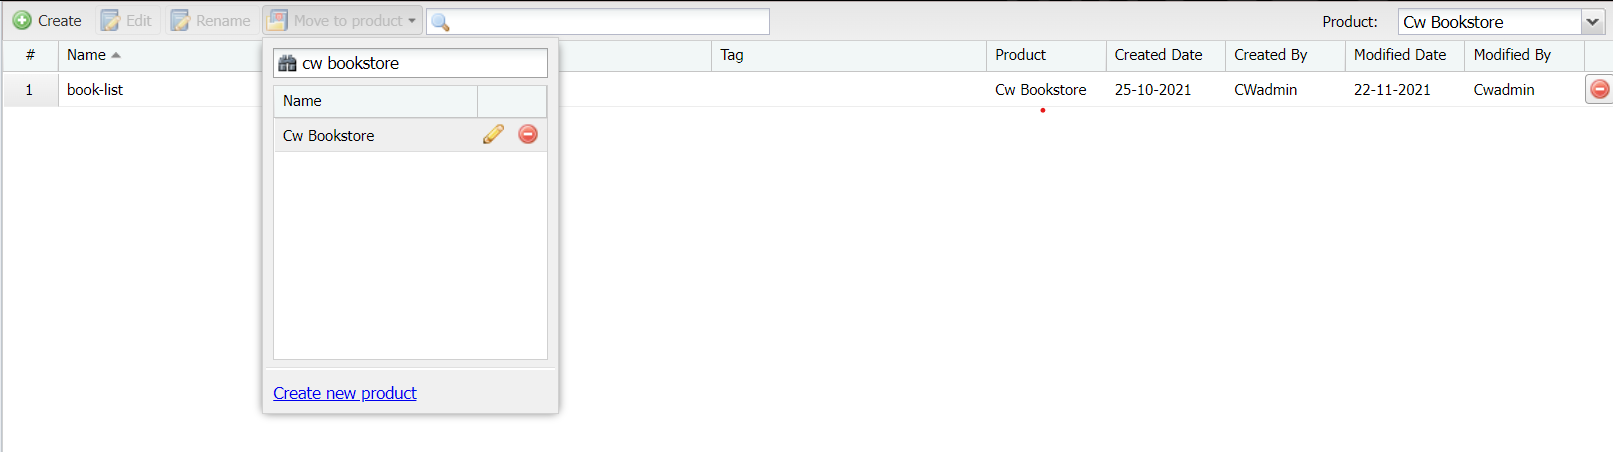
- Step 2. Click Move to product
Select the product's name "Cw bookstore" that you already made in create a product step
- Step 3. Repeat step 1 and step 2 for Widgets, Workflow definitions, Data sources, Data classes
- Step 4. Choose the product name in the top-right drop down

Navigate between Pages, Widgets, Workflow definitions, Data sources, Data classes and double-check if all resources is linked to the correct product

Part 2. Deploy the product to a new environment
- Step 1. In Casewhere Admin site, navigate to Products
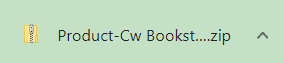
Select the product's name "Cw bookstore" and click Export button

The package file .zip will automatically download
Step 2. Open your new Casewhere environment. This tutorial will use the https://academy.casewhere.com to demonstrate
Step 3. In the new environment's Admin site, navigate to Products
Click Import button  and browse to the file you downloaded in step 1
Wait for the package to be fully imported.
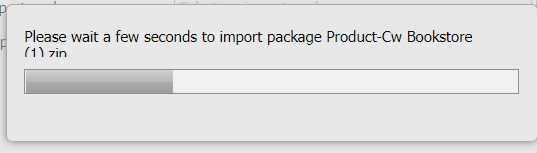
Import result dialog appear signifies that the import is complete.

Click Close.
- Step 4. The package is almost ready to run. You will only have to config the domain name, which is environment-specific.
Note: Make sure to use the correct domain name. In this tutorial we use the environment https://academy.casewhere.com and the domain name is "worker-dev.casewhere.com".
Note: If you are using Casewhere version 2.7 or later Domain name will be called as Uri
Navigate to Worker Sites, select the site name and click Edit button
| Field name | Actions |
|---|---|
| Domain name | Change to "academy.casewhere.com/cw-bookstore" |
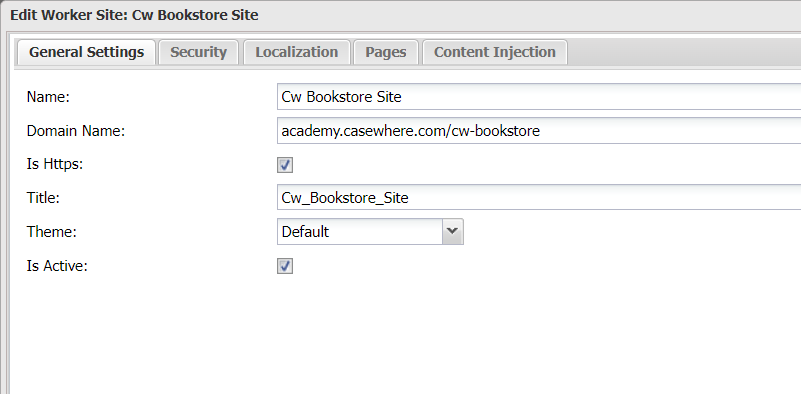
Click Save.
Deploy the product package to new environment success!
Test
Go to your new site at https://academy.casewhere.com/cw-bookstore#!/book-list.
It will have all the functions that you set for your product.
Using several environments guarantees that your application could be thoroughly tested before released to the users.
You now know how to export/import a package in a variety of Casewhere environments. You could collaborate with other team members and operate across environments.
How cool is that!
You are ready to move to the next step.