Build the decision workflows
Introduction
Caseworkers decide on an application with one of two workflows: Ga Approve Application or Ga Reject Application. Unlike the submission workflow, they don't create anything: they work on the application the caseworker selected in the list, which the workflow gets as its input. Each has:
- a form where the caseworker writes a note to the applicant, and
- a script that records the decision: the status, who decided and when.
You build Ga Approve Application first; Ga Reject Application is the same with another status.
Create Ga Approve Application
Check that Grant Applications is selected in the product selector.
Open Workflow Definitions and click Create.
Fill in General:
Field Value Name Ga Approve Application Display Name Approve Used For Creating New Cases ☐ Accept Input ☑ Require Data Object As Input ☑ Window Size Small Hide Step Pane ☑ 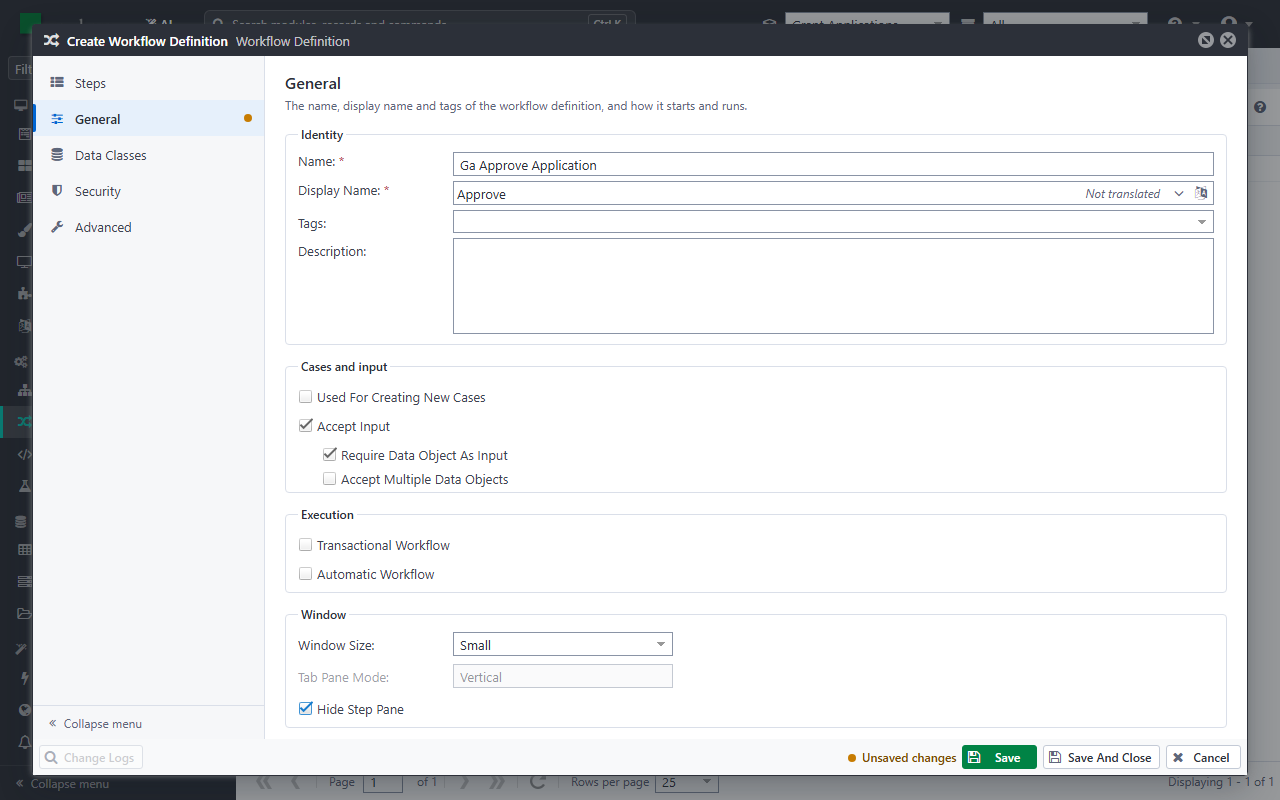
Require Data Object As Input makes the workflow run on a record: the grid button that starts it is enabled only when a row is selected, and the selected application is the workflow's input.
Open Data Classes, click Add existing, tick GaApplication and click Add.
Click Save.
Add the form
In Steps, click Form.
Fill in Name
Decision formand Display NameApprove the application.In Fields, click Add and fill in Add Data Source:
Field Value Data Class GaApplication Name GaApplication Reference Type Single Object Reference To Existing Object Data Context Input With Existing Object and Input, the form shows the application the workflow got as input, instead of a new one.
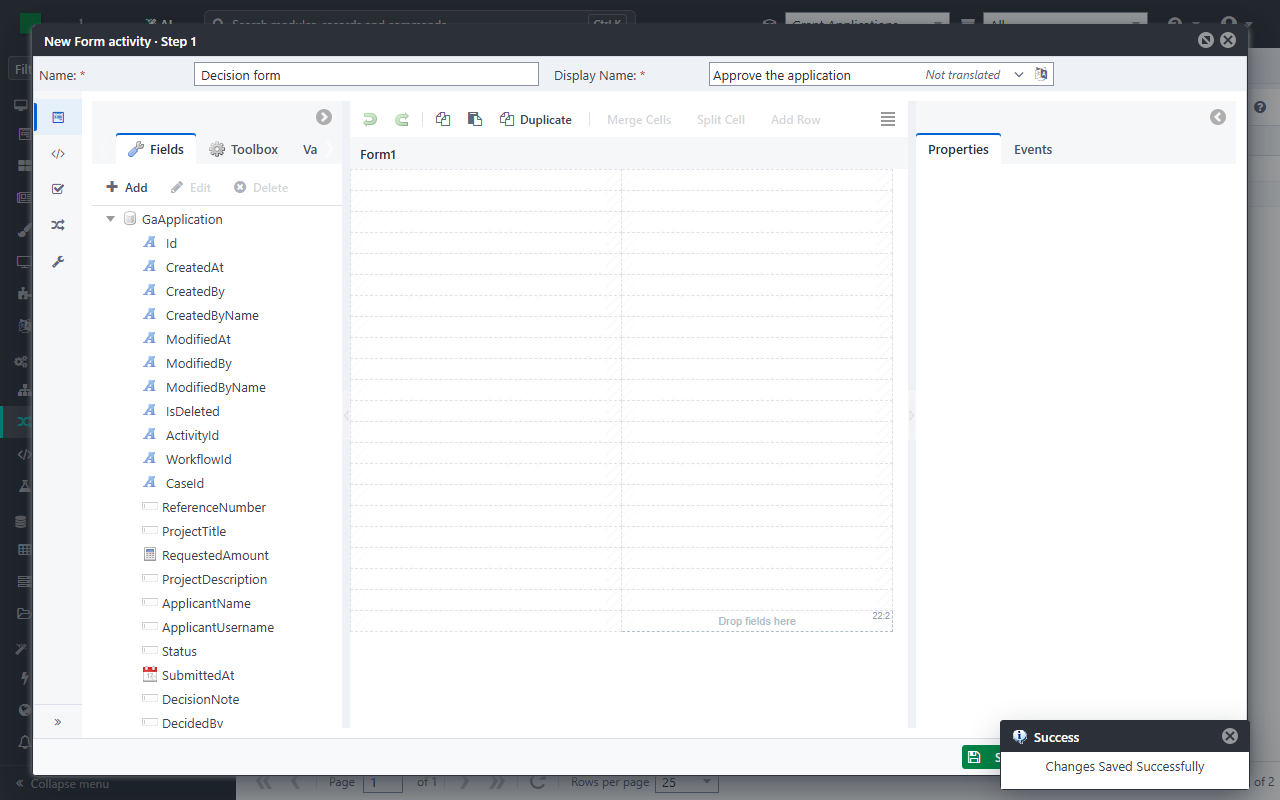
Drag DecisionNote onto the canvas.
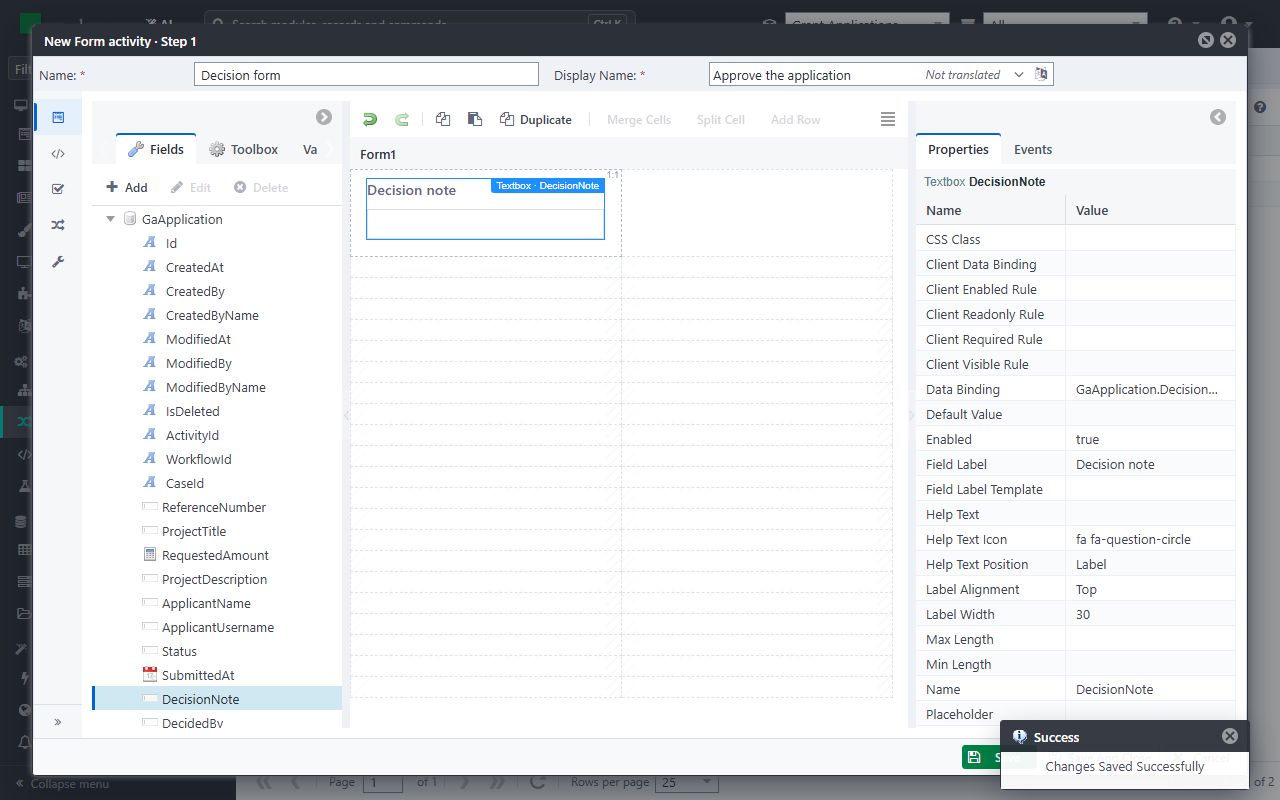
Click Save And Close.
Add the script
Click Script, type the Name
Record approvaland paste:// The application the caseworker chose in the list (the workflow's input) var applicationId = (string)ctx.Input.Id; ctx.Use<IDataApi>().Update(applicationId, new { Status = "Approved", DecidedBy = ctx.User.GetClaim("FullName") ?? ctx.User.Username, DecidedAt = DateTime.UtcNow });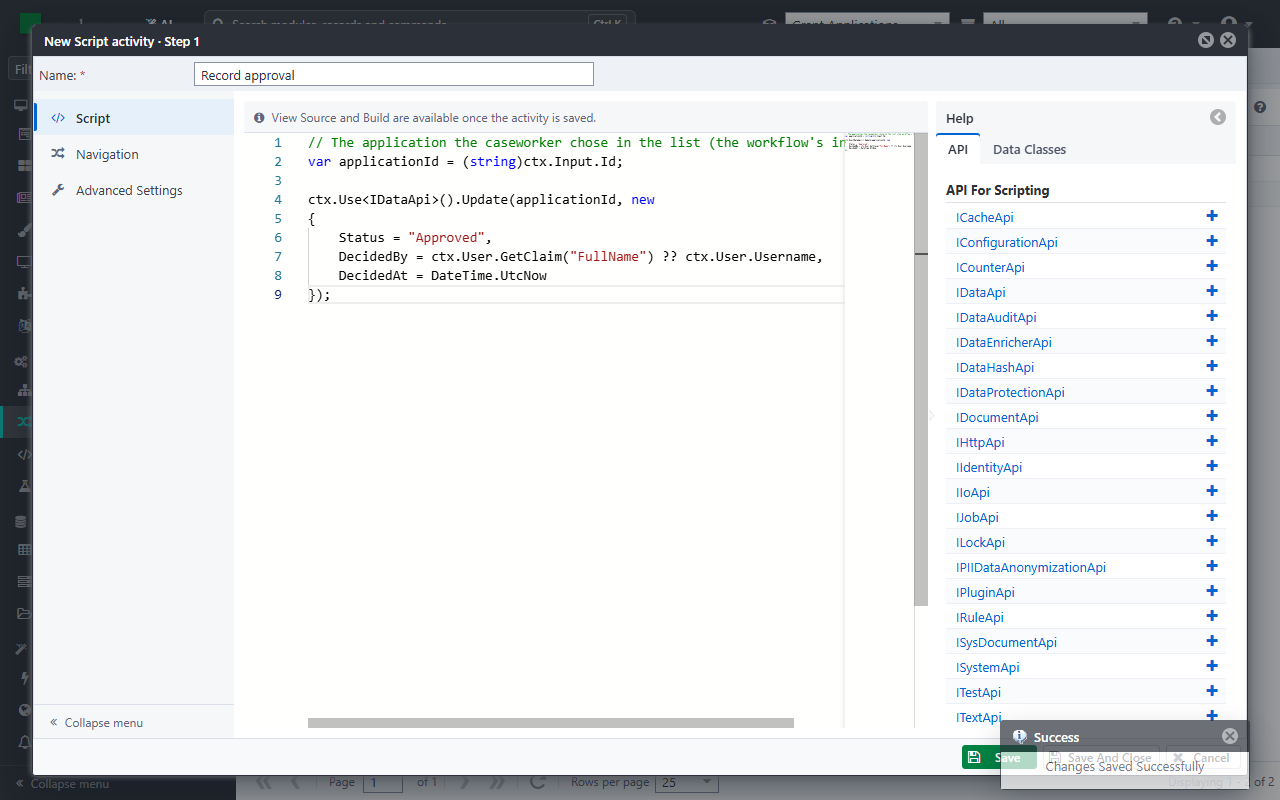
Click Save And Close, then Build, and check that the status is Passed.
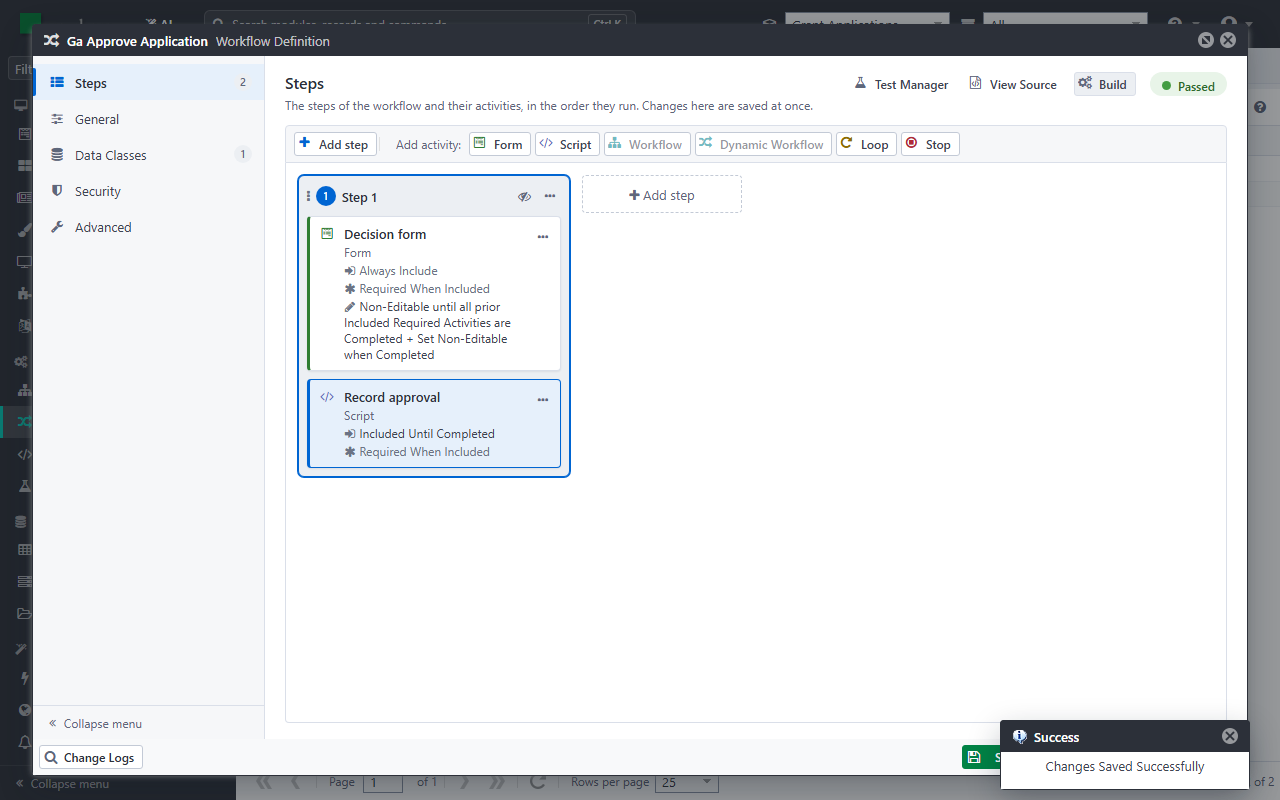
Click Save And Close.
Create Ga Reject Application
Create a second workflow the same way, with these differences:
| Where | Value |
|---|---|
| Name | Ga Reject Application |
| Display Name | Reject |
| Form's Display Name | Reject the application |
| Script's Name | Record rejection |
| Script | Status = "Rejected", instead of Status = "Approved", |
Tip
When two workflows differ only a little, a rule or a workflow variable can let one workflow do both. Two small workflows are easier to read and to secure separately, which suits a first application.
Next: Build the caseworker site.