Build the submission workflow
Introduction
Everything a user does in a Casewhere application runs in a workflow: a series of steps whose activities show forms, run scripts or start other workflows. Workflows run inside a process, which keeps the records of one case together: here, one grant application.
In this chapter you build:
- the process Ga Grant Application, and
- the workflow Ga Submit Application, which an applicant runs to apply:
- a form activity where the applicant enters the project title, the amount and a description, and
- a scripted activity that registers the submission: a reference number, the applicant's name and the status
Submitted.
Create the process
Check that Grant Applications is selected in the product selector.
Open Processes in the menu and click Create.
In Name, type
Ga Grant Application.Click Select Data Classes, tick GaApplication and click Save in the list.
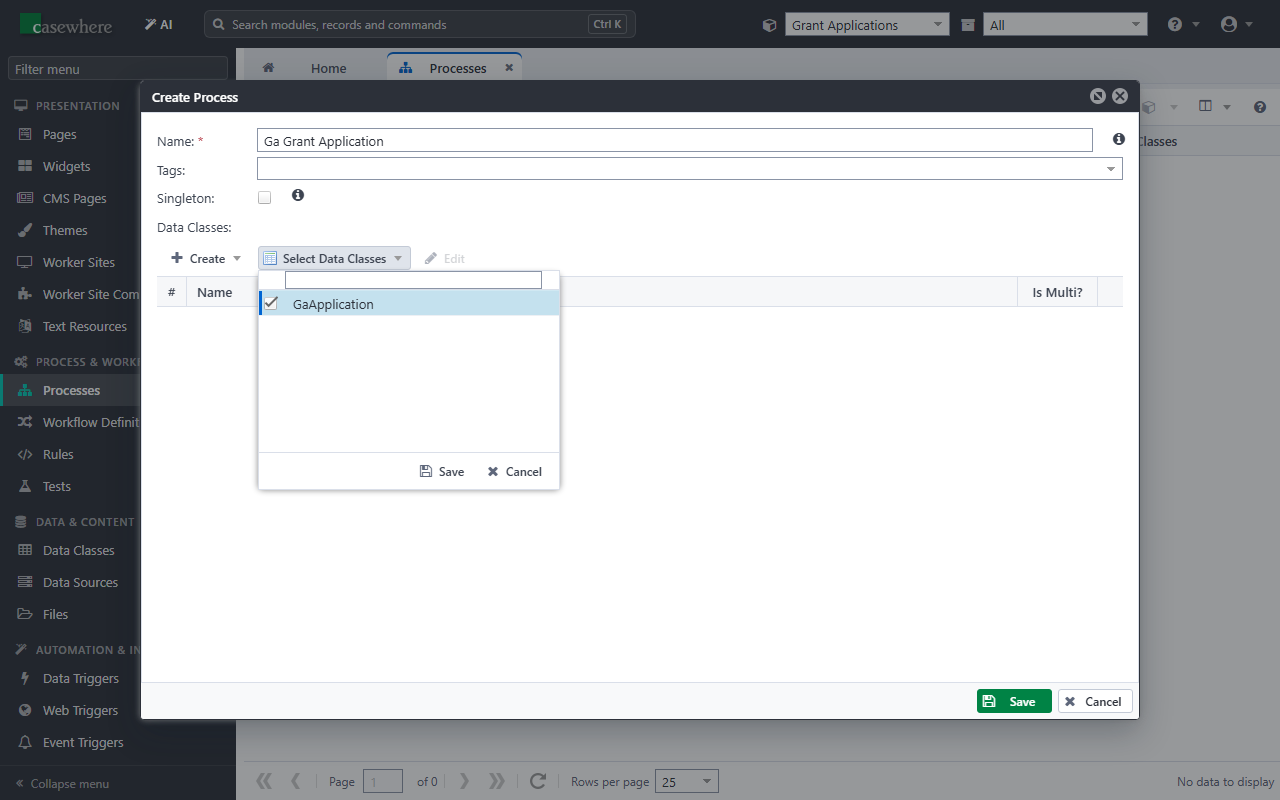
A process lists the data classes its cases hold. Workflows that create cases in the process must use at least one of them.
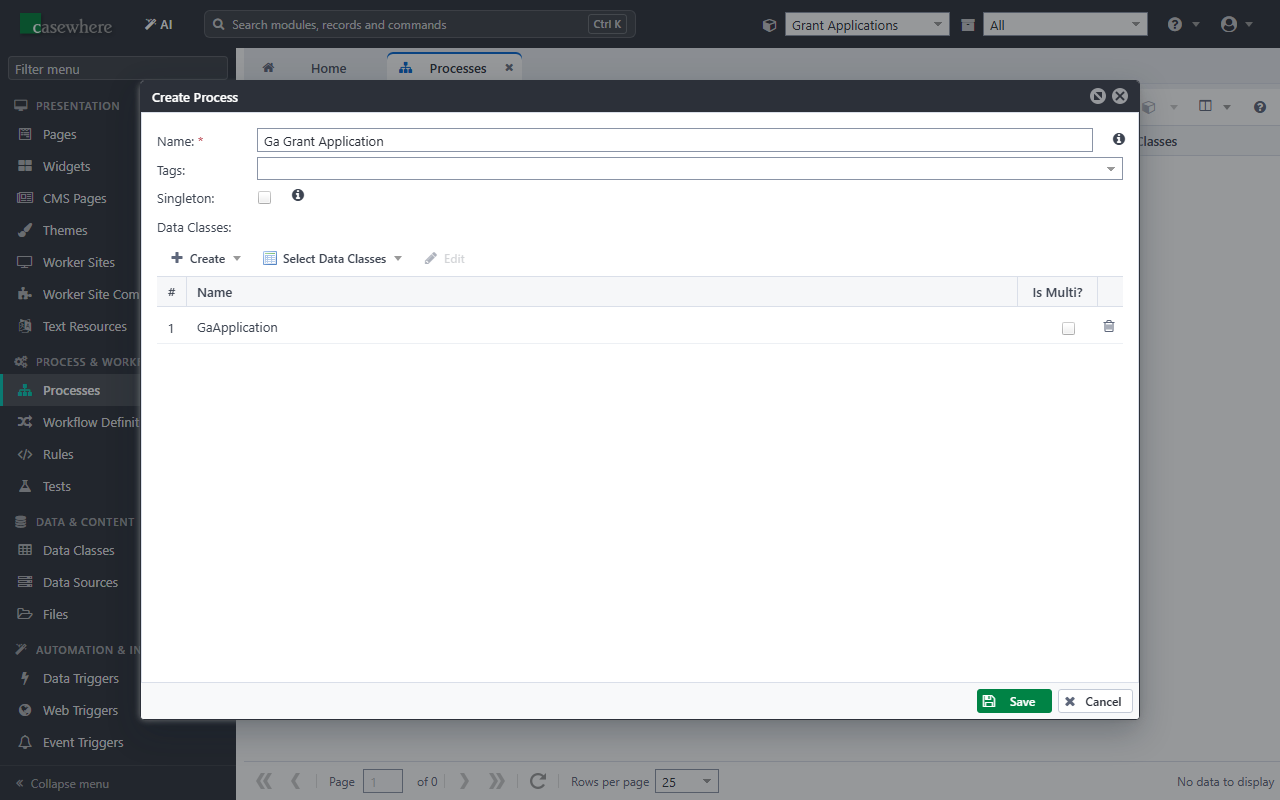
Click Save.
Create the workflow
Open Workflow Definitions in the menu and click Create.
Fill in General:
Field Value Name Ga Submit Application Display Name Apply for a grant Used For Creating New Cases ☑ Accept Input ☐ Window Size Medium Hide Step Pane ☑ 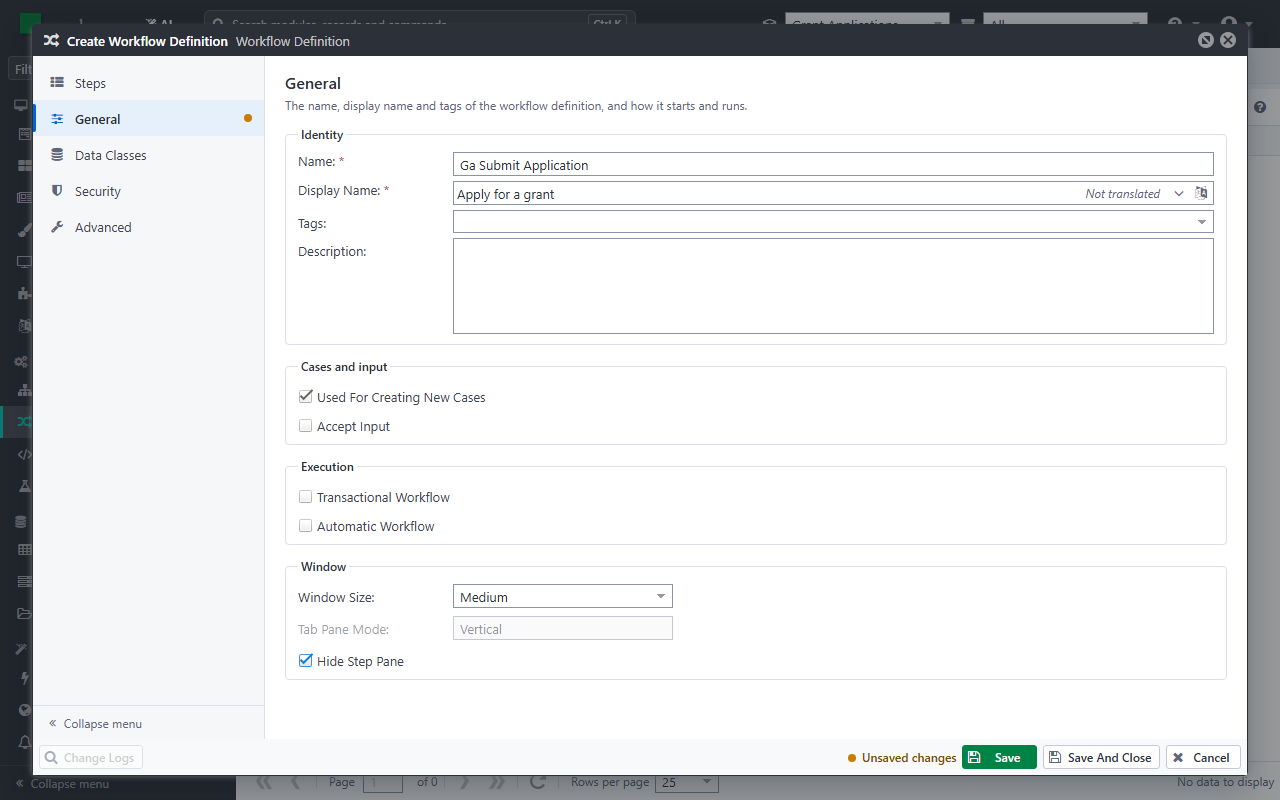
Used For Creating New Cases makes each run start a new case: one application. The workflow takes no input, because the applicant starts it from an empty list. With one step only, there is no need to show the step pane.
Open Data Classes, click Add existing, tick GaApplication and click Add.
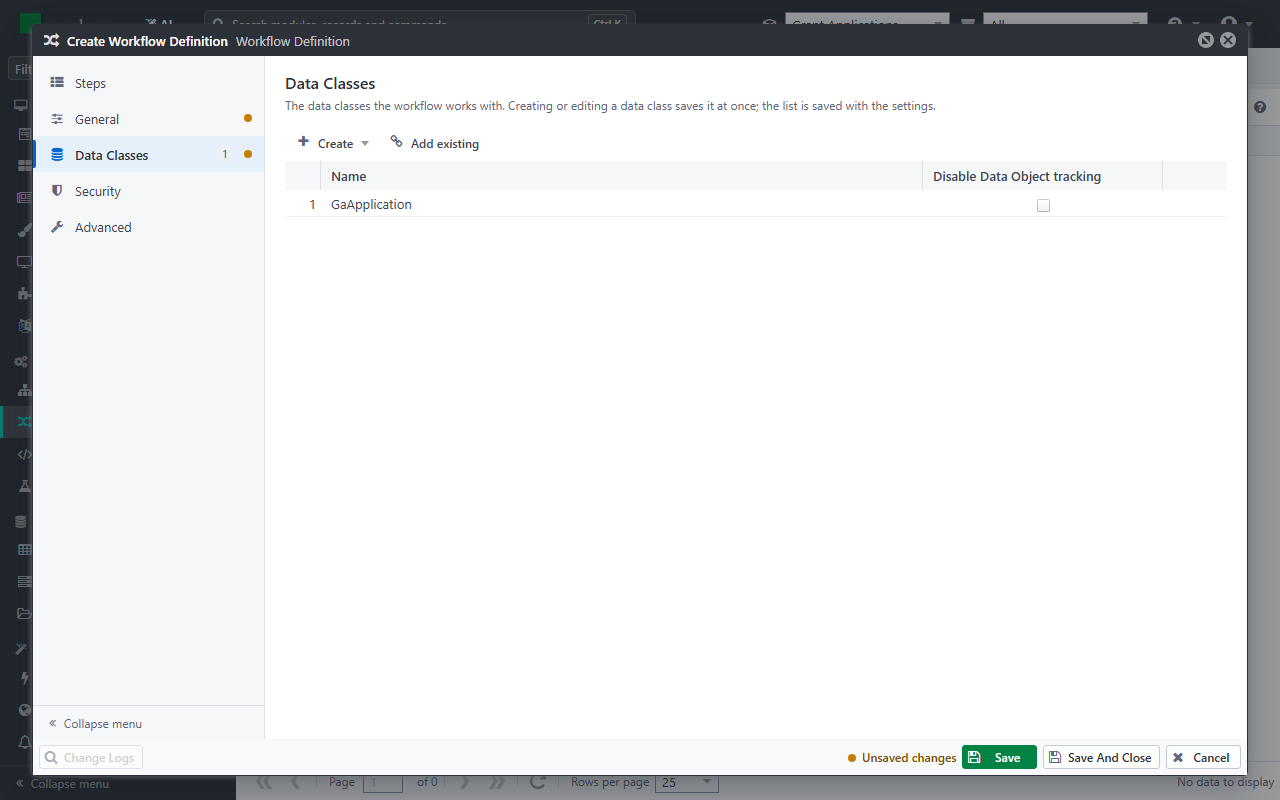
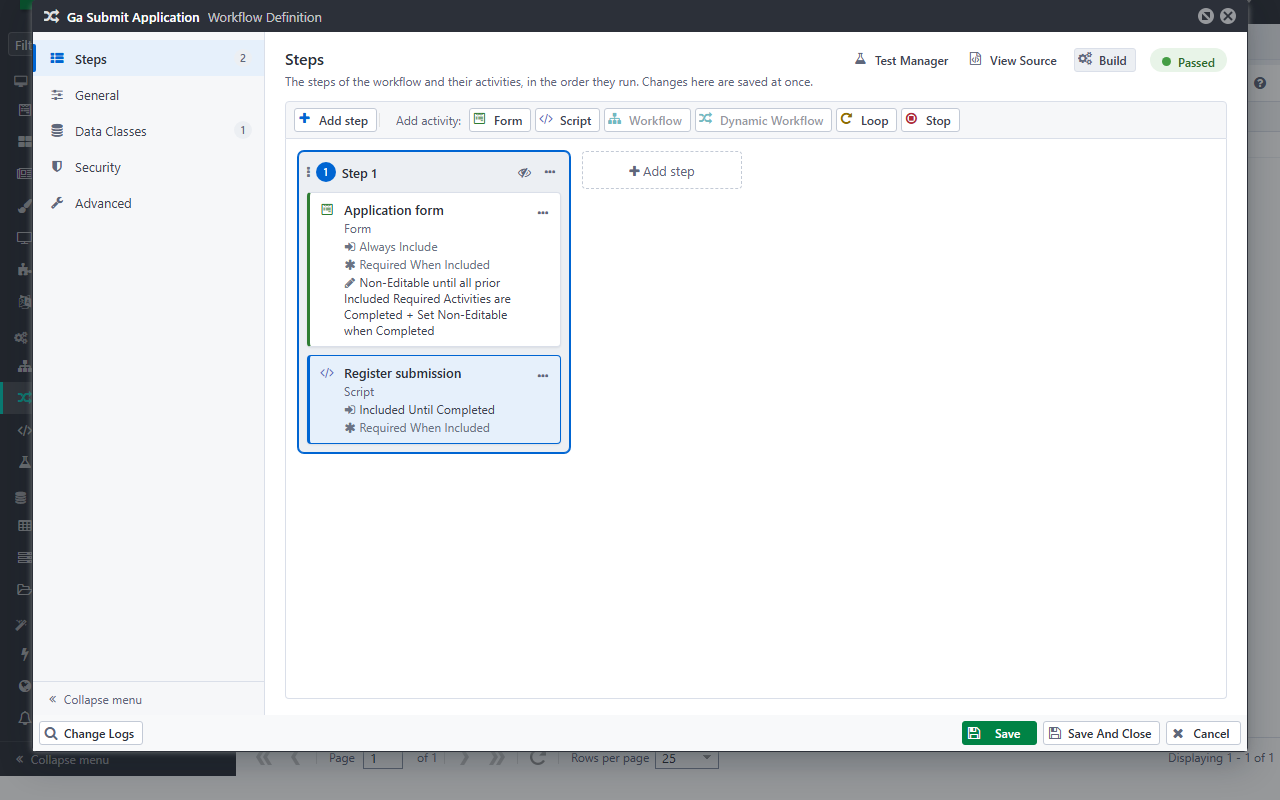
Click Save. The workflow is created with one step, Step 1, and the Steps section opens.
Add the form
In Steps, select Step 1 and click Form in Add activity. The form designer opens.
Fill in the top of the window:
Field Value Name Application form Display Name Your application Connect the form to a new application. In Fields, click Add and fill in Add Data Source:
Field Value Data Class GaApplication Name GaApplication Reference Type Single Object Reference To New Object Click Save. The data source belongs to the workflow: every activity of the workflow can use it, and the scripted activity below reads the application from it.
The Fields tree now lists the attributes of
GaApplication. Drag ProjectTitle, RequestedAmount and ProjectDescription onto the canvas, one under the other in the left column. Each field becomes an input bound to the attribute, labelled with the attribute's title. Select a field on the canvas to see its Properties on the right, such as Required and Field Label.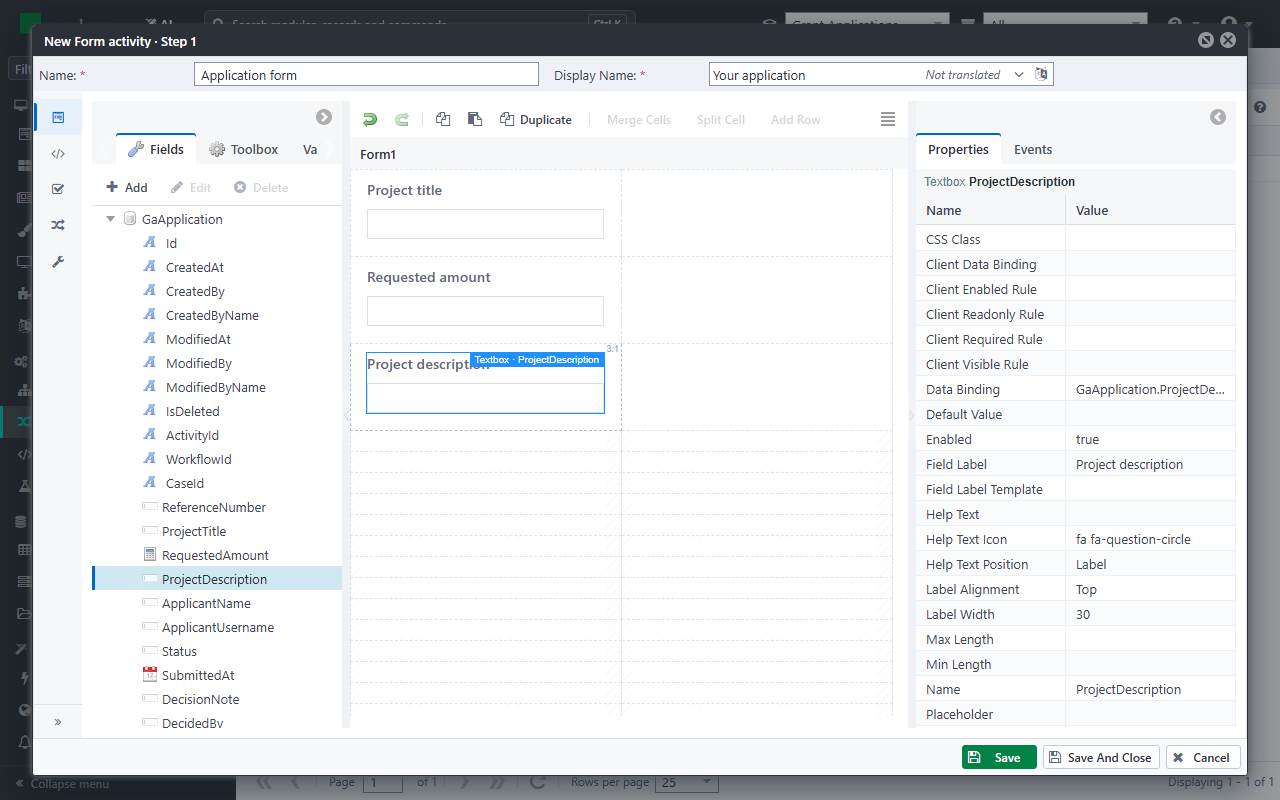
Click Save And Close.
Add the script
Click Script in Add activity.
In Name, type
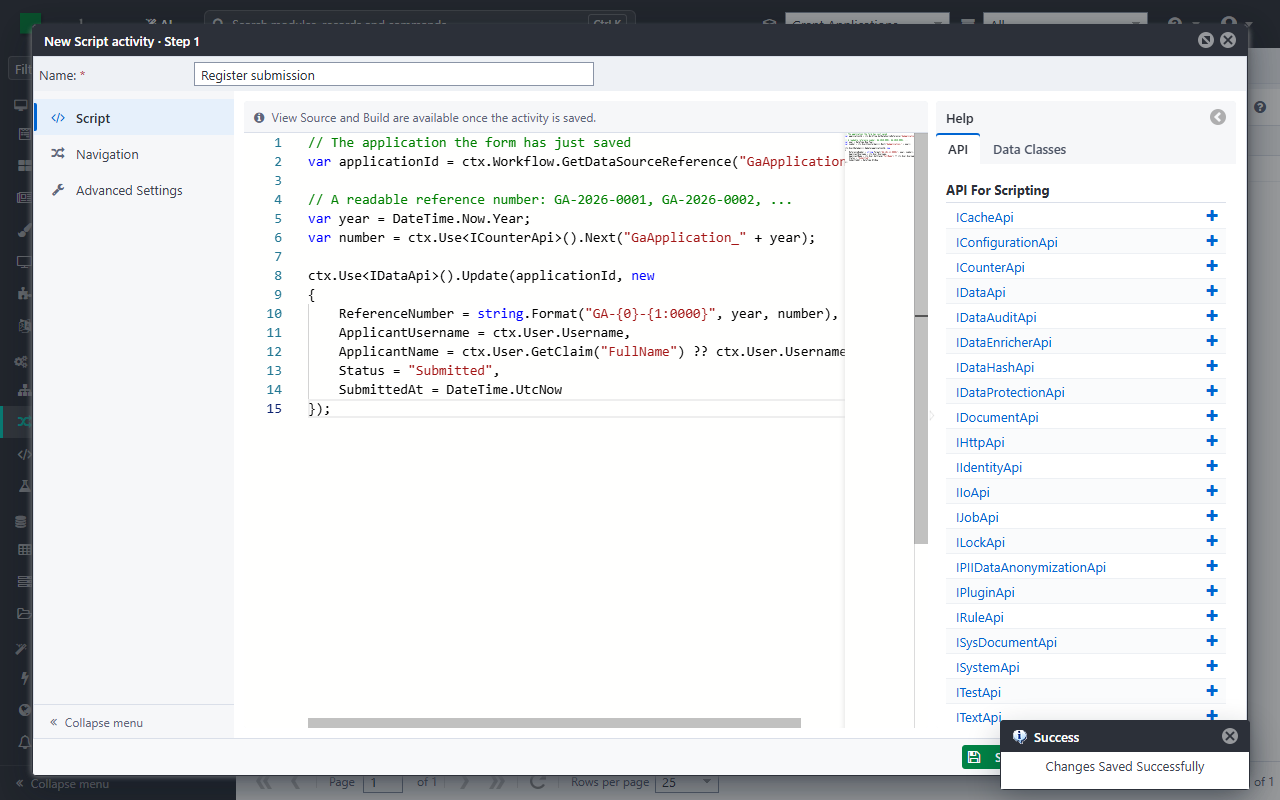
Register submission.Paste this script into the editor:
// The application the form has just saved
var applicationId = ctx.Workflow.GetDataSourceReference("GaApplication");

// A readable reference number: GA-2026-0001, GA-2026-0002, ...
var year = DateTime.Now.Year;
var number = ctx.Use<ICounterApi>().Next("GaApplication_" + year);

ctx.Use<IDataApi>().Update(applicationId, new
{
    ReferenceNumber = string.Format("GA-{0}-{1:0000}", year, number),
    ApplicantUsername = ctx.User.Username,
    ApplicantName = ctx.User.GetClaim("FullName") ?? ctx.User.Username,
    Status = "Submitted",
    SubmittedAt = DateTime.UtcNow
});
What the script uses:
Code Does ctx.Workflow.GetDataSourceReference("GaApplication")the Id of the application in the workflow's GaApplicationdata sourcectx.Use<ICounterApi>().Next(...)the next number of a named counter, safe when many people apply at the same time ctx.Userthe signed-in user, with the claims from the IdP connection ctx.Use<IDataApi>().Update(...)updates the record; the change is saved when the activity completes Click Save And Close.
Build the workflow
Casewhere compiles the scripts of a workflow before it can run.
Click Build at the top of Steps. The status changes to Passed when the build succeeds; if it shows an error, open it to see the compiler's message.
Click Save And Close.
Applicants can't start the workflow yet: they need a page with a button for it. That is the next chapter.
Next: Build the applicant portal.