Build the applicant portal
Introduction
Users see your application through pages and widgets. A page has an address on a worker site and a place in its menu; widgets show the data on the page. A widget can also have actions: buttons that start a workflow or open a page.
In this chapter you build the applicant's page My applications:
- a grid widget that lists the signed-in applicant's applications,
- with a button Apply for a grant that starts the submission workflow,
- on a page in the menu of Grant Portal.
Create the grid widget
Check that Grant Applications is selected in the product selector.
Open Widgets in the menu, click Create and choose Grid View.
In Title, type
My applicationsand click Save. The grid's editor opens. The widget's name,my-applications, comes from the title.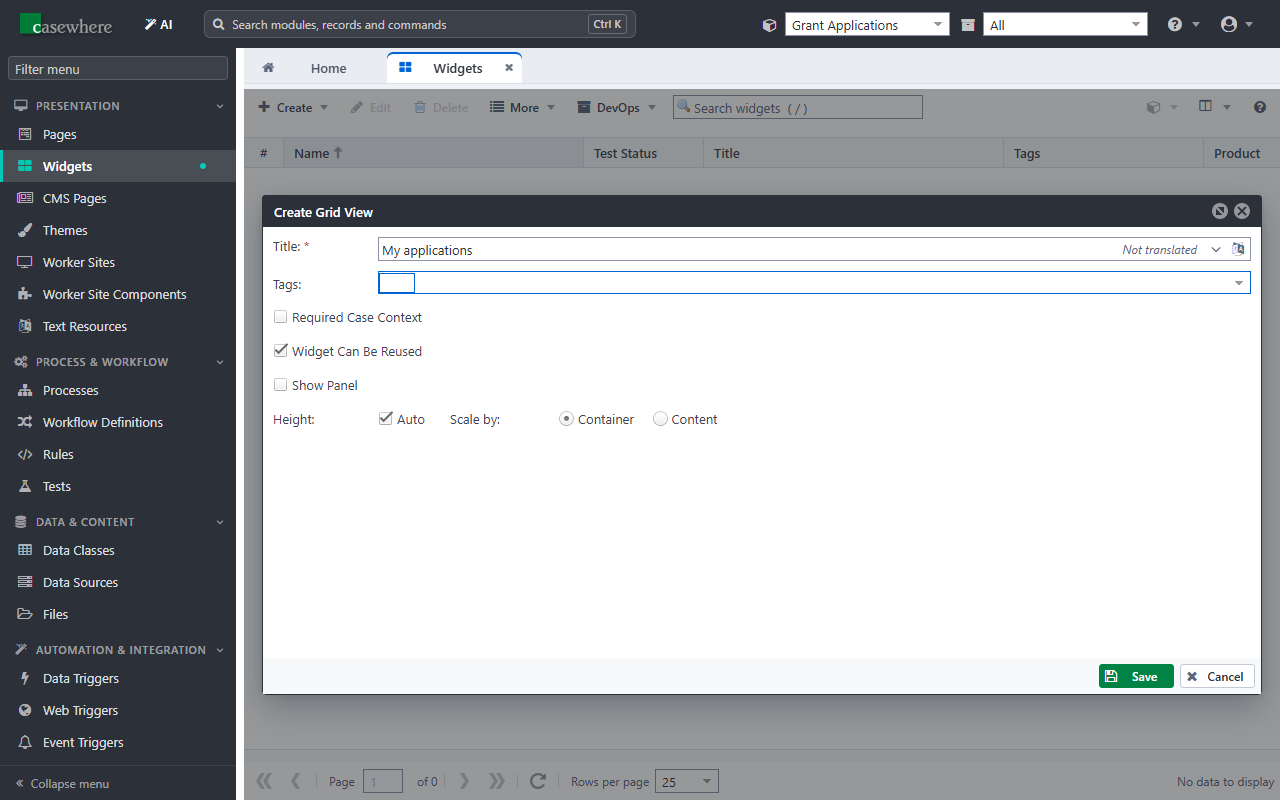
Choose the data
Open Data and choose the Data Source
GaApplication.Change Query Type to C# Script and confirm with Yes. The query decides which records the grid shows.
Paste this query:
var primaryDataObject = Filter["PrimaryDataObject"].AsBsonDocument; // Only the applications of the signed-in applicant primaryDataObject.Add("ApplicantUsername", @user.Username);@useris the signed-in user. The submission workflow stored the applicant's user name on the application, so each applicant sees only their own applications.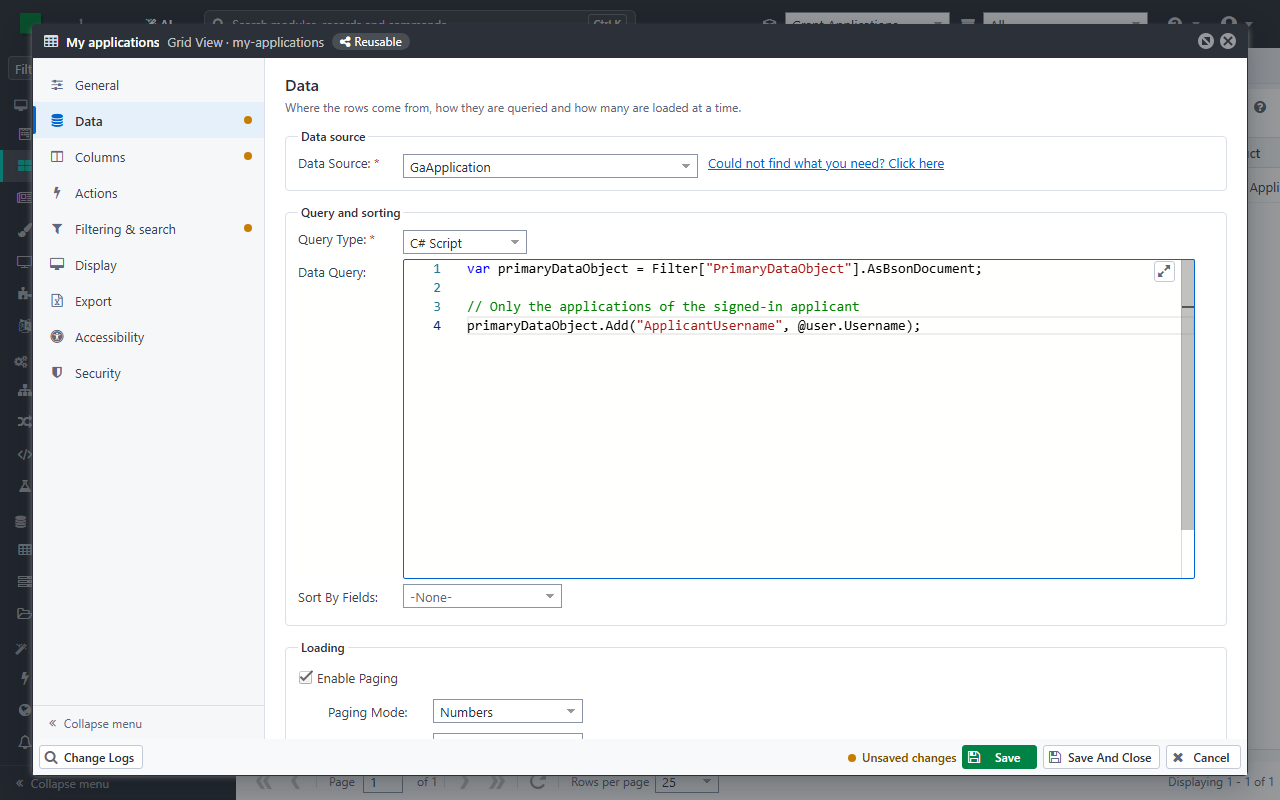
Note
A grid query only decides what a grid shows. To protect records everywhere, also in scripts and other widgets, use access rules on the data class.
Choose the columns
Open Columns. The list on the left shows the fields of the data source.
Drag ReferenceNumber, ProjectTitle, RequestedAmount, Status and SubmittedAt into the column list. Each column shows its field with a template such as
{{dataObject.ProjectTitle}}, and its header is the attribute's title.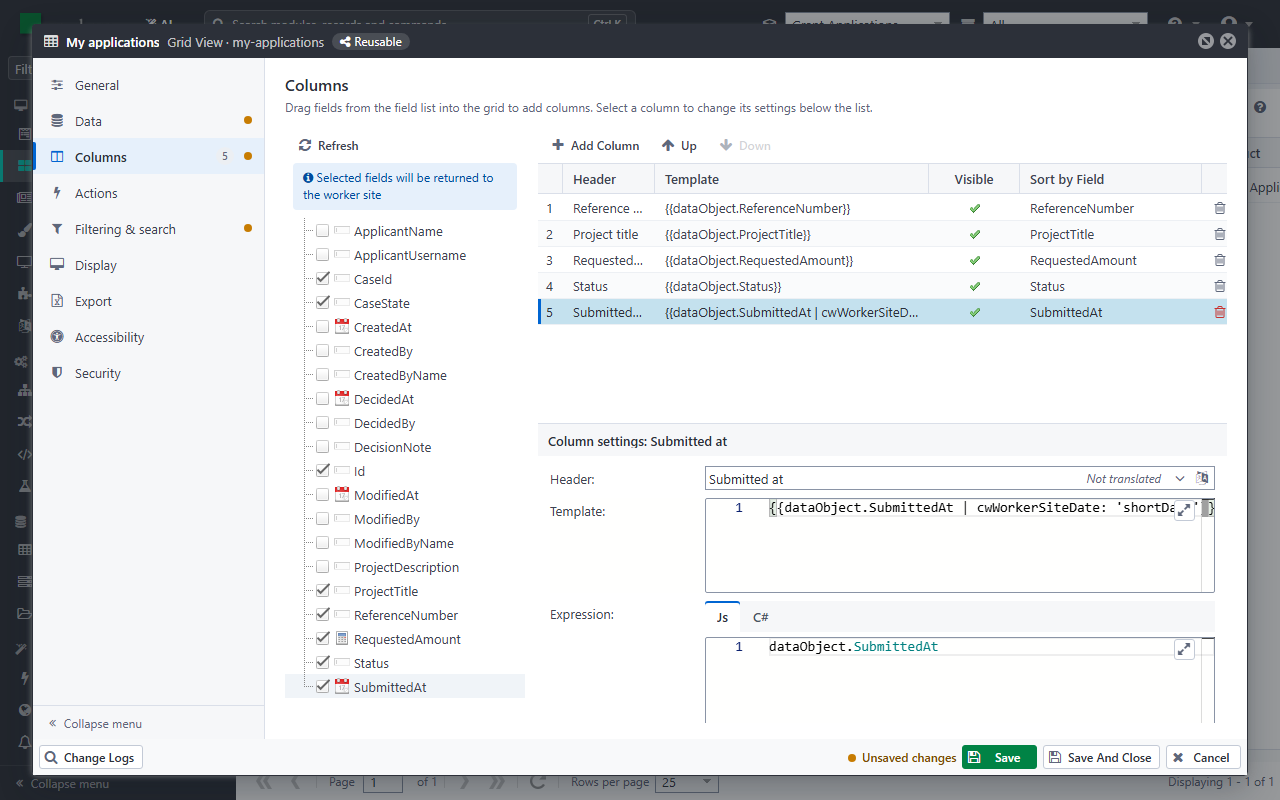
Add the button
Open Actions, click Add and choose Trigger a Workflow.
Fill in General:
Field Value Name apply Label Apply for a grant Workflow Definition Ga Submit Application Process Ga Grant Application Auto Show On Widget ☑ Force Reload Data ☑ 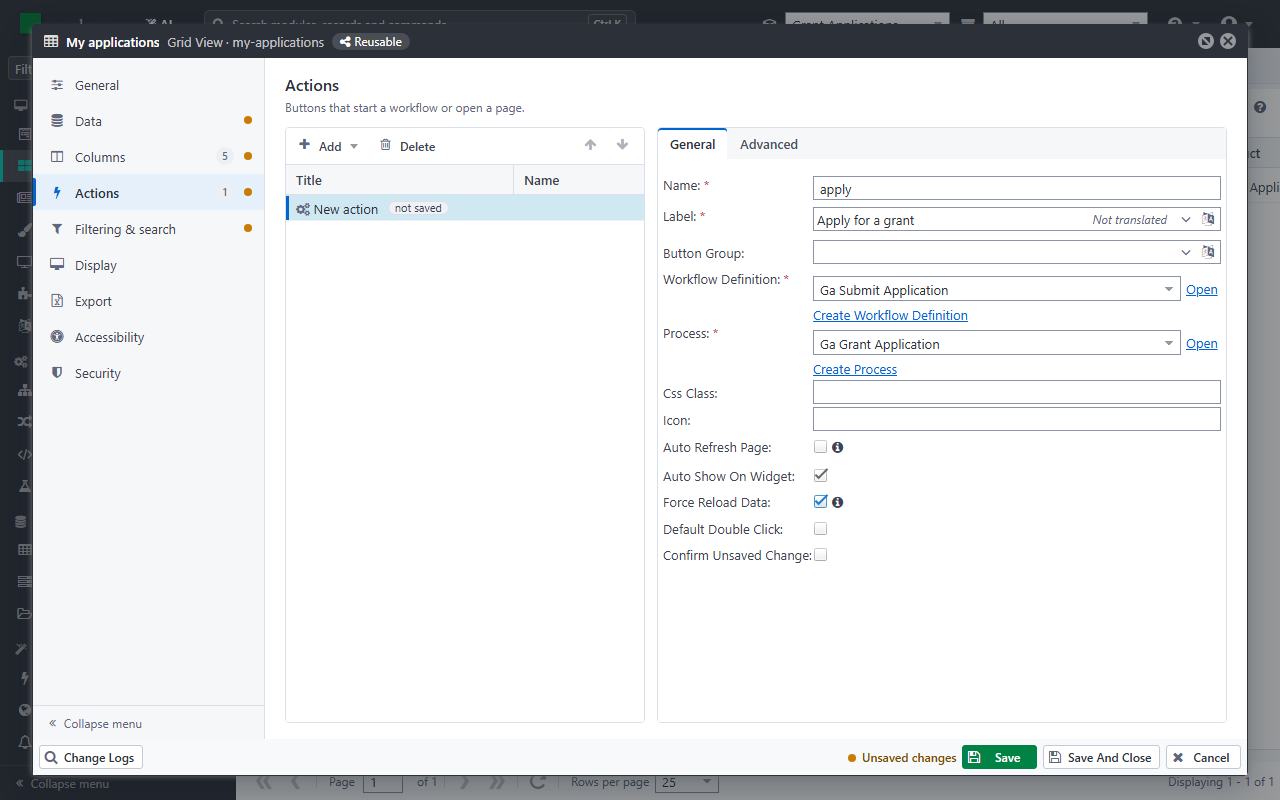
Process is the process a new case is created in. Force Reload Data reloads the grid when the workflow is done, so the new application shows at once.
Click Save And Close.
Create the page
Open Pages in the menu and click Create.
In General, fill in Title
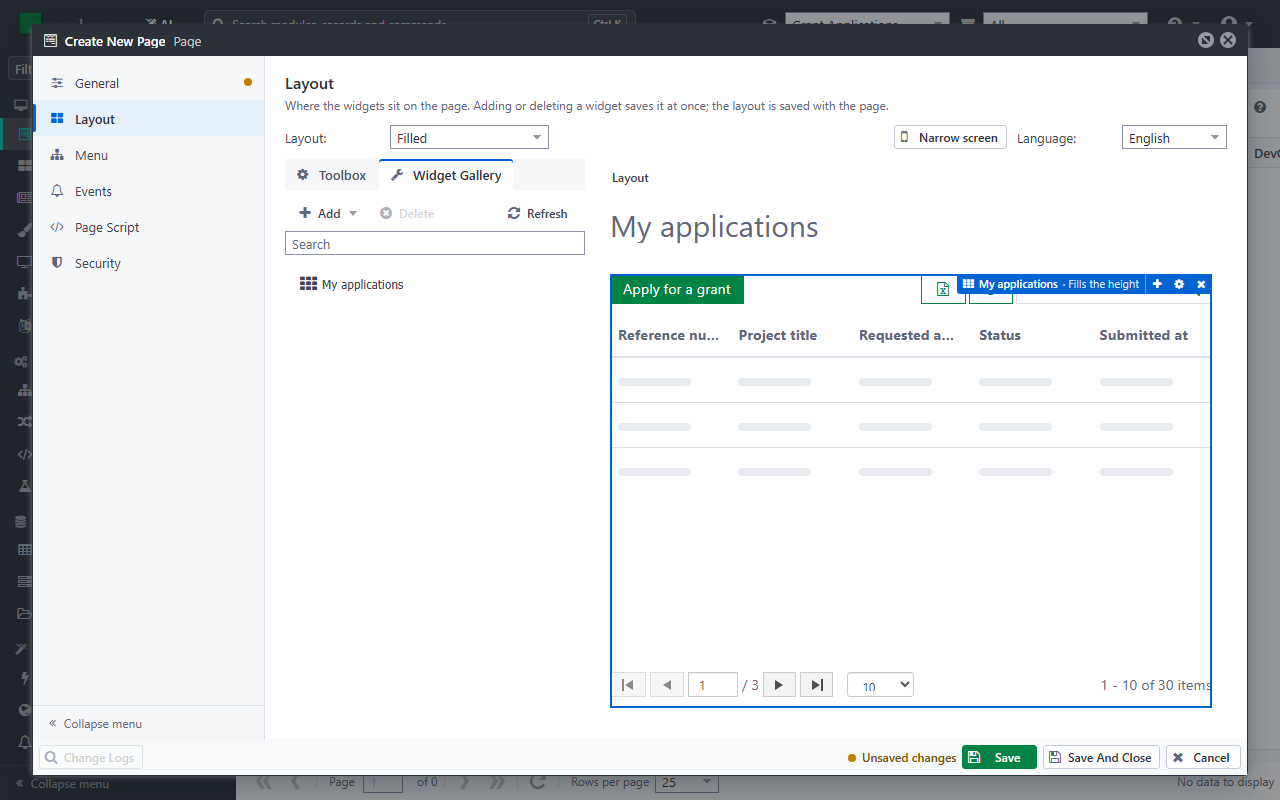
My applicationsand Urlmy-applications.Open Layout and choose Widget Gallery. Drag My applications onto the layout, where it says Drop a widget here.
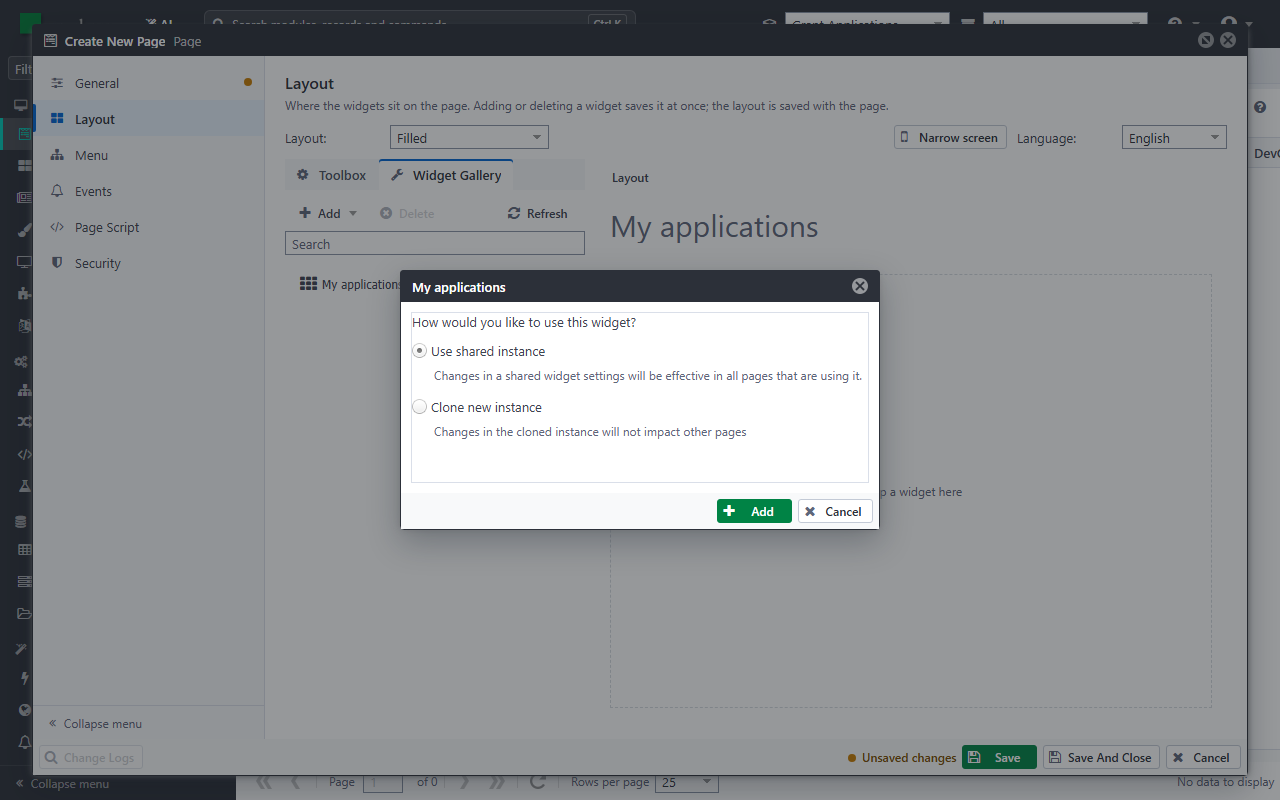
Keep Use shared instance and click Add. A shared widget is the same widget on every page that shows it.
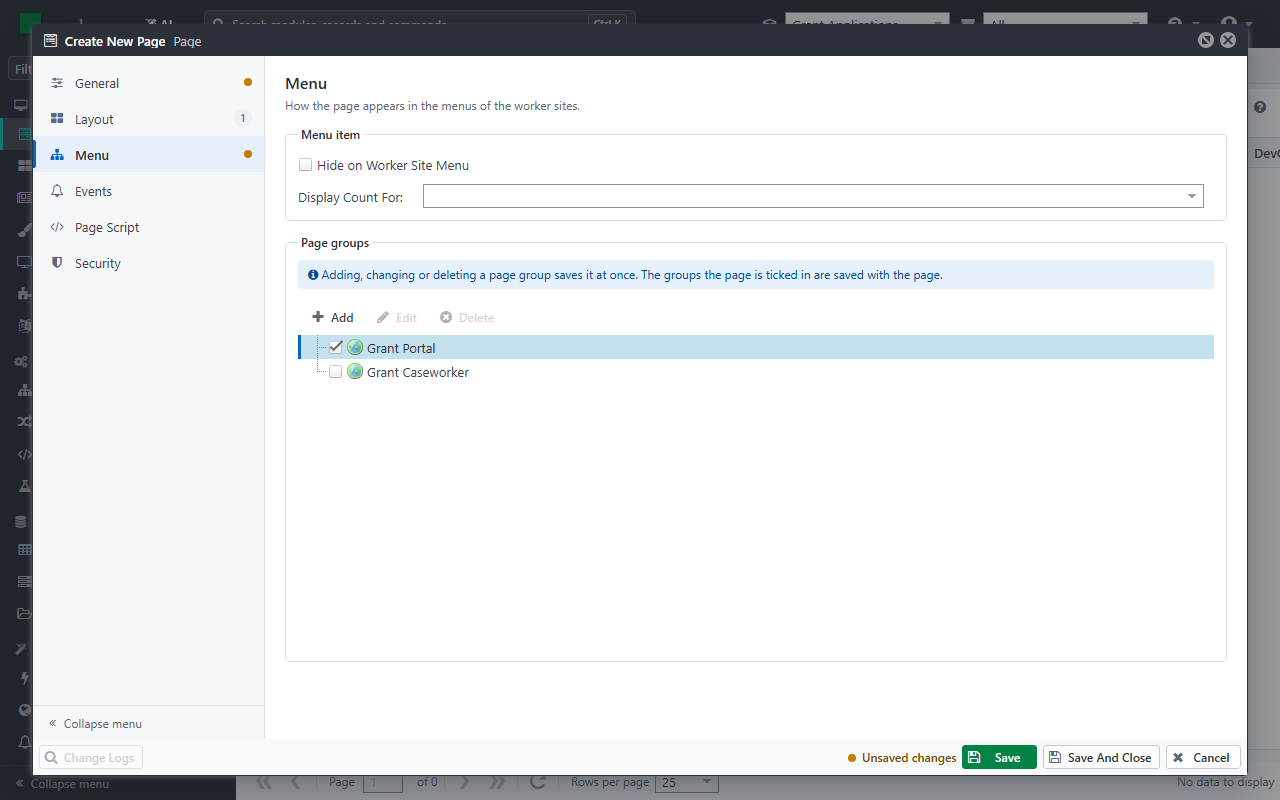
Open Menu and tick Grant Portal in Page groups: the page appears in that site's menu.
Click Save And Close.
Try it
Open https://grants.casewhere.com/ and sign in as Anna Berg. Open My applications, click Apply for a grant, fill in the form and click Save & close. The application is in the list with a reference number and the status Submitted. You do this step by step in Try it end to end.
Next: Build the decision workflows.