Component: Form management - Data management
Introduction
Data management provides an efficient way to organize the interaction between the Form and Casewhere data models. The form admin can configure the field mappings between Casewhere data models and the Form, where the data model defines the data object's structure and the Form determines how the data object looks to the user.
Once the mapping has been configured, the data object can be created, read, deleted, and queried via the Form.
This article will show you how to manage the data models as well as how to use them in the Form builder.
Guideline
Form data sources
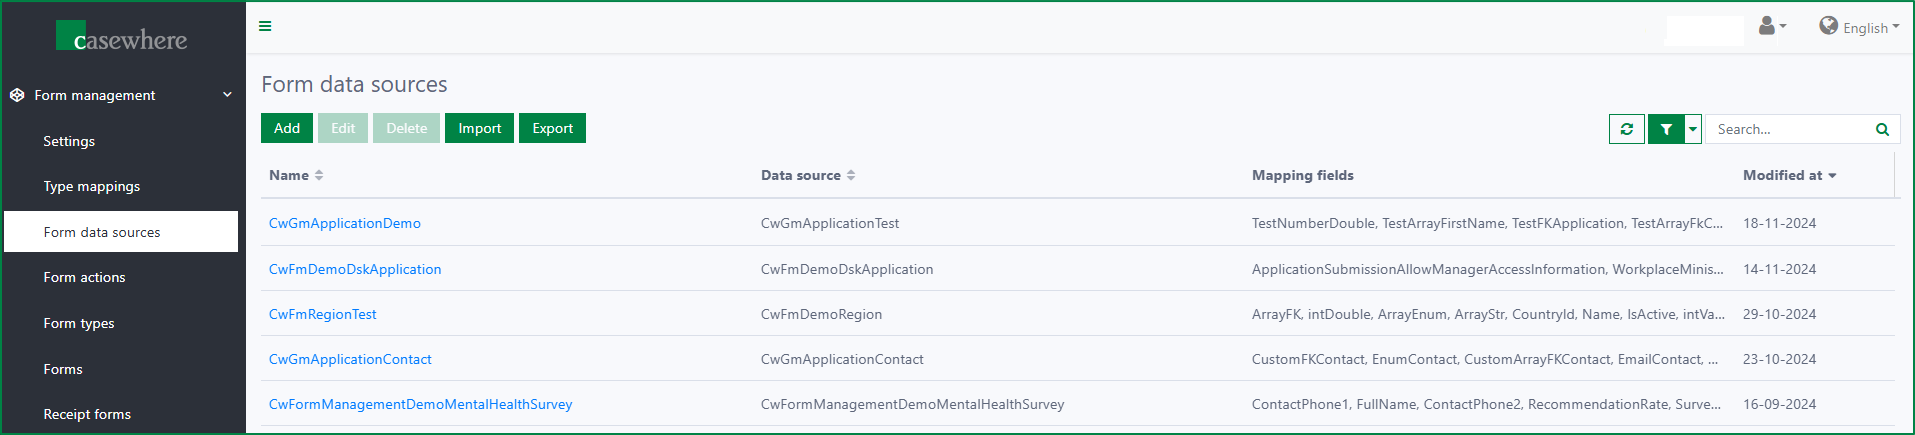
The Form data sources page is used to manage the data sources that are used for building forms.
The form data source is configured based on the original data sources in the admin site. Instead of using all attributes from the original data sources, you can customize the form data source according to your purpose.
The data sources are displayed in the list with basic information, such as Name, Data source, and Mapping fields. Here, Data source is the name of the original data source from the admin site, and Mapping fields is the list of custom fields of the form data source.
Add new form data sources
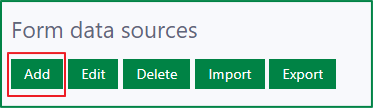
First, click the Add button to open the Add Form Data Source dialog.
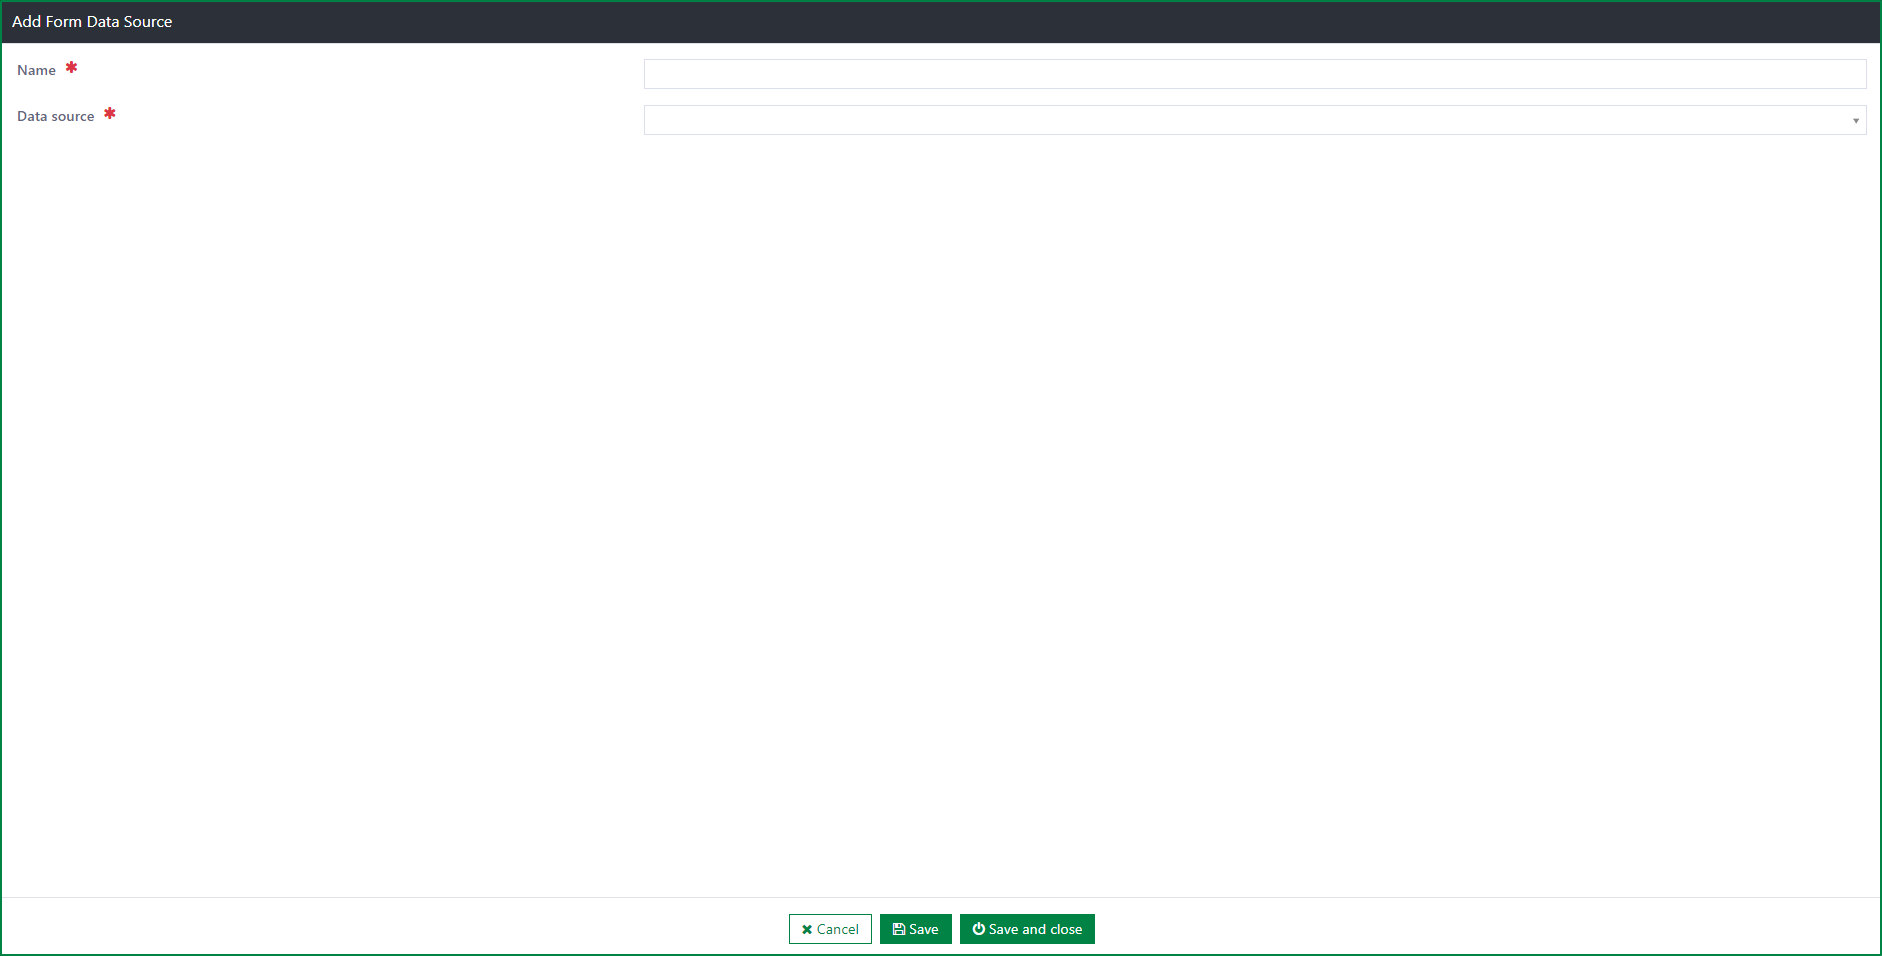
The dialog includes the following fields:
Name
- This field is required.
- The form data source name must be unique and must not contain spaces or special characters.
Data source
- This field is required.
- You must select a data source from the list. The list of data sources is retrieved from the Data sources page in the admin site.
Data source fields
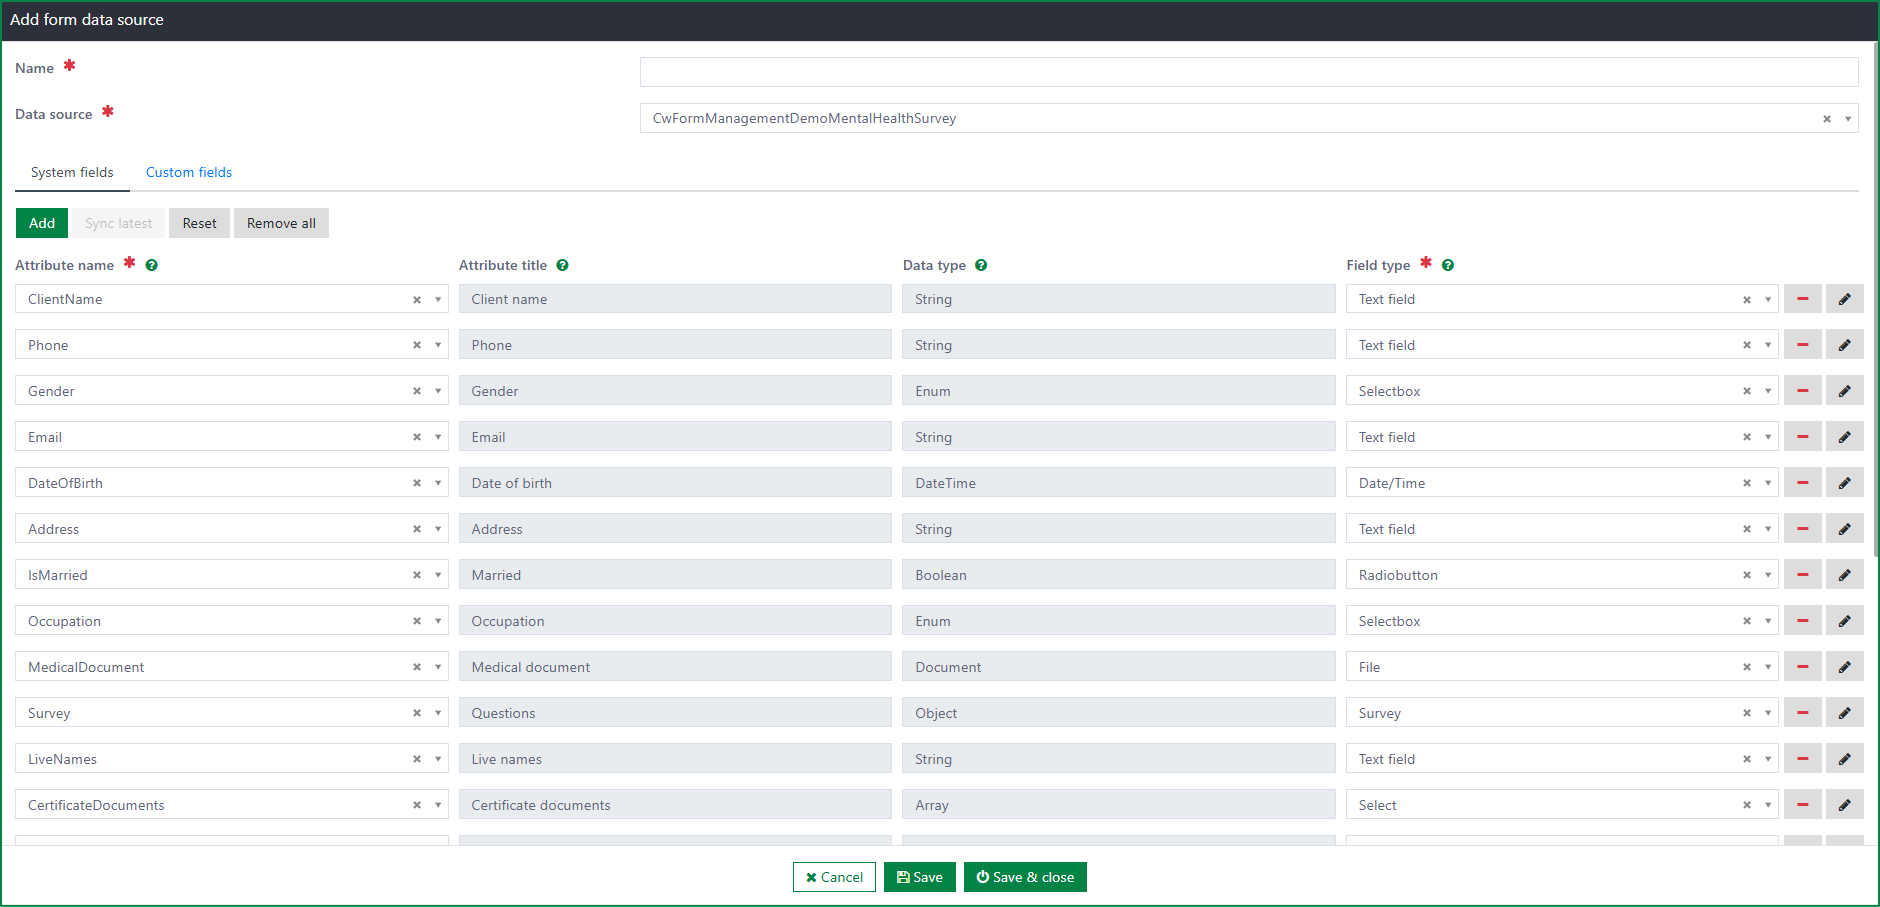
- The data source fields section is only displayed after the Data source is selected.
- After the data source is selected, by default, the corresponding list of attributes will be displayed in the System fields section, except for some CW built-in fields.
- The section includes 2 parts: System fields and Custom fields.
System fields
The system fields are displayed with information such as Attribute name, Attribute title, Data type, and Field type. Additional information about the attribute is displayed in the Configure system field dialog, which is opened via the Edit button at the right of each row.
The available actions in the System fields section are:
- Add system field from the Casewhere data source
- Edit field type of the system field
- Configure additional information for the system field
- Remove system fields from the form data source
- Reset all changes made on the system fields list
Add system field from Casewhere data source
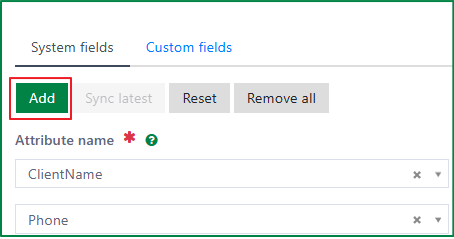
After the Casewhere data source is selected, all the system fields under it (except for the built-in ones) will be displayed in the System fields list. You can manually add the built-in fields, or add the removed ones back.
By clicking the Add button, an additional row for a new system field will be displayed. You must select the field in the Attribute name column and select the Field type for the field.

You can only add a new system field to the form data source if the required information for all existing system fields in the form data source has been filled in.
Edit field type for the system field
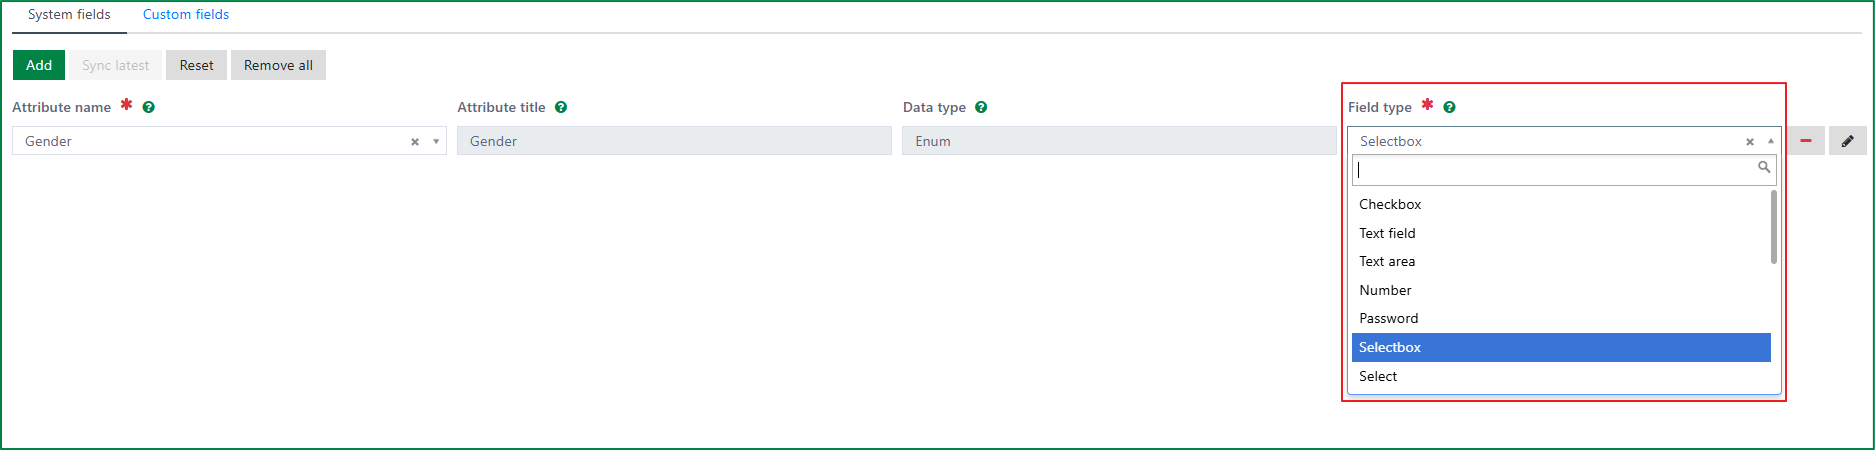
Each system field must have a field type; you can select the field type in the Field type column.
If the data type of the system field was already mapped to a field type on the Type mappings page, the field type will be pre-filled automatically. If the data type was not mapped to any field type on the Type mappings page, the field type will be empty and you must select a field type for the system field.
You can also edit the field type of the system field in the Configure system field dialog.
Configure additional information of the system field

By clicking the Edit button at each field row, the Configure system field dialog for the system field will be opened.
The dialog includes 2 tabs: General and Advanced.
General tab
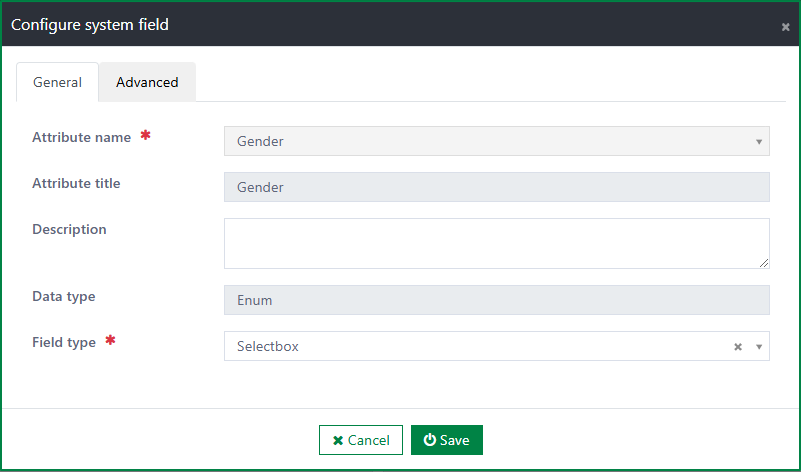
The General tab includes the following fields:
- Attribute name
This field is pre-filled and read-only.
Attribute title
- This field is pre-filled and read-only.
Description
- You can add more details about the system field via this field.
Data type
- This field is pre-filled and read-only.
Field type
- If the field type was filled in the System fields list, the value will be displayed properly in the dialog.
- You can change the field type for the system field.
- Attribute name
Advanced tab
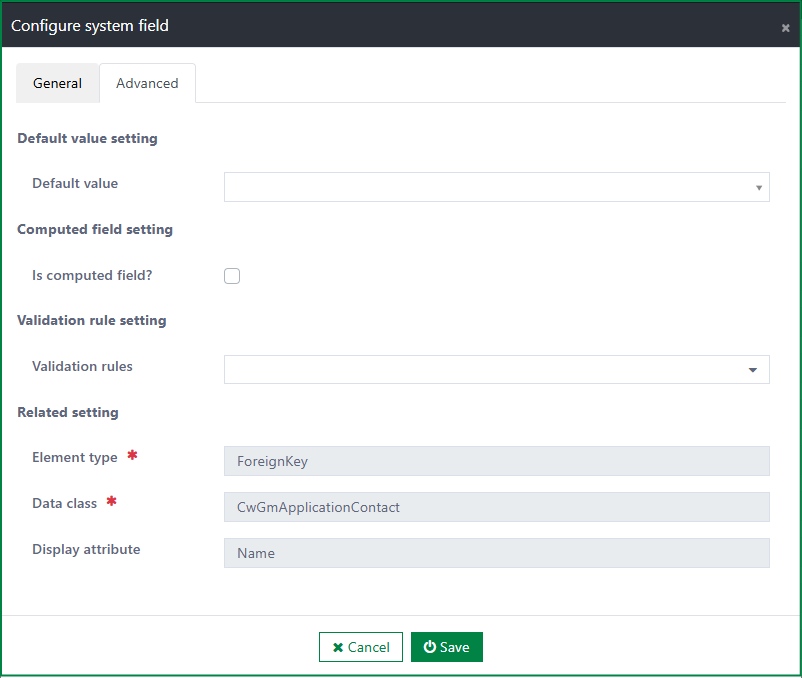
For all data types, the Advanced tab includes the rule settings for the field, such as Default value setting, Computed field setting, and Validation rule setting. In addition, for several data types including Array, Enum, and Foreign key, the tab also includes the Related setting section showing the specific information of the data type.
Rule settings in the Advanced tab
Default value setting

- This setting is for selecting a rule to calculate and set the default value of the field in the submission form. For example: In the submission form, the Email field must be pre-filled with the applicant's email address from the master data as the default value.
- The section includes the following field:
- Default value
- The field includes a list of active rules with the rule type Form default value that are configured on the Rules page.
- You can select a rule from the list; then, in the submission form, the field will be pre-filled with the default value that is calculated according to the selected rule.
- Default value
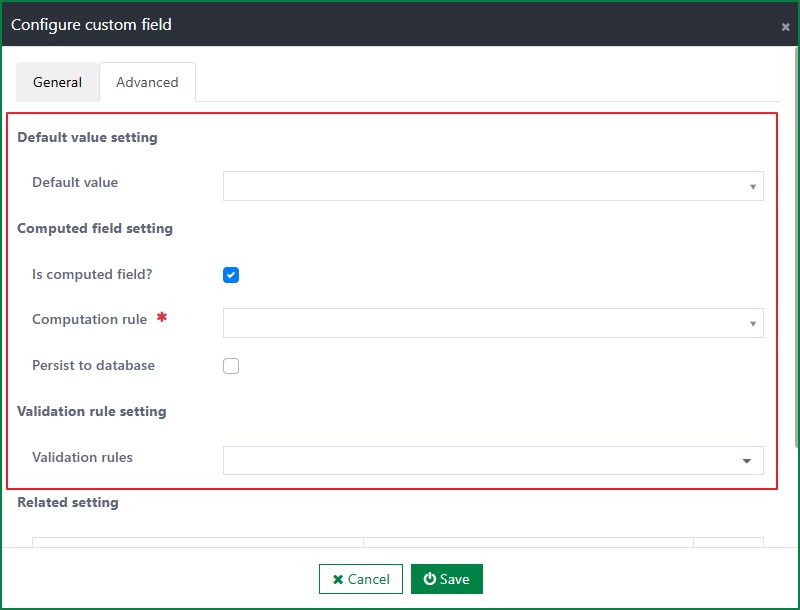
Computed field setting
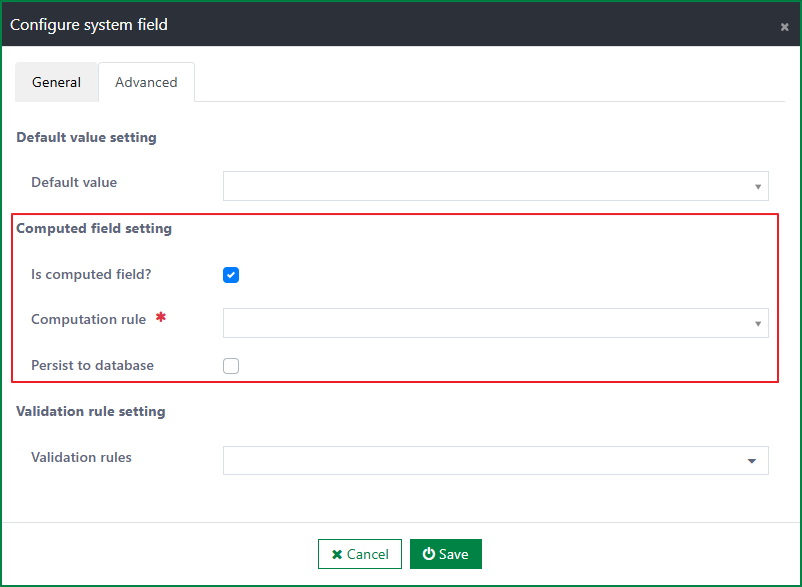
- This setting is for selecting the rule to calculate the value of the field based on the saved values of other fields. For example: In the receipt form for online course registration, the value of the Total cost field must be calculated from the filled values of fields such as Tuition, Course materials, Exam fee, and Registration fee.
- The setting section includes the following fields:
- Is computed field?
- When you tick this checkbox, the additional fields Computation rule and Persist to database are displayed.
- Computation rule
- The field includes a list of active rules with the rule type Form computed field that are configured on the Rules page.
- You can select a rule from the list.
- In the submission form, the field will be auto-filled with the value that is calculated according to the selected rule.
- Persist to database
- If this checkbox is ticked, the calculated value of the field on the form will be for viewing only and will not be saved to the database.
- Is computed field?
Validation rule setting
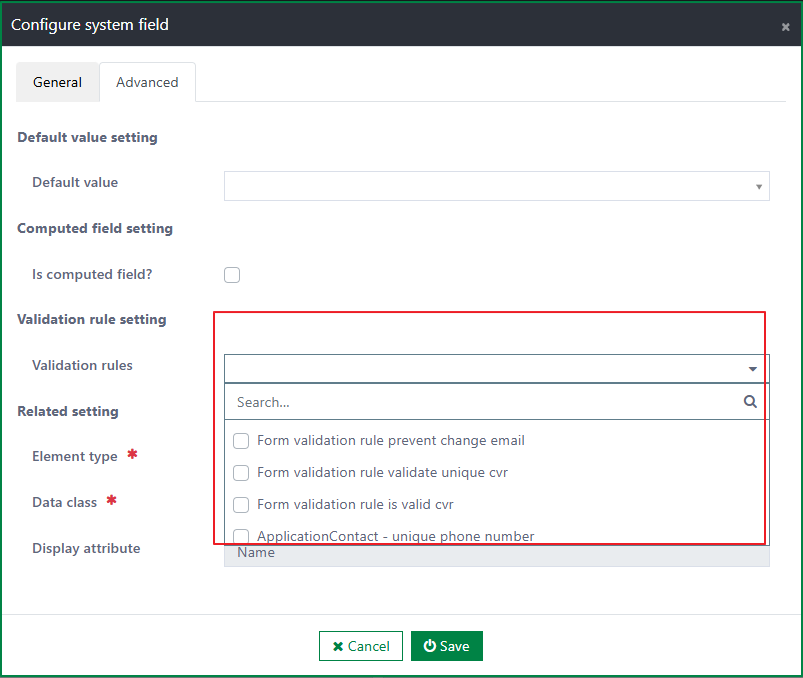
- This setting is for selecting the rule for the field's specific validations. For example: In the submission form, the input value of the CVR number field must be unique, have the correct format, and exist in the CVR data.
- The setting section includes the following fields:
- Validation rules
- The field includes a list of active rules with the rule type Form validation rule.
- You can select multiple rules from the list.
- In the submission form, when you fill in the field, the validations will be executed according to the selected rules.
- Validation rules
Specific information for data types Array, Enum, and Foreign key:
Array data type
In the Advanced tab of this data type, the Related setting section includes the following fields with pre-filled value and the value cannot be changed:
- Element type
- Data class
- Display attribute
Enum data type
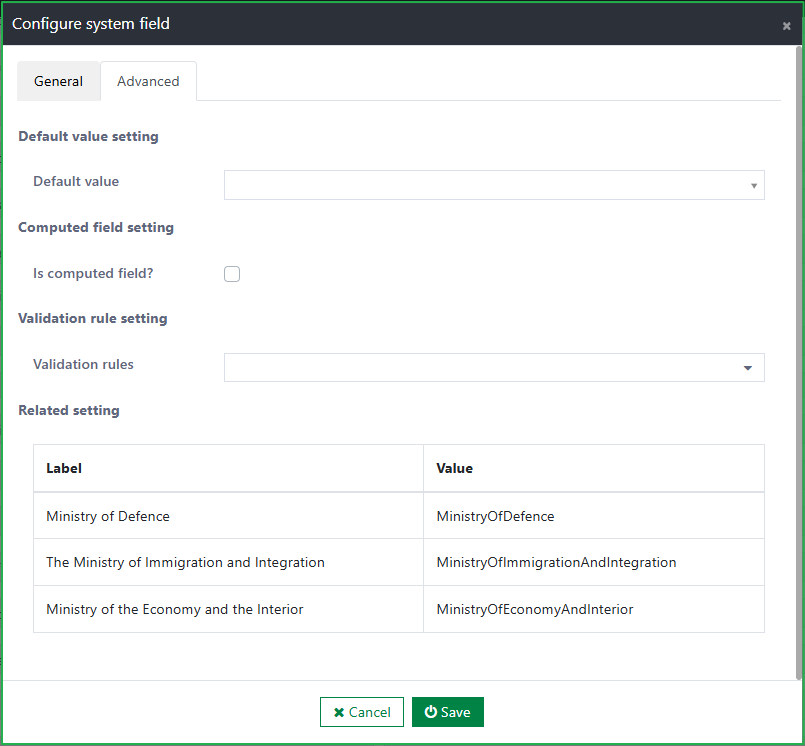
- In the Advanced tab of this data type, the Related setting section includes a list of pre-defined Enum values.
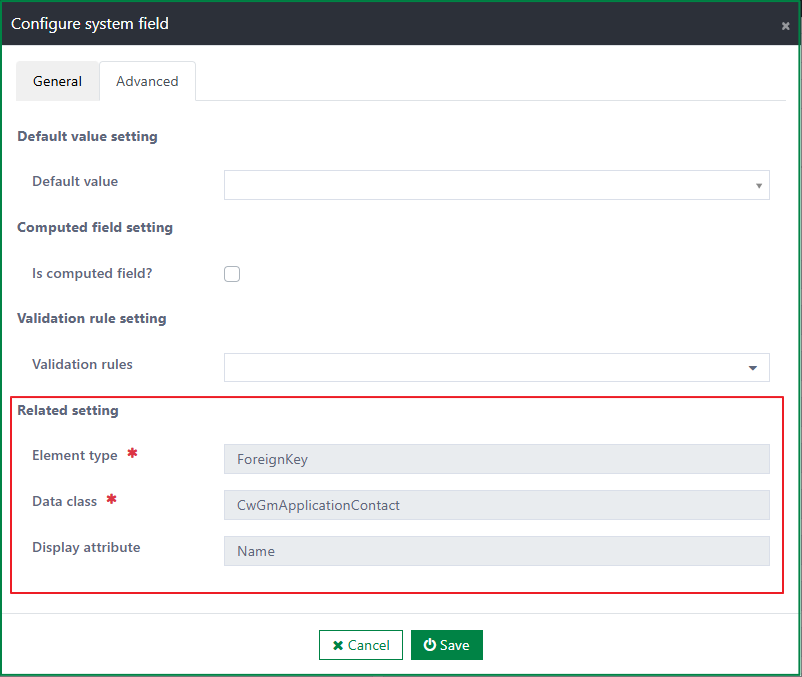
Foreign Key data type
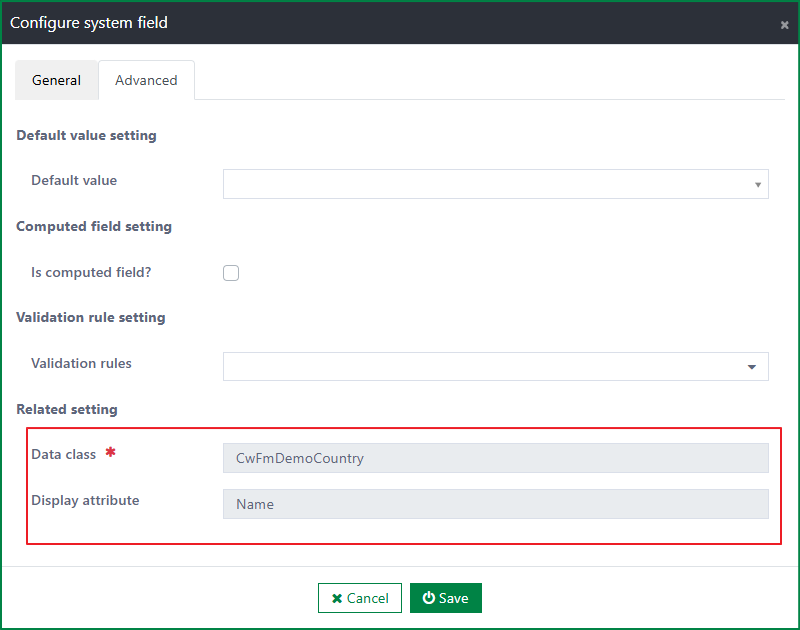
- In the Advanced tab of this data type, the Related setting section includes the following fields with pre-filled value and the value cannot be changed:
- Data class
- Display attribute
- In the Advanced tab of this data type, the Related setting section includes the following fields with pre-filled value and the value cannot be changed:
Remove system fields from the form data source
- Remove each system field
- You can remove system fields one by one by clicking the Remove button at the field row.
- After being removed, the field will be hidden from the System fields list. To add the field again, you must add it manually.
- The field is only removed from the form data source and will not be removed from the Casewhere data source.

- Remove all fields
- You can remove all fields at once by clicking the Remove all button.

Reset all changes made on the system fields list
By clicking the Reset button, all system fields under the selected data source (except for the Casewhere built-in ones) will be displayed in the System fields list.

Custom fields
Besides the list of system fields retrieved from the CW data source, you can also add custom fields to be used in building the form.
The Custom fields list includes all custom fields created under the selected data source.
The custom fields are displayed with information such as Attribute name, Attribute title, Container, Data type, and Field type.
The available actions in the Custom fields section are:
- Add new custom field
- Edit custom field
- Configure additional information of the custom fields
- Remove custom fields
Add new custom field

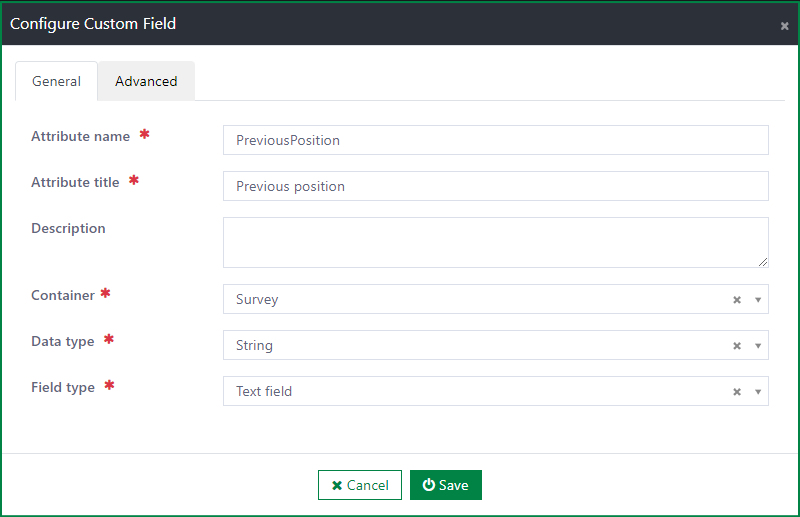
By clicking the Add button, a new custom field row will be displayed in the list of custom fields with the following fields:

Attribute name
- This field is required.
- The Attribute name must be unique.
- The Attribute name must not contain spaces and special characters.
Attribute title
- This field is required.
- The Attribute title is used as the display name for the field when building the form.
Container
- This field is required.
- The field is a list of containers, which are the fields with the Object data type belonging to the selected data source. You must select an item from the list.
- The custom field data submitted via the form will be stored in the container.
Data type
- This field is required.
- You must select a data type for the custom field.
- The list of data types is pre-defined with 12 types: Array, Boolean, DateTime, Document, Double, Enum, ForeignKey, Guid, Integer, Long, Object, and String.
Field type
- This field is required.
- You must select a field type that works properly with the selected data type of the custom field.
- The list of field types is pre-defined with 17 field types: Checkbox, Text field, Text area, Number, Password, Select box, Select, Radio button, Email, Url, Phone number, Date/Time, Day, Currency, File, Survey, Data grid, Data map, and Multiple text fields.
Edit custom field
You can edit the following fields of a custom field directly in the Custom fields list:
- Attribute name
- Attribute title
- Container
- Data type
- Field type
Configure additional information of the custom fields

By clicking the Edit button at each field row, the Configure custom field dialog will be opened.
The dialog includes 2 tabs: General and Advanced.
General tab
- The General tab is available for all data types.
- The tab includes the basic information of the custom field, similar to the Custom fields list: Attribute name, Attribute title, Container, Data type, Field type. All these fields are editable.
- In addition, you can add more details about the custom field via the Description field.
Advanced tab
Similar to the system field, the Advanced tab of the custom field, for all data types, includes the rule settings: Default value setting, Computed field setting, and Validation rule setting.
The tab also contains the Related setting section for some specific data types including Array, Enum, and Foreign Key.
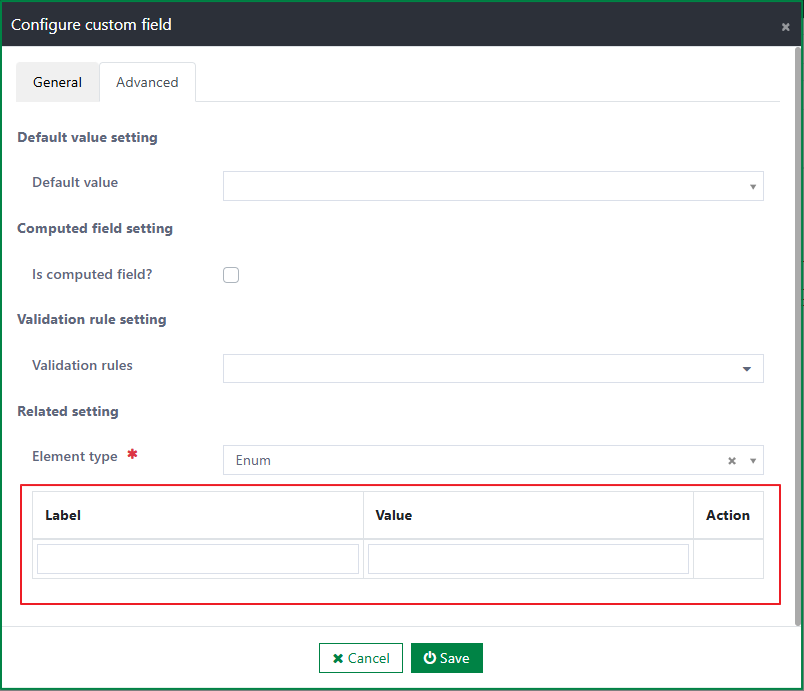
Enum data type
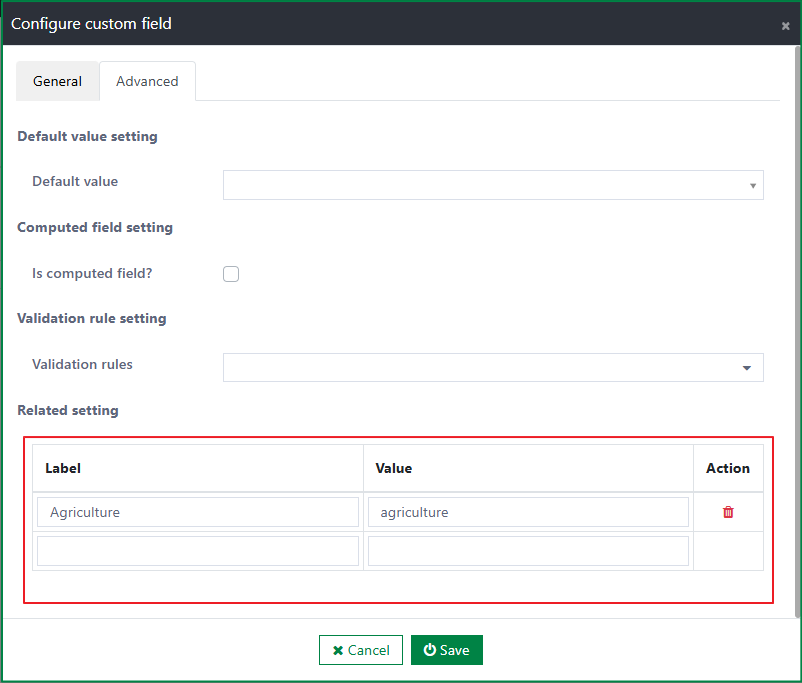
- If the data type of the custom field is Enum, in the Related setting section, you must define the set of Enum values.
- The set of values is a list with 2 columns to input values for: Label and Value.
- Label is used as the display name of the Enum value in the UI of the rendered form.
- Value is used as the saved data in the backend. The value must not contain spaces or special characters.
- For example, consider a field called Industry in an application form. The field is a dropdown list with values such as Agriculture, Resource, Engineering and high-tech. So, when configuring the custom field, the field should have the Enum data type and Select field type. And in advanced settings, it should have the Enum values as follows:
- (Label) Agriculture, (Value) agriculture
- (Label) Resource, (Value) resource
- (Label) Engineering and high-tech, (Value) engineeringAndHightech
Foreign Key data type
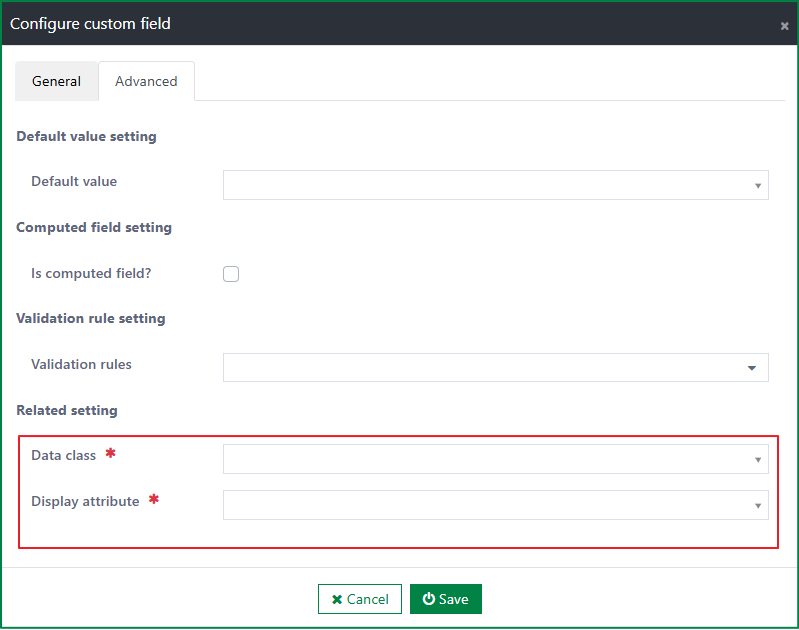
- If the data type of the custom field is Foreign Key, you must define the following data for the field:
- Data class
- You must select a data class from the list. The list of data classes is retrieved from the Data class page in the admin site.
- Display attribute
- You must select an attribute from the list. The list includes all attributes belonging to the data class. The list of attributes is only enabled after the data class is selected.
- Data class
- If the data type of the custom field is Foreign Key, you must define the following data for the field:
Array data type
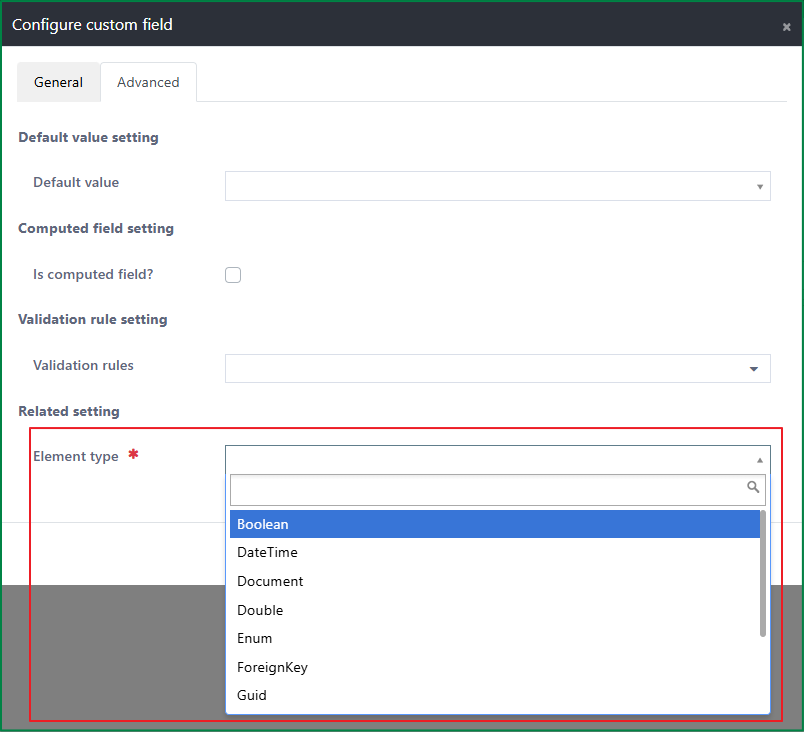
For the Array data type, the Related setting section includes the Element type field, where you can select the data type for the elements of the array from the list of 11 data types.
For example: consider a document field in a form that allows uploading multiple files. The data type of the custom field must be Array, and its element data type must be Document.
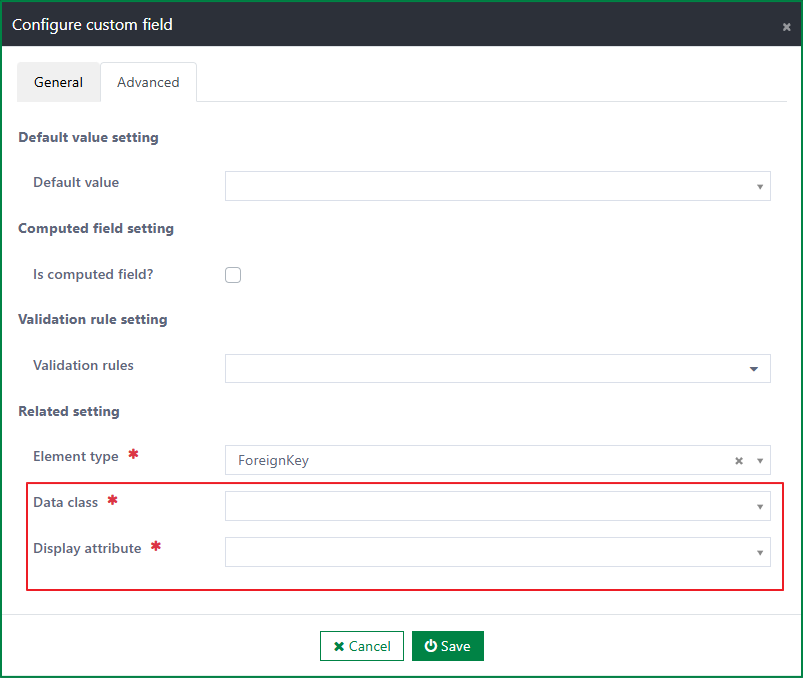
If the Element type is Foreign key, you must select the Data class and Display attribute for the element.
If the Element type is Enum, you must define a set of Enum values for the element.
Remove custom fields
Remove each field

- You can remove each custom field by clicking the Remove button at the field row.
- After being removed, the field will be hidden from the Custom fields list. The removed custom field can never be used again; however, if there was any submitted data for the field, the data is still stored in the relevant container.
Remove all custom fields

- You can also remove all fields at once by clicking the Remove all button.
Edit form data sources
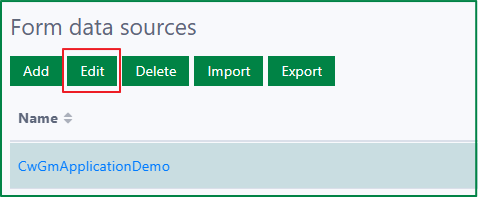
By clicking the Edit button, the Edit form data source dialog will be opened.
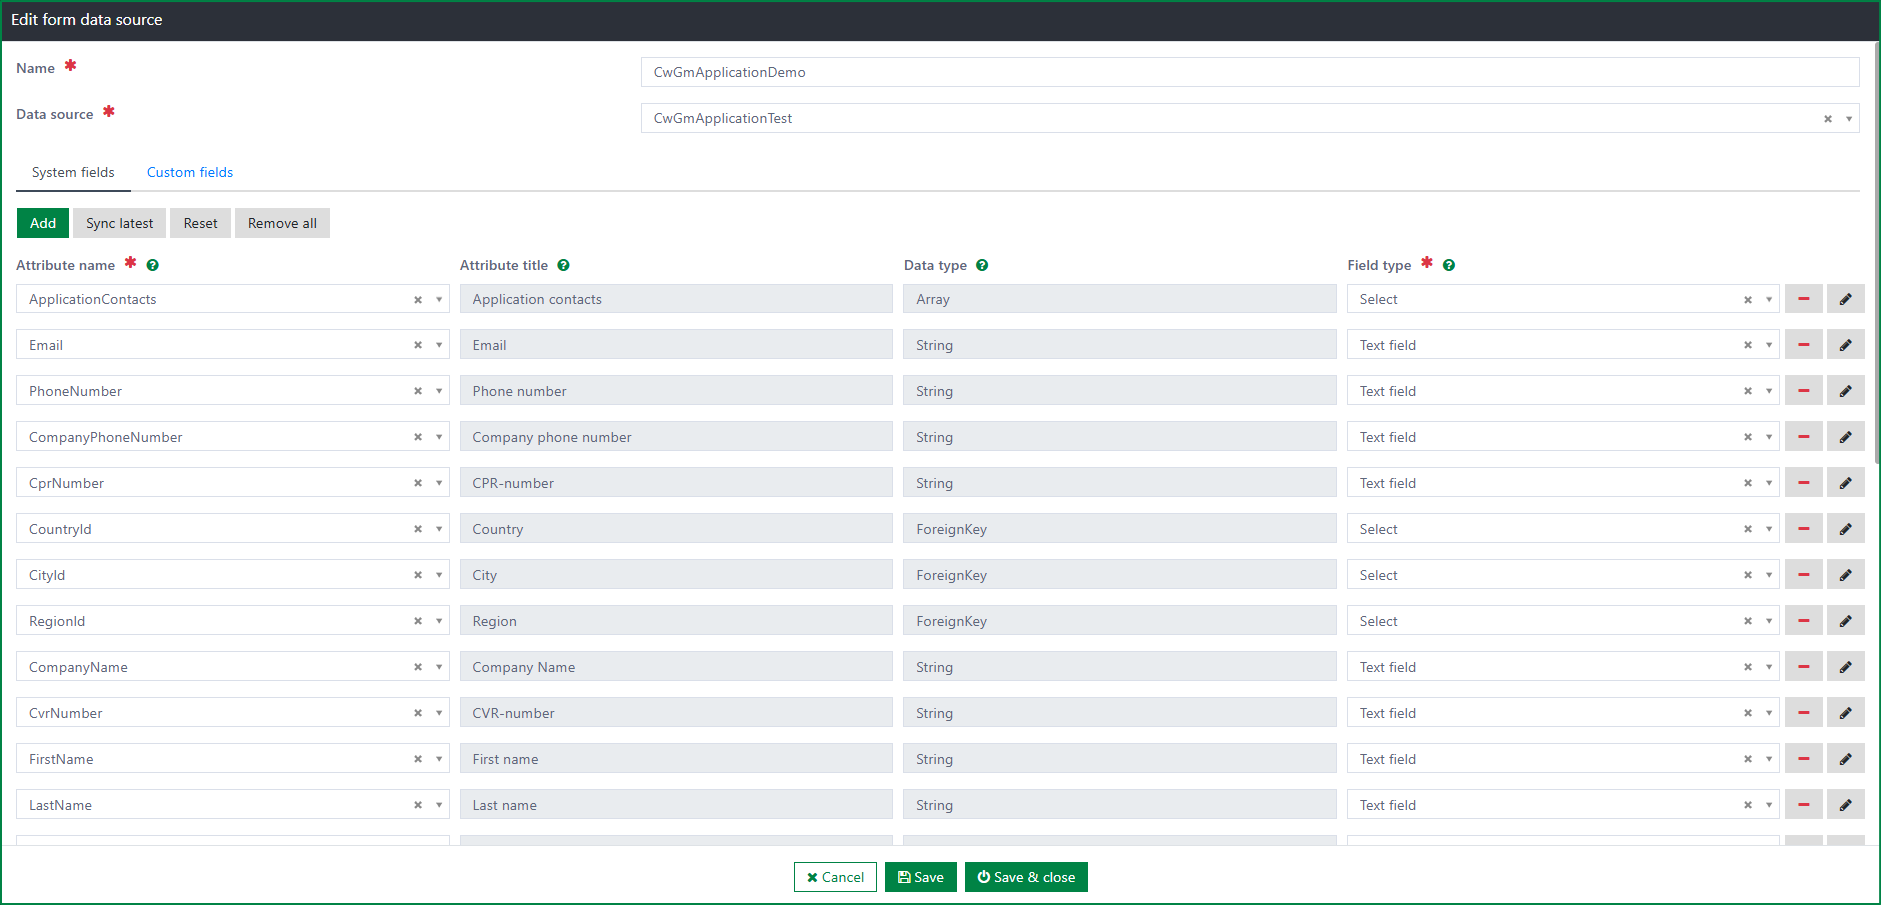
The dialog includes 3 parts:
- Configuration section for Name of form data source, Casewhere data source selection
- Data source system fields
- In this section, the available actions are:
- Add system field from Casewhere data source
- Edit field type for the system field
- Configure additional information for the system field
- Remove one/all system fields from the form data source
- Reset the list of system fields
- Sync latest changes on system fields from the Casewhere data source
- In this section, the available actions are:
- Data source custom fields
- In this section, the available actions are:
- Add new custom field
- Edit custom field
- Configure additional information for the custom field
- Remove one/all custom fields from the form data source
- In this section, the available actions are:
Most of the actions are similar to the corresponding actions in the flow for adding a new form data source. Only the Sync latest action is different; you can only execute the syncing action when editing the form data source. The syncing function is described in the following section.
Sync latest changes on system fields from the CW data source

By clicking the Sync latest button, the syncing between the Casewhere data source and the form data source is executed based on the Attribute name.
The syncing rules are:
- If the attribute name exists in the Casewhere data source and has not been added to the form data source yet, after syncing, the system field with the corresponding attribute name will be added to the form data source.
- If the attribute name no longer exists in the Casewhere data source and the relevant system field exists in the form data source, after syncing, the field will be removed from the form data source.
- If the attribute name exists in the Casewhere data source and the related system field was removed from the form data source, after syncing, the field will not be added to the form data source again.
If the attribute name is changed, after syncing, the relevant system field will be added to the form data source as a new field. Meanwhile, the field with the old name will also be removed from the form data source according to the 2nd rule above.
Delete form data sources
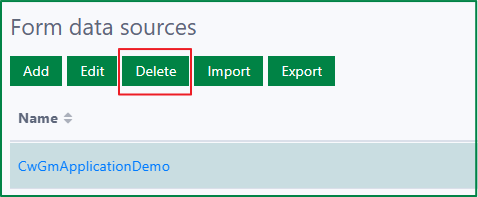
The Delete button is only enabled after a form data source is selected.
By clicking the Delete button, the deletion confirmation dialog will be opened.
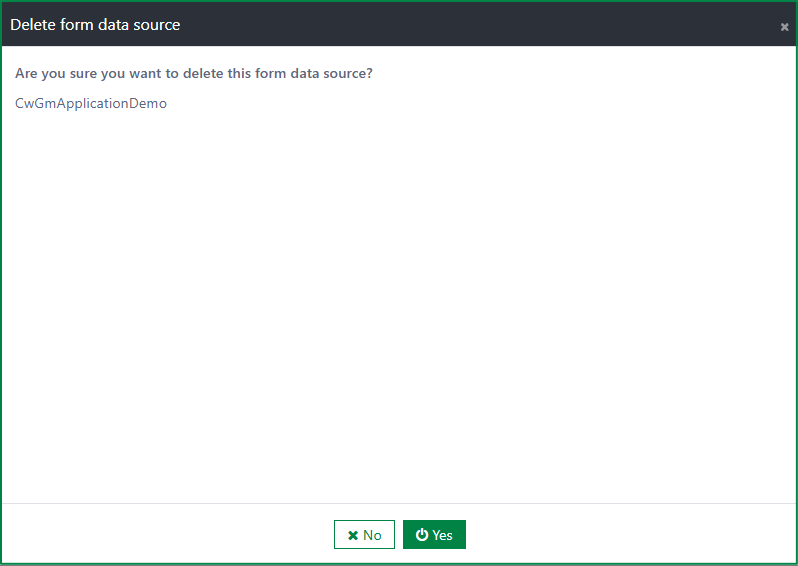
- If you select the Cancel button, the deletion will be cancelled.
- If you select the Delete button, the validation for an in-use form data source will be executed.
- If the form data source is not used anywhere, it will be deleted immediately.
- If the form data source is in use, the deletion will be disallowed, and an error message will be displayed.