Component: Audit Log Export
Introduction
The Audit Log Export component exports audit log data periodically. Which data is exported and how it is represented in the output file can be configured flexibly. Version 1.0.0 only supports a CSV output file, but it is designed to be extendable.
Features
Settings
The Settings page is used to manage general settings of the component, such as connection and output file. The settings are created automatically if they do not exist.
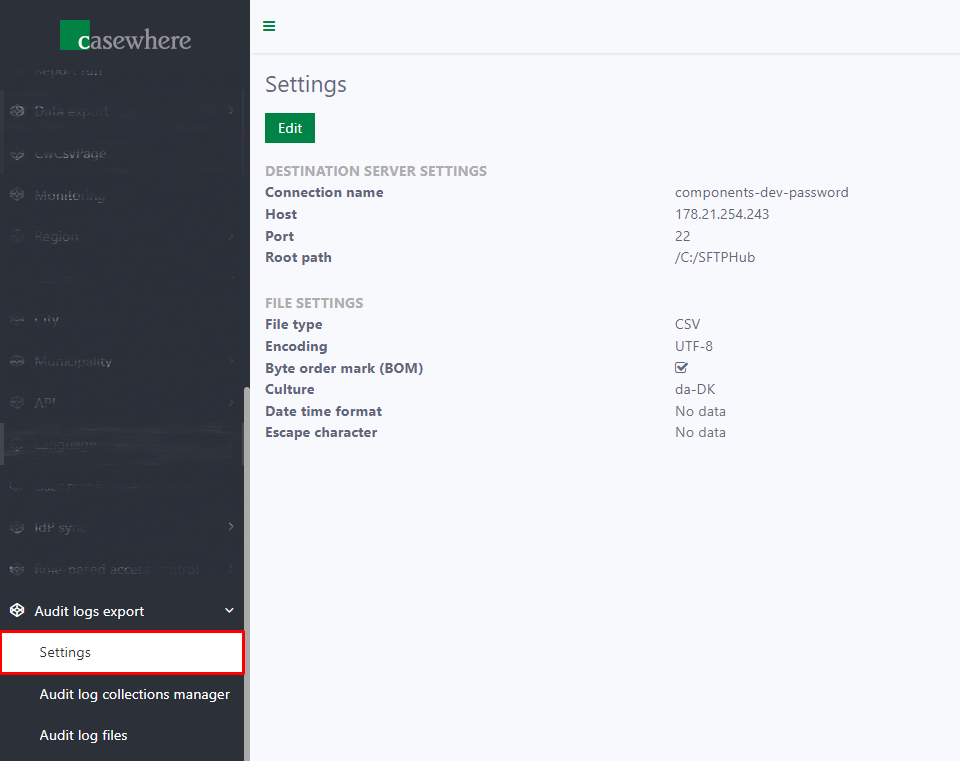
Edit Settings
To edit the settings, click the Edit button.

The Edit Settings dialog opens. On the dialog, you can see two sections:
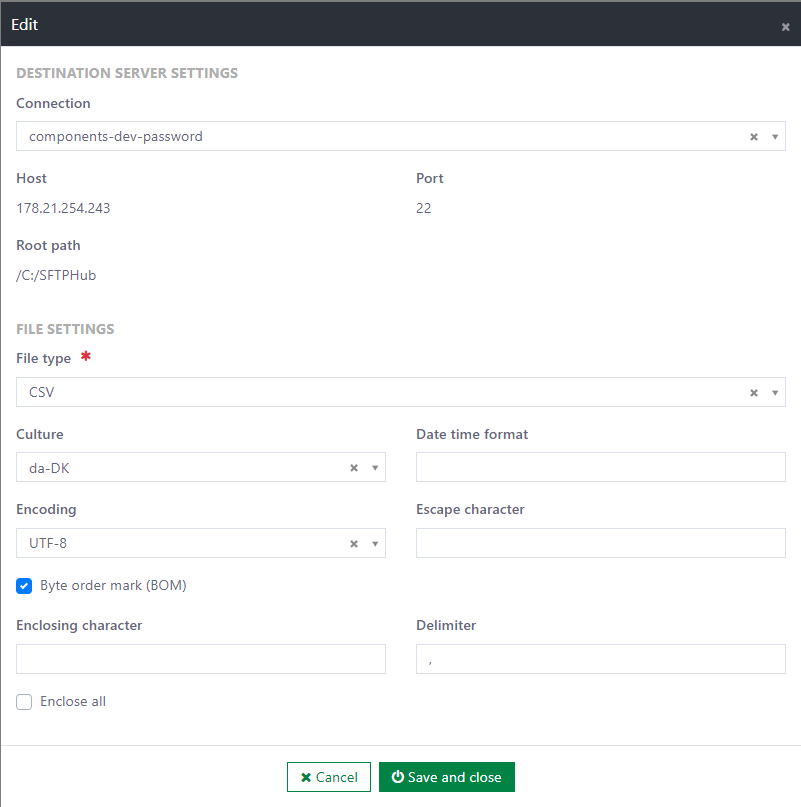
General settings
SFTP Connection: This setting is required. You must select one SFTP connection from the dropdown list on the dialog.
When an SFTP connection is selected, the information of the corresponding Host, Port, and Root path will be shown.
Note: Read SFTP hub to learn how to set up an SFTP connection.
File settings Below are the settings for the output file. When set, these settings override the settings of the plugin that handles the output file.
- File type [required]: You can choose the type of the output file via this setting. CSV is the only option in the current version of the component.
- Culture [optional]: The culture information of the output file, which affects the format of some values in the file. The default value is the current culture of the web server.
- Date time format [optional]: Date-time values follow this format setting. If the setting is unset, the short date format of the set or current culture is used.
- Encoding [optional]: This setting specifies how the content of the file is encoded. The default value is UTF-8.
- Byte order mark (BOM): This checkbox indicates whether the BOM should be inserted into the file. It also depends on the encoding setting. If the encoding used does not support BOM, this setting is ignored. By default, the BOM is disabled.
- Escape character [optional]: If it is defined, the defined character will be escaped in the content of the file.
- Enclosing character [optional] [For CSV only]: If any value in the file needs to be enclosed, the component uses this defined character to enclose the value.
- Enclose all [For CSV only]: With this setting enabled, the component encloses all values in the content of the file.
- Delimiter [optional] [For CSV only]: The string that separates field values in the content of the output file. If it is not defined, the component uses the delimiter from the set or current culture.
Audit Log Collection Manager
The Audit Log Export component provides flexible configuration for what audit logs are exported and how.
On this page, you can view, add, edit, or delete audit log collection configurations. In addition, this page provides import and export features that help move the configurations between different environments. These two features can also be used for restore and backup tasks.
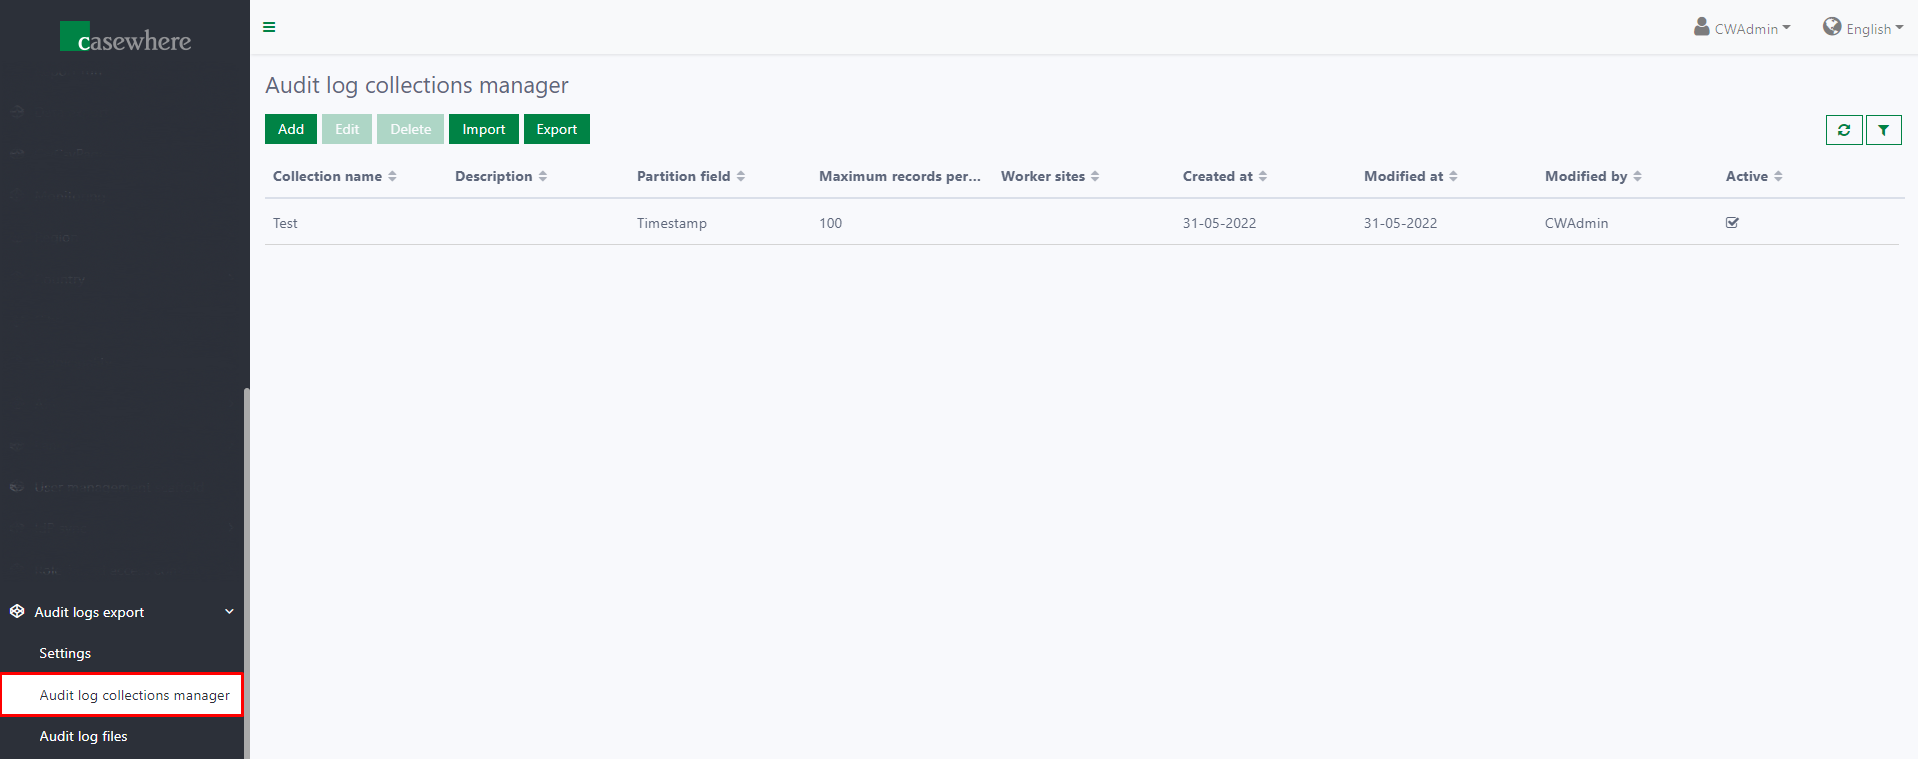
This page has a basic layout consisting of a list and some actions to manage items on the list.
Audit Log Collection List
The list includes 9 columns:
- Collection name:: The name of the collection
- Description: Some details or notes about the collection
- Partition field: The field used to split the data into partitions for each run
- Maximum records per file: The maximum number of records that can be included in one file
- Worker sites: The names of the worker sites used to filter audit logs
- Created at: The date and time the collection was created
- Modified at: The latest date and time the collection was modified
- Modified by: The name of the user who modified the collection
- Active: Indicates if the collection is included in a run

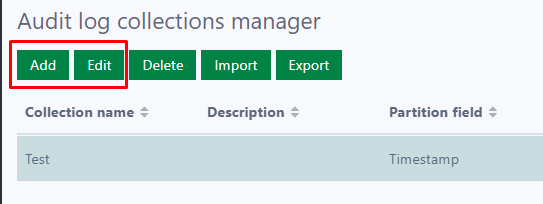
Add or Edit Audit Log Collection
To add a new audit log collection, click the Add button. To edit an existing audit log collection, click the Edit button.
On the popup dialog, you can enter the configuration for the audit log collection:
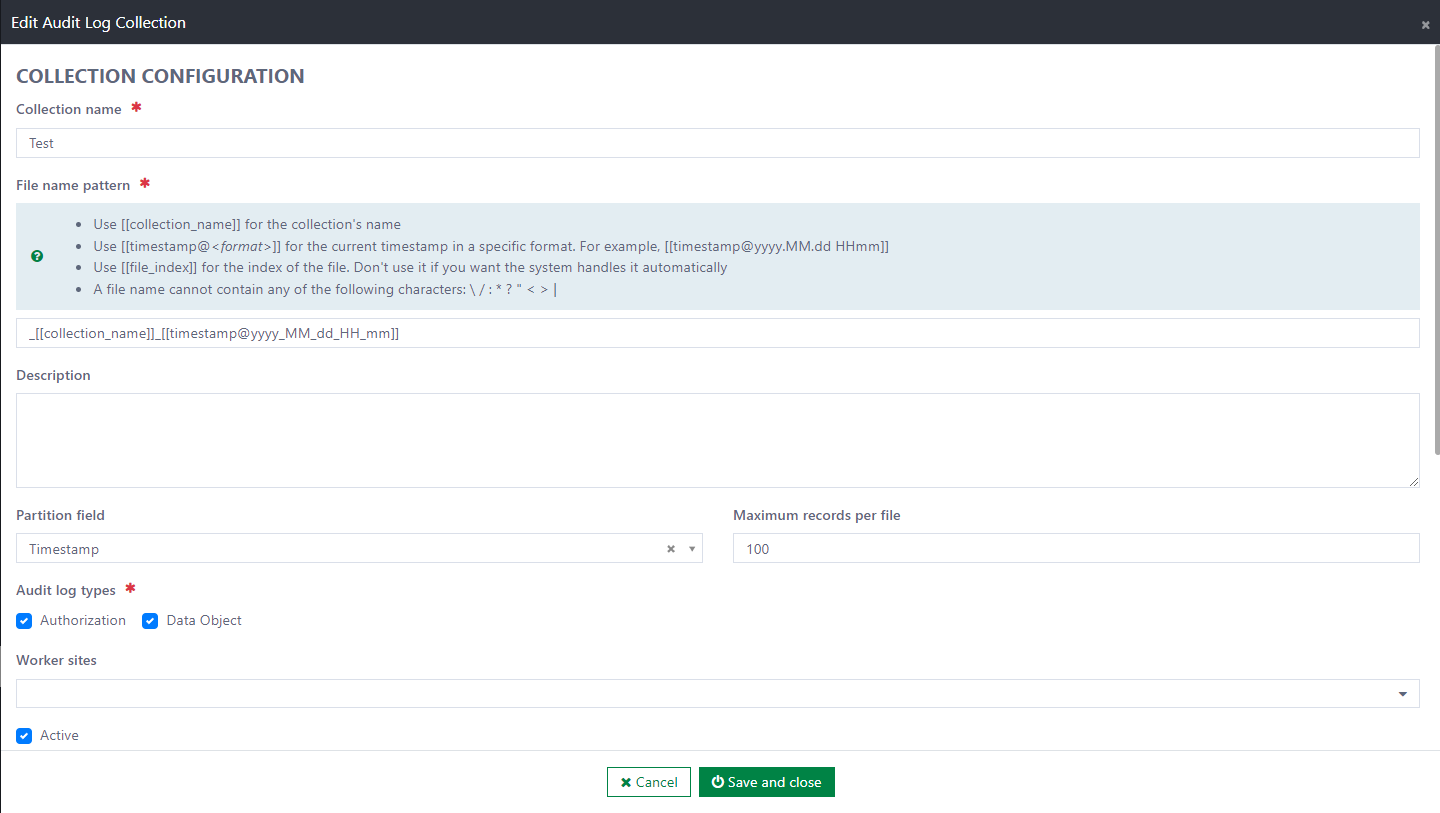
- Collection name [required]: You must enter a representative name for the collection.
- File name pattern [required]: The pattern of the file name. The name of the output file follows this pattern. Because of that, the pattern cannot contain any of the following characters: \ / : * ? " < > |. However, the component supports some dynamic fields for the pattern:
- Use [[collection_name]] for the collection's name
- Use [[timestamp@
]] for the current timestamp in a specific format. For example, [[timestamp@yyyy.MM.dd HHmm]] - Use [[file_index]] for the index of the file. Don't use it if you want the system to handle it automatically
- Description [optional]: You can write anything you want in this field to describe the collection.
- Partition field [optional]: Select a field that separates the audit logs in each run.
- Maximum records per file [optional]: Enter the maximum number of records in an output file.
- Audit log types [required]: Currently, there are two types of audit logs: Authorization and Data Object. You can select one or both of them. The component only exports the audit logs that have the type you select.
- Worker sites: Audit logs can come from different worker sites. If you want the audit logs from some specific worker sites, you can select as many as you want here. If you want all audit logs regardless of worker site, just leave it empty.
- Active: Mark it if you want the component to export audit logs for this collection. Otherwise, the component ignores the collection.
Besides the configurations above, you can also tell the component which data fields to export. The next section on the dialog is the list of data fields.
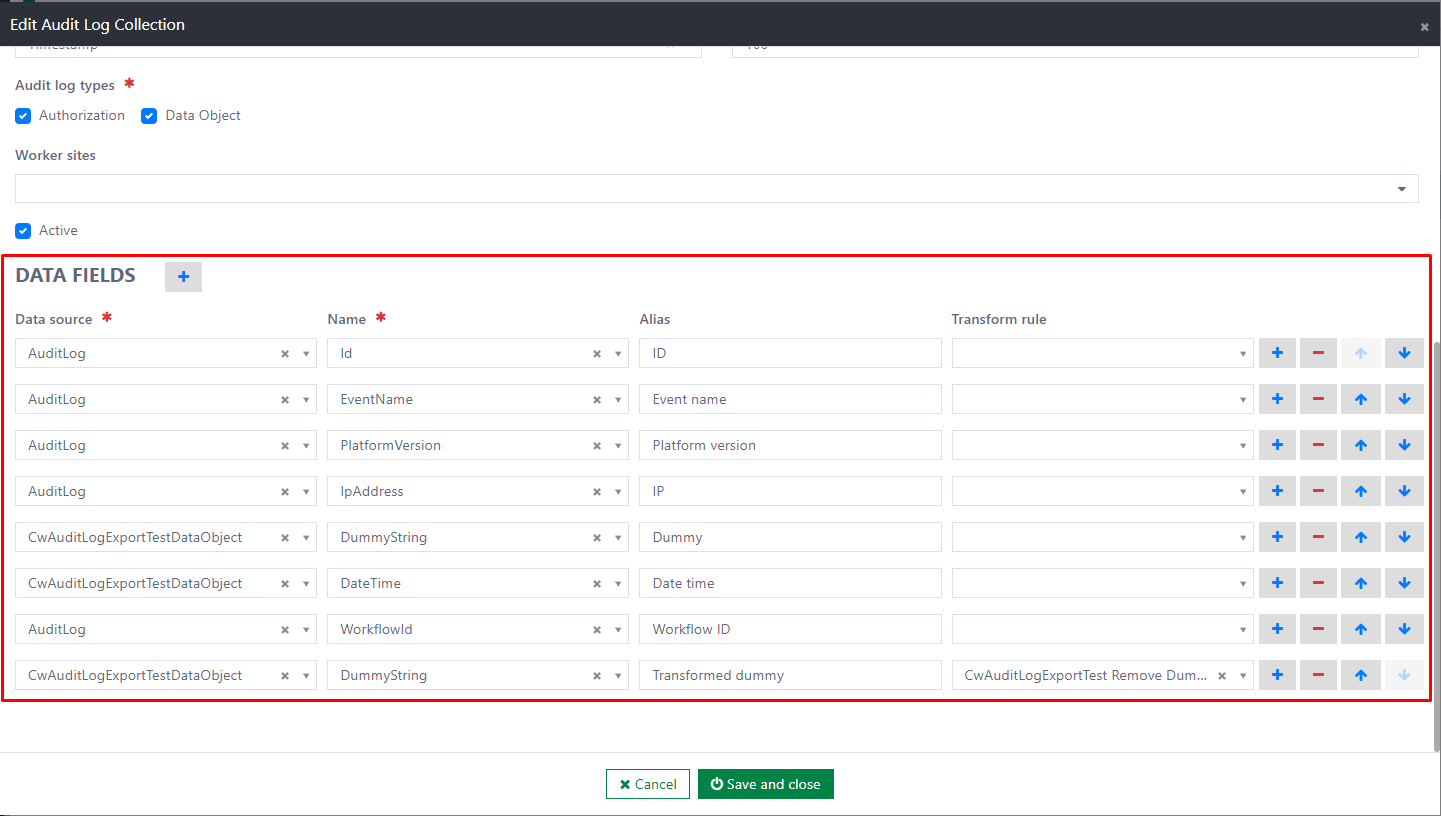
Here are the attributes that can be configured for a data field:
- Data source [required]: Select a data source from the dropdown list. For data fields that belong to the audit log, select AuditLog.
- Name [required]: When the data source is changed, the selectable list of field names changes accordingly.
- Alias [optional]: If it is defined, the component uses it as the header in the output file. If it is empty, the component uses the original field's name instead.
- Transform rule [optional]: If you want to transform the raw data, select a suitable rule. The data is transformed before the file is generated.
After filling in the information, click the Save and close button to complete adding or editing the collection configuration.
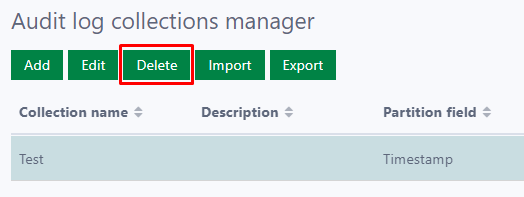
Delete an Audit Log Collection
Select an audit log collection and click the Delete button to delete an Audit log collection configuration.
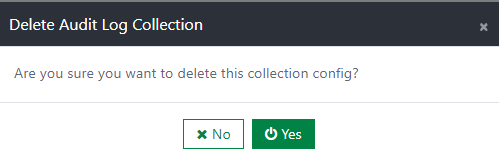
After clicking the button, a confirmation dialog will be displayed. If you click the Yes button, the configuration will be deleted immediately. If you select the No button, the deletion will be cancelled.
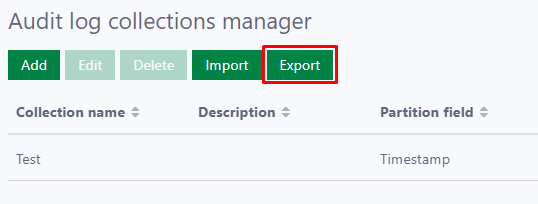
Export Audit Log Collection Configurations
To export one or several audit log collection configurations, select them, then click the Export button. The download will start shortly. If there is no selection, the component exports all configurations.
Import Audit Log Collection Configurations
Before getting started, please note that all the data collection configs that exist in the destination environment will be overridden (Identified by collection name). To import audit log collection configurations, click the Import button to open the import dialog.
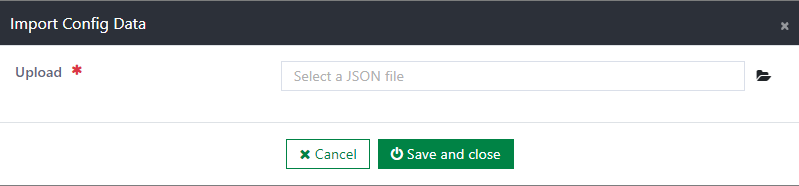
Then, click the placeholder of the File upload field to open the file selection dialog.
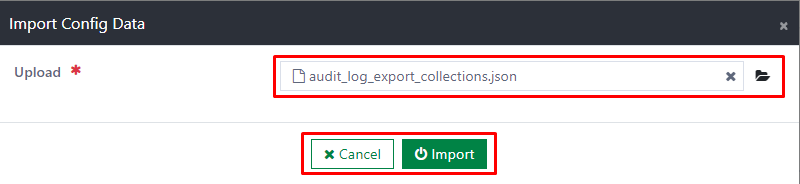
Next, select a JSON file to import. After selecting the file, click the Import button to start the import process. Click the Cancel button if you want to call it off.
Scheduled Job
The export process starts automatically from a scheduled job. This scheduled job is configured to run daily at a specific time, which varies for different applications.
When the time is up, the export starts. It only processes active audit-log collections, one by one. If the collection is defined with a Partition field, the component only gets the audit logs whose partition field value is between the latest successful run and the current time. Otherwise, the time is not taken into account.
After the audit logs are retrieved and all the output files are generated successfully, the component uploads those prepared files to the SFTP server configured in the General settings. If any file cannot be generated, the process is cancelled.
All files are listed on the Audit log files page.
Audit Log File List
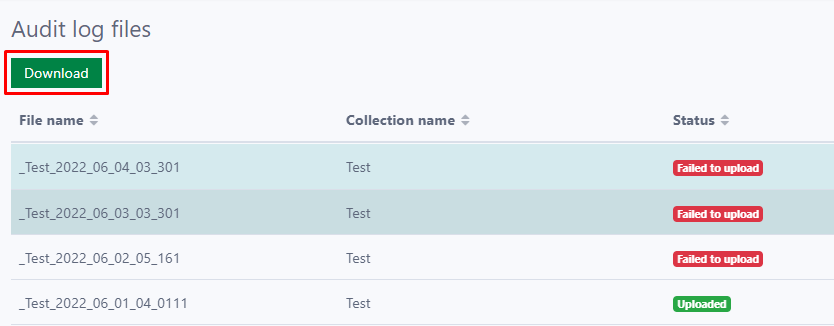
On the Audit log files page, you can see a list of audit log files involved in previous runs. You can also download generated files.
Here is the image of the page:
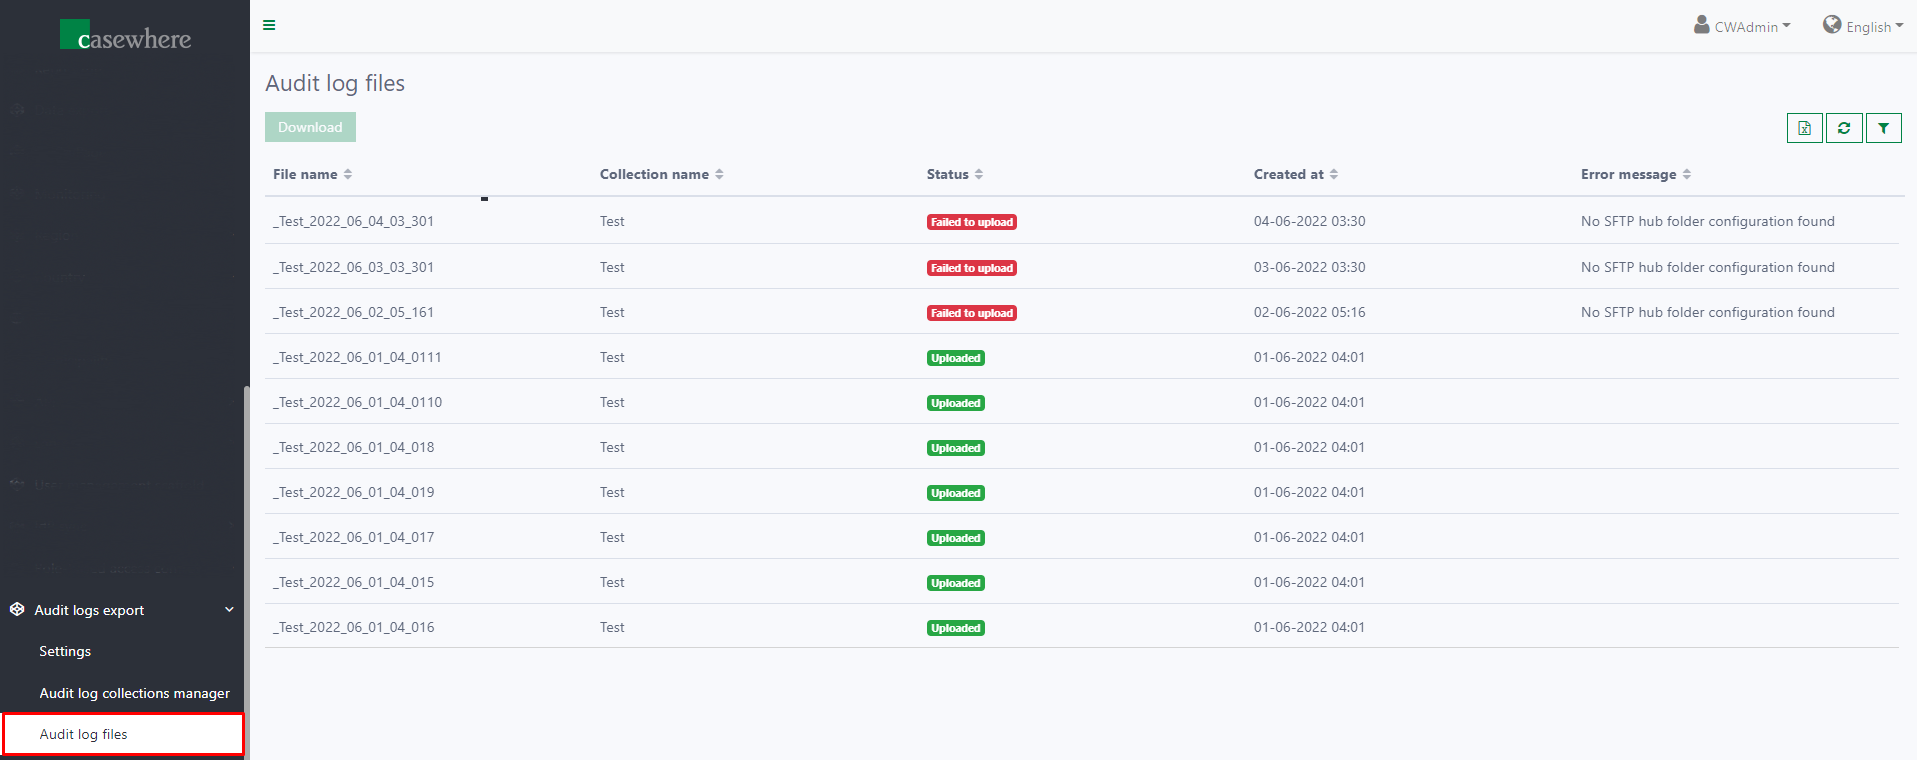
As you can see in the screenshot, there are 5 columns in the file list, each showing different information:
File name: The name of the file
Collection name: The name of the collection that the file belongs to
Status: The status of the file. Each file can have one of seven different statuses:
- New: The component is ready to create the file
- Preparing: The content of the file is being prepared. The component is creating the file
- Failed to prepare: The component failed to prepare the file. The file is not created
- Prepared: The preparation of the file is complete. The file is saved to the application's storage
- Uploading: The file is being uploaded to the remote host
- Failed to upload: Something went wrong while the file was being uploaded to the remote host
- Uploaded: The file was uploaded successfully
Created at: The timestamp when the file is prepared and saved to the storage
Error message: The error that occurs during the process
To download a file, select it in the list and click the Download button. The file is available for download only if its status is Prepared, Uploading, Failed to upload, or Uploaded.
Installation
Requirements
- Casewhere 2.6.0 or later.
Configuration
- Import products: Casewhere SFTP Hub, Product-Cw CSV and Casewhere Audit Log Export
- Link the administration page to your worker sites and configure access control
- Configure the SFTP hub folder and SFTP connection
- Configure the Audit Log Export settings
Dependencies
Releases
1.0.0 - 06/06/2022
Changelog
- Audit log export settings
- Collection configuration
- Output file list page
Download (login required): Audit Log Export v1.0.0
Roadmap
- More format
- Support different data storage: Sharepoint, Azure storage rather than SFTP