Component: Data Export
Introduction
The Data export component is a general component that lets the user set up a job to export data into a specific format (CSV for now) by setting up data collections and transform rules. After exporting the data, the user can monitor the export process using the data file management.
Features
Settings
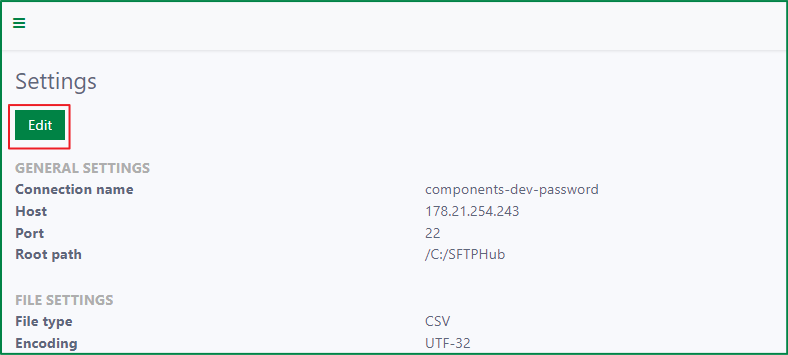
The Settings page is used to manage the SFTP connection, where all the data export files are uploaded after the data export process completes successfully, and the settings for exported files.
The page displays the saved settings in a read-only state. You can edit the settings. However, creating a new setting or deleting a setting is not supported.

Edit setting
To edit the setting, click the Edit button.
After that, the Edit Settings dialog opens with two sections: General settings and File settings.
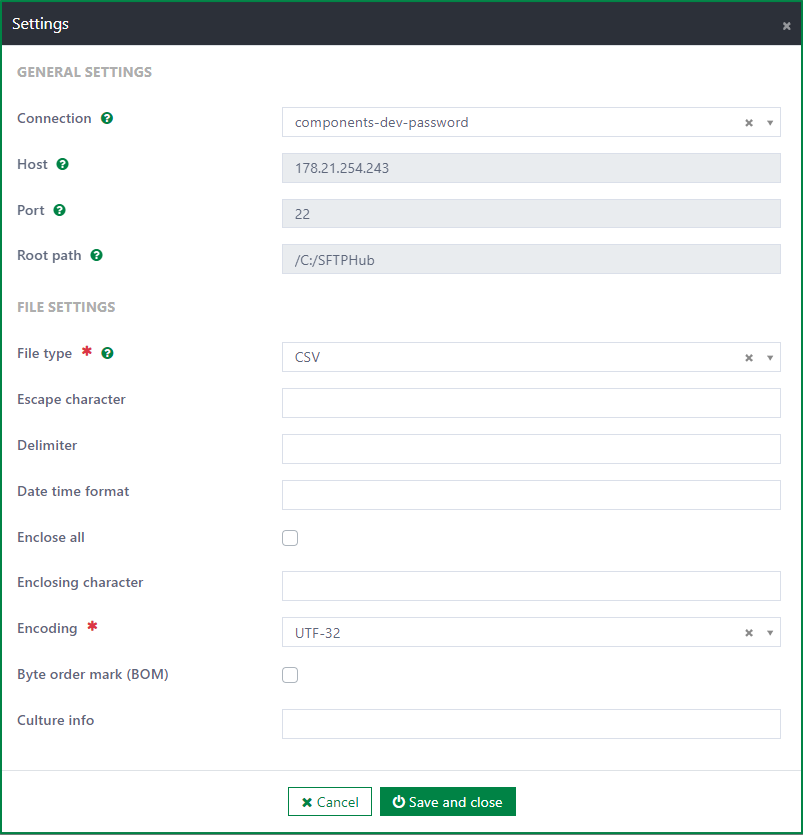
General settings
The General settings section is used to configure the SFTP connection. It includes 4 fields:
- SFTP Connection: This field is required. It is a dropdown list with all SFTP connections in the system. You must select one connection.
- Host: This field is always disabled and auto-filled according to the selected SFTP connection.
- Port: This field is always disabled and auto-filled according to the selected SFTP connection.
- Root path: This field is always disabled and auto-filled according to the selected SFTP connection.
Whenever the SFTP connection is changed, the Host, Port, and Root path fields also change.
To learn more about how to set up an SFTP connection, read SFTP hub.
File settings
The File settings section is used to configure the settings relating to the exported data files. If these settings are not configured, the CSV settings are applied. If you set up these settings, the CSV settings are overridden.
File type
- This field is required.
- It is a dropdown list with all file types, for now, only CSV is supported.
- After the file type CSV is selected, the additional fields are displayed.
Escape character
This field is optional and only displayed if file type is CSV.
The field is used to define the escape character in the CSV data file. If the field is not specified, the default escape character in CSV is the double quote. If it is specified, the specified escape character is used instead of the default one.
If a field value contains a character that is the same as the enclose character, the escape character is added in front of the character to distinguish it from the enclose character.
E.g: if the Address field value is Block B ; Tower C ; 123.st, the escape character is the double quote, and the enclose character is the semicolon, then, in the data file, the double quote is added in front of the semicolons within the field value, and the whole value is enclosed by two semicolons. So the Address field value is displayed in the data file as ;Block B "; Tower C "; 123.st;
Delimiter
- This field is optional and only displayed if file type is CSV.
- The delimiter character is used to separate fields in the CSV file.
- The delimiter character is colon by default. If the delimiter character is not specified, the delimiter is defined by the Culture info field value.
- E.g: If Culture info is da-DK, the delimiter character is semicolon. If Culture info is en-DK, the delimiter character is colon.
Date time format
- This field is optional and only displayed if file type is CSV.
- The date time format is dd.MM.yyyy HH:mm by default. If the Date time format field is not specified, the date time format is defined by the Culture info field value.
- E.g: If culture info is en-GB, the date time format is dd MMMM yyyy HH:mm:ss.
Enclose all
This field is optional and only displayed if file type is CSV.
By default, the checkbox is unticked. This means not all fields are enclosed.
If the checkbox is ticked, all fields and the header in the file are enclosed.
Enclosing character
- This field is optional and only displayed if file type is CSV.
- If it is not specified, the default enclose character is the double quote. If it is specified, the specified character is used instead of the default one.
- Only fields with certain special characters are enclosed. These are:
- The field value contains delimiter character.
- The field value contains enclosing character.
- The field value contains leading space.
- The field value contains trailing space.
- The field value contains line breaks.
Encoding
- This field is required and only displayed if file type is CSV.
- The field specifies the encoding of the output file.
- The user must select one value from the list of encoding types. The list includes:
- UTF-8
- UTF-32
- Unicode
- Big Endian Unicode
- ASCII
Byte order mark (BOM)
- This field is optional and only displayed if file type is CSV.
- The checkbox is unticked by default. When the checkbox is ticked, the data file will include BOM.
Culture info
- This field is optional and only displayed if file type is CSV.
- It is the culture information of the output file. The default value is the current culture information of the web server. If specified, the field value overrides the plugin configuration.
- The Culture info value determines the delimiter character and date time format in the file if these fields are not specified. The decimal separator also depends on the Culture info value.
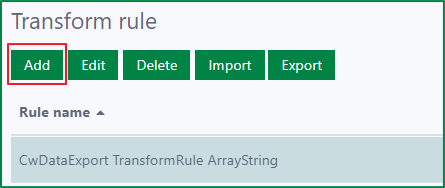
Transform rules
A transform rule is used for data transformation. The Transform rules page is used to manage all the transform rules. You can add, edit, delete, import, and export the transform rules.

Transform rules list
In the Transform rules list, you can view the following information:
Rule name: the configured name of the rule. The rule name is unique.
Description: the description of the rule. It is usually used to describe the rule.
Is active: the status of the rule. If a rule is active, it can be used in the configuration of Data collection configs.
Add a new transform rule
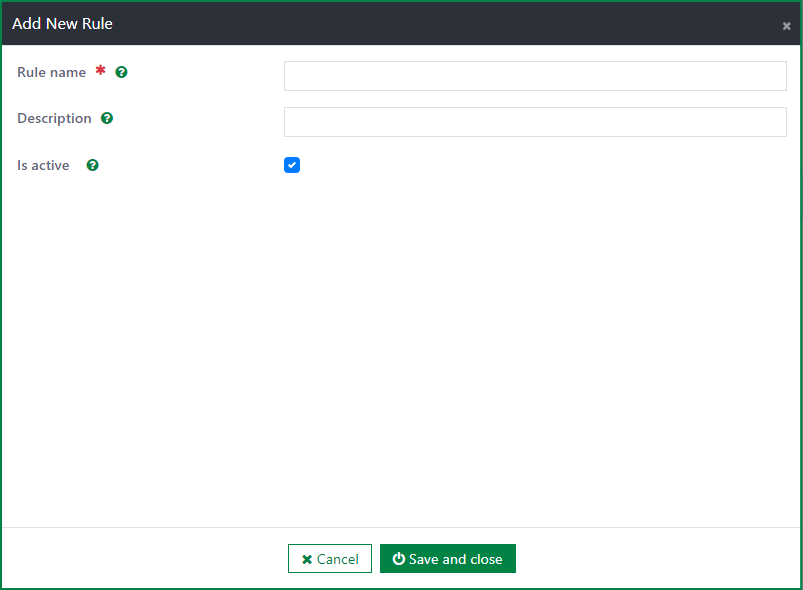
To add a new transform rule, first click the Add button to open the Add new rule dialog.
Then, enter values for the following fields:
Rule name
This field is required.
The rule name should be the same as the relevant rule name that was added in the backend.
Description
This field is optional.
This field is used to describe the rule.
Is active
- If this checkbox is ticked, the rule will be active and can be used in Data collection configs.
- Otherwise, the rule is hidden in the configuration dialog of Data collection configs.
After filling out the fields, click the Save and close button to add the rule.
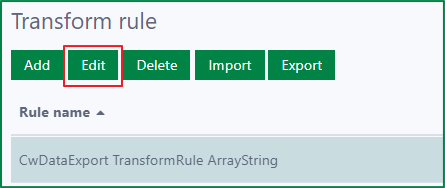
Edit a transform rule
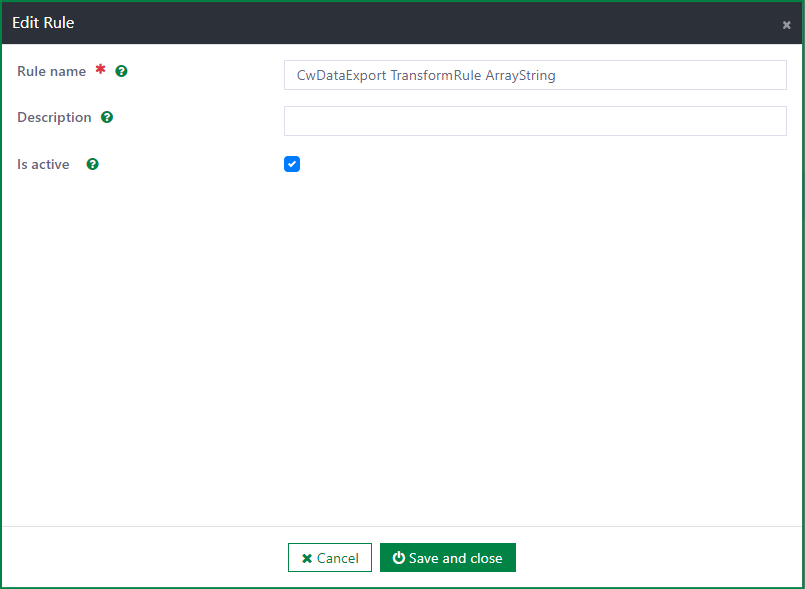
To edit a transform rule, first select a rule, then click the Edit button to open the Edit Rule dialog.
In the Edit Rule dialog, you can update the fields:
Rule name
Description
Is active
After updating the fields, click the Save and close button to update the rule. If you do not want to save the changes, click the Cancel button.
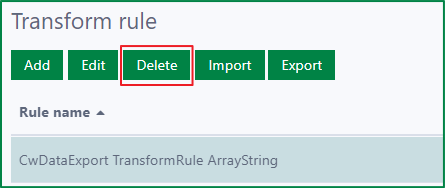
Delete a transform rule
To delete a transform rule, first select a rule. Then click the Delete button.
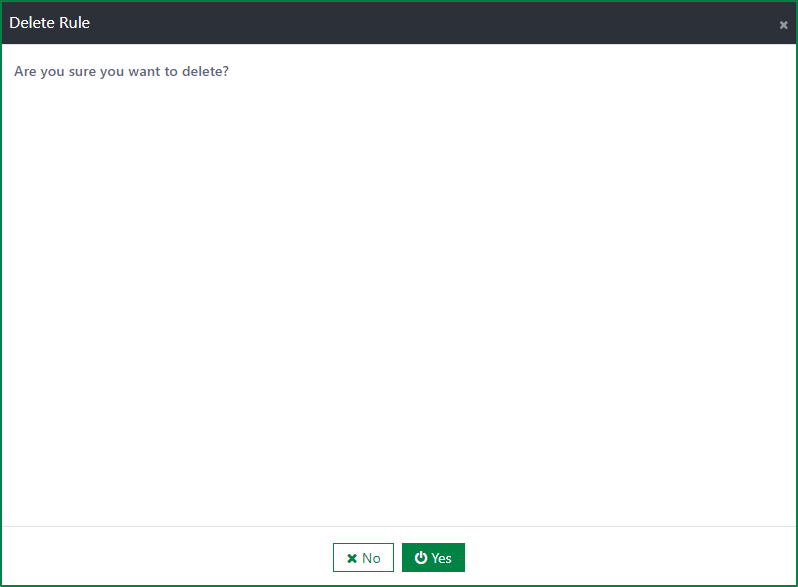
If the rule is not used by any Data collection configs, a confirmation dialog will be shown. If you select the Yes button, the rule will be deleted immediately. If you select the No button, the deletion will be cancelled.
If the rule is already used in a Data collection configs, a warning message dialog is displayed to indicate that deletion is not allowed.
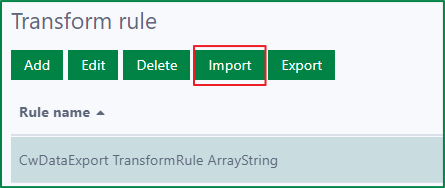
Import the transform rules
To import the transform rules, first click the Import button to open the Import Rule dialog.
Then, click on the placeholder of the File upload field to open file selection dialog
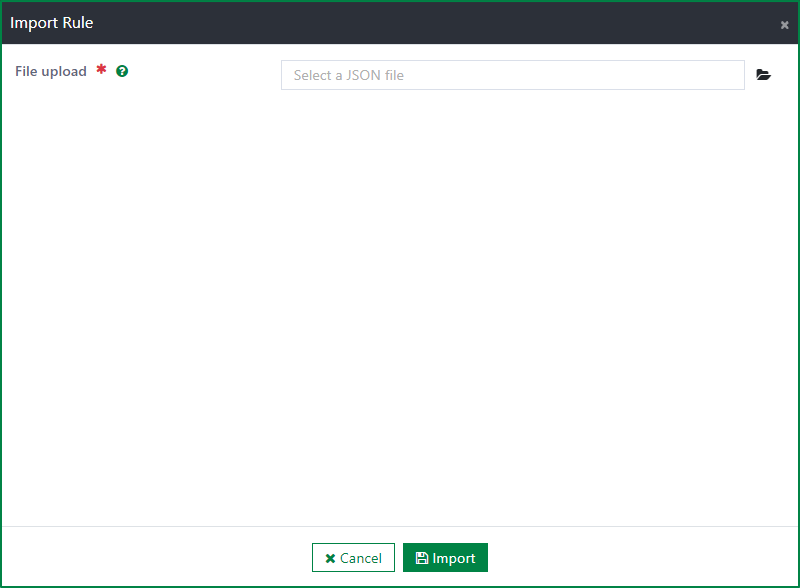
Next, select a JSON file to import (multiple selection is not supported). After selecting the file, click the Import button to import the rules from the JSON file. If you do not want to run the import process, click the Cancel button.
If the imported transform rule has the same name as an existing one on the Transform rules page, the existing one is overridden by the new one.
Export the transform rules

To export one or several rules in the list, select the rules, then click the Export button. The JSON file of the selected rules will be downloaded immediately.
To export all rules in the list, click the Export button. The JSON file of all rules will be downloaded immediately.
Data collection configs
A data collection config is the configuration for the data included in the exported data file, such as data source, maximum records, and so on.
On the Data collection configs page, you can view all the created configs, as well as add, edit, delete, import, and export the configs.

Data collection configs list
In the Data collection configs list, you can view all configs with the following information:
Data source name: the name of the data source selected in the config
Data table name: the input data table name of the data source
Partition field: the date time field used as a condition to query data
Maximum records per file: the maximum number of records that can be included in one file
Description: the description of the config. It is usually used to describe the config.
Is active: the status of the config. If the config is active, the relevant data files are sent whenever the scheduler job runs.
Add a new Data collection config
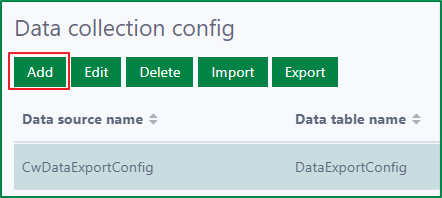
To add a new Data collection config, first click the Add button.
Then, in the Add Data collection config dialog, fill out the fields:
Data source name
This field is required.
You must enter the name of the data source.
The list of Data source fields and Partition fields is generated according to the input data source name.
Data table name:
- This field is optional.
- Data table name can be used as an element in generating the exported file name. If Data table name is empty, Data source name is used in the exported file name instead.
- This field must not include the following characters |*:"<>/?
File name pattern
- This field is required.
- The field is used to configure the name of the exported file.
- The default file name pattern is [[data_table_name]]_[[timestamp@yyyy.MM.dd]]
- The pattern must not contain any of the following characters \ / : * ? " < > |. These characters are not allowed in a file's path.
- You can add a fixed file name, or configure a dynamic file name by using the following elements in the file name pattern:
- [[data_table_name]]: Use it if you want to insert the data table name into the file name. If the data table name is empty, the data source name is inserted instead.
- [[timestamp@
]] : Use it if you want to insert the timestamp into the file name.is used to define the specific format for the timestamp, e.g: [[timestamp@yyyy.MM.dd HH:mm]] - [[file_index]]: Use it if you want to insert the index of the file into the file name. If you do not specify it, the system adds the index at the end of the file name automatically in case the data is separated into multiple files.
Partition field
- This field is optional.
- The list of Partition fields includes all the date time fields belonging to the input data source name.
- The partition field is used as a date time filter to query data. If the partition field is specified, the system queries data with a partition field value greater than the partition field value of the last record in the previous exported file for the new exported file.
- E.g: Partition field is SubmittedDate. The SubmittedDate of the last record in the previous exported file is 31.05.2023 23:50. Then, in the new exported file, only records with a SubmittedDate from 31.05.2023 23:51 are included.
Maximum records per file
- This field is optional.
- The field defines the maximum number of records that can be included in one file. If the number of records exceeds the maximum, the data is separated into multiple files.
Description
- This field is optional. It is used to describe the config.
Is active
- If this checkbox is ticked, the relevant data files are sent whenever the scheduler job runs.
Generate upload folder everyday
- If the checkbox is ticked, a new folder is created every day to store the relevant exported file.
Folder name pattern
- This field is optional if the Generate upload folder everyday checkbox is unticked.
- It is mandatory if the Generate upload folder everyday checkbox is ticked.
- The field is used to configure the name of the folder that contains the exported files.
- The folder name pattern must not contain the following characters \ / : * ? " < > |
- You can add a fixed folder name, or configure a dynamic folder name with the following elements:
- [[data_table_name]]: Use it if you want to insert the data table name into the folder name. If the data table name is empty, the data source name is inserted instead.
- [[timestamp@
]] : Use it if you want to insert the timestamp into the folder name.is used to define the specific format for the timestamp, e.g: [[timestamp@yyyy.MM.dd HH:mm]]. If it is not specified, the system inserts the timestamp into the folder name automatically with the format yyyyMMddHHmm.
Data source fields:
- By clicking the + button, the additional fields used to fill in the data source field information are displayed. You can add multiple data source fields. After adding a data source field, you must select the attribute field and configure additional information for it with the following fields:
Name:
- This field is required.
- You must select one attribute from the list.
- The list of attribute fields is retrieved from the selected Data source.
Alias
- This field is optional.
- This field is used to enter the alias for the selected attribute field.
- In the exported file, the Alias is used as the header of the attribute field. If the Alias is not specified, the attribute field name is used instead.
Transform rule
- This field is optional.
- This field is used to define the transformation rule for the attribute's data in the exported file.
- The list of transformation rules is retrieved from the Transform rules page.
- By clicking the + button, the additional fields used to fill in the data source field information are displayed. You can add multiple data source fields. After adding a data source field, you must select the attribute field and configure additional information for it with the following fields:
After filling in the information, click the Save and close button to complete adding the config.

Edit a Data collection config
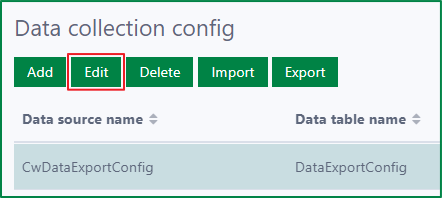
To edit a Data collection config, first click the Edit button to open the Edit Data collection Config dialog.
In the Edit Data collection Config dialog, you can edit:
Data source name
Data table name
File name pattern
Partition field
Maximum records per file
Description
Is active
Generate upload folder everyday
Folder name pattern
Data source fields:
- Name
- Alias
- Transform rule
After updating the information, click the Save and close button to save the changes. Or you can click the Cancel button to discard the changes.
Delete a Data collection config
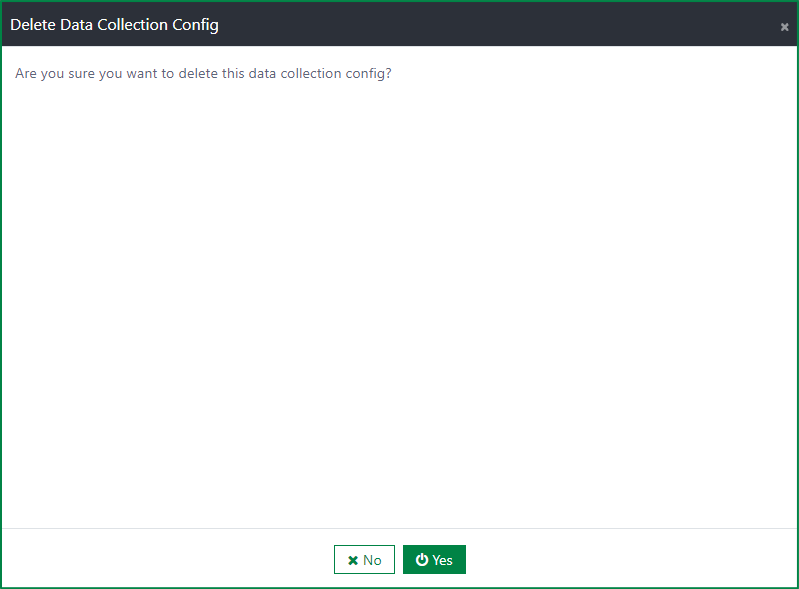
To delete a Data collection config, first click the Delete button.
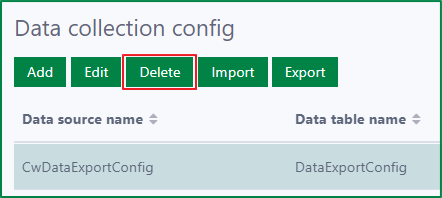
Then, a confirmation dialog is displayed. If you select the Yes button, the config will be deleted immediately. If you select the No button, the deletion will be cancelled.
Import the Data collection configs
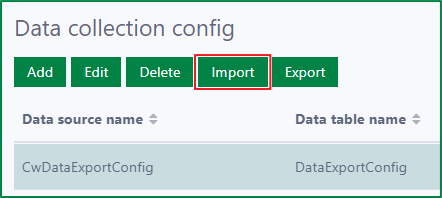
To import the Data collection configs, first click the Import button to open the Import Data collection Configs dialog.
Then, click the placeholder of the File upload field to open the file selection dialog.
Next, select a JSON file to import (multiple selection is not supported). After selecting the file, click the Import button to import the rules from the JSON file. If you do not want to run the import process, click the Cancel button.
If the imported data collection config has the same name as an existing one on the Data collection configs page, the existing one is overridden by the new one.
Export the Data collection configs
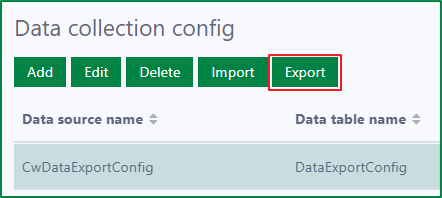
To export one or several configs in the list, select the configs, then click the Export button. The JSON file of the selected configs will be downloaded immediately.
To export all configs in the list, click the Export button. The JSON file of all configs will be downloaded immediately.
Scheduler job overview
The Scheduler job gets the data based on the active Data collection configs, and only gets the data with a Partition field in the range from the last successful run until the current time. The data is sorted in ascending order by the Partition field. If no Partition field is defined, the system gets all the data.
In the background, the job calculates and divides the data into multiple files based on the maximum records per file value.
After the data preparation process finishes and all the CSV files are generated successfully, the system triggers the upload process and uploads the files to the SFTP server configured in Settings. If one or more files fail to generate, the job stops working.
During uploading, if one or more files fail to upload, the job reverts the upload process by removing the successfully uploaded files from the SFTP server.
All data files and their status are managed on the Data files page.
Data files management
The Data files page is used to manage the data files that are uploaded to the SFTP server. On this page, you can view all the data files with their status and other information (file name, generated date, etc.), and download the data files.
Data files list

In the Data files list, you can view the following information about the data files:
Data table name: the Data table name configured in the relevant Data collection configs. If Data table name is not configured, Data source name is displayed instead.
File name: the name of the uploaded data files. If multiple data files are generated from a Data collection config in one job run, the data files have a numeral suffix, for example: yyyy.MM.dd_data table name(s)_1.csv, : yyyy.MM.dd_data table name(s)_2.csv
Status: the status of the data files. There are 7 statuses:
- New: the data file has just been created.
- Preparing: the data file is being prepared.
- Preparing failed: the preparation of the data file has failed.
- Prepared: the preparation of the data file is complete.
- Uploading: the data file is being uploaded to the SFTP server.
- Uploading failed: the upload of the data file to the SFTP server has failed.
- Uploaded: the data file has been uploaded to the SFTP server successfully.
Generation date: the date and time when the data file preparation started.
Error message: the error message shown when the data file preparation or upload process has failed.
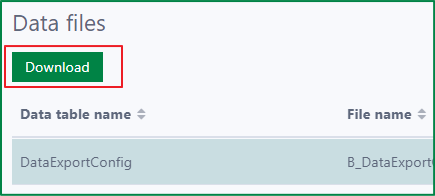
Download data files
You can only download a data file after it is prepared successfully. The downloadable files have one of these statuses: Prepared, Uploading, Uploading failed, Uploaded. Only one data file can be downloaded at a time.
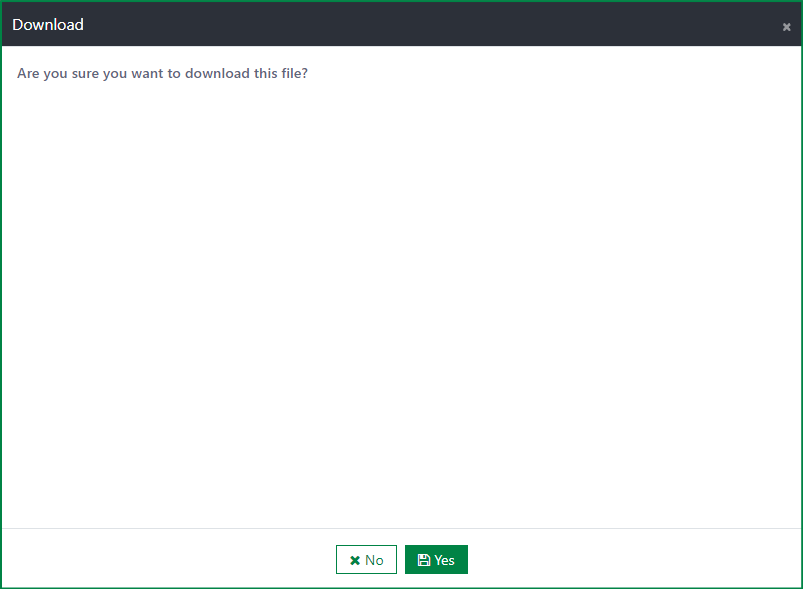
To download a data file, first select the data file and click the Download button.
After that, a confirmation dialog opens. To continue downloading the file, click the Yes button. If you want to cancel the download, click the Cancel button.
Installation
Requirements
- Casewhere 2.6.0 or later.
Configuration
- Import products: Casewhere SFTP Hub, Product-Cw CSV and Casewhere Data Export
- Link the administration page to your worker sites and configure access control
- Configure the SFTP hub folder and SFTP connection
- Configure the Data Export settings
Dependencies
Releases
1.1.0 - 12/04/2022
Changelog
- Support file settings
- Support reordering data source fields
- Support showing data source fields in the dropdown
- Support showing header for empty CSV file
- More friendly UI for data file management
Download (login required): Data Export v1.1.0
1.0.0 - 24/02/2022
Changelog
- Data export settings
- Data collection configuration
- Transform rules management
- Data files management
Download (login required): Data Export v1.0.0
Roadmap
- More format
- Support different data storage: Sharepoint, Azure storage rather than SFTP