CMS content editing
Introduction
Understanding how to edit site content and manage website pages is important for application designer who works with Casewhere. These tasks are accomplished using the Casewhere CMS admin interface.
Casewhere CMS admin (refers as CMS) interface contains 2 main functioning areas:
- Worker sites: where you manage all of your worker sites and pages, we will discuss this functioning area in this article
- Widget template: where you work with the widgets by creating, modifying or even importing and exporting, read more in Widget template
You can edit CMS content easily, whether it's published or in a draft, without changing what's live on your site.
Worker sites
Add a worker site to CMS
First thing first, let go to Casewhere admin to create a new worker site. Think of Casewhere admin like a place to manage the backend of your application, meanwhile CMS is the place to manage the frontend a.k.a how your application will look like.
Tip: switching from CMS (for application's frontend) to Casewhere admin (for application's backend) is actually very simple, just remove the "/admin" in your CMS's url
Step 1. Read Create a worker site for a guideline if you don't know how to create a worker site in Casewhere, notice a slight change that in step 3 you must choose the theme name "none"
Step 2. Reload CMS, if you see your newly created worker site in the homepage list, congratulation, you are all set!
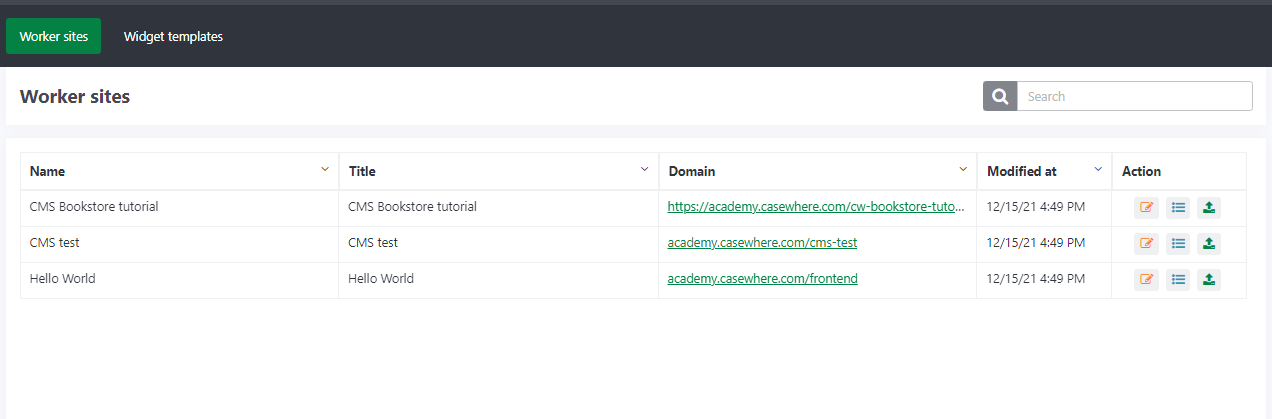
Manage worker sites
In the CMS Worker sites page, you will see a list of all worker sites with their name, tile, domain, modified time and action lists.

There are a few things that you can do with this homepage to make ease when managing worker sites:
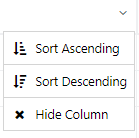
- Sort any column
- Click the domain name to quickly view the site

- Design your worker site with action buttons
Design your worker site
Edit site design
Intro
This function will help you design the master layout of your site.
Click Edit site design button  to enter the master layout editing mode.
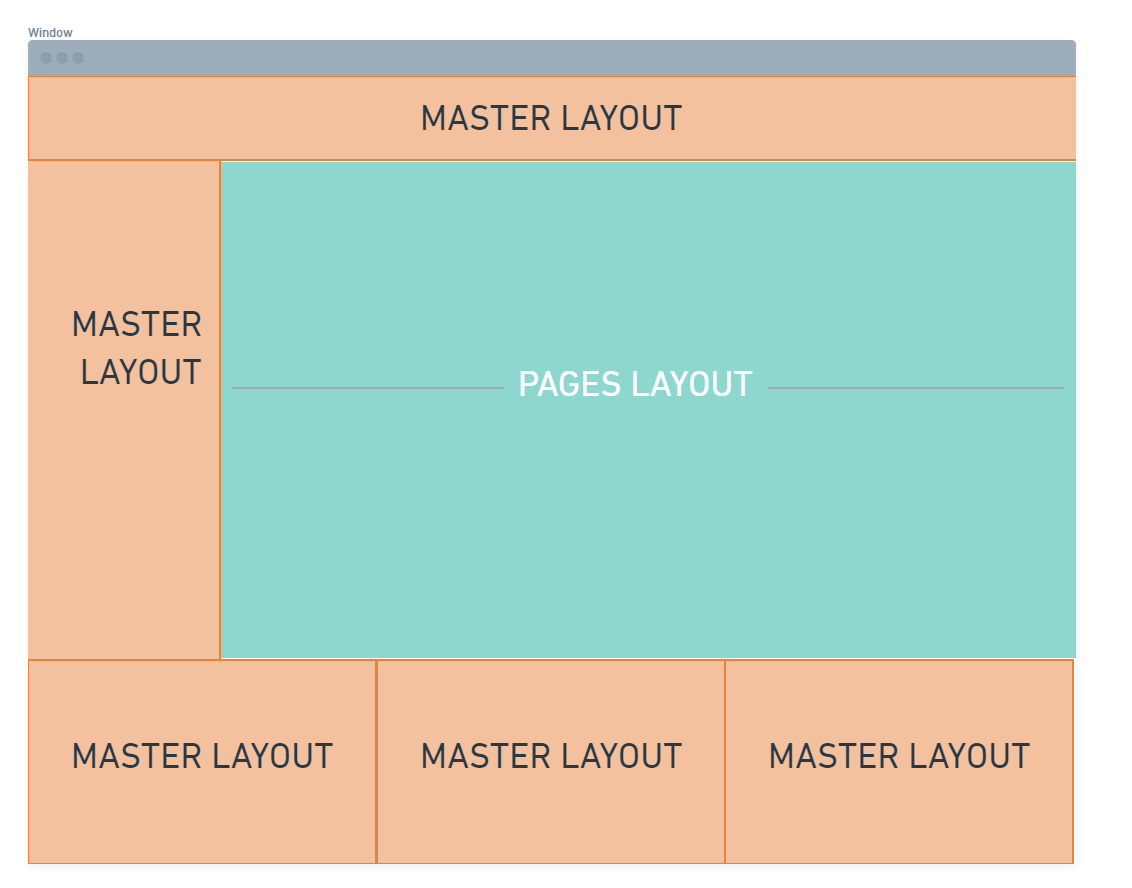
What is master layout?
The master layout is an important building block in the construction of a worker site. Master layouts often contain graphical elements common to the theme. A master layout normally will have a header, logo area, main menu, and footer, but you actually can define as many elements as you want for your master layout.
Each worker site has one master layout. It is not only helps to maintain a consistent appearance through all the pages of your application, but also help to save your time and effort since the designer only have to define it one time.
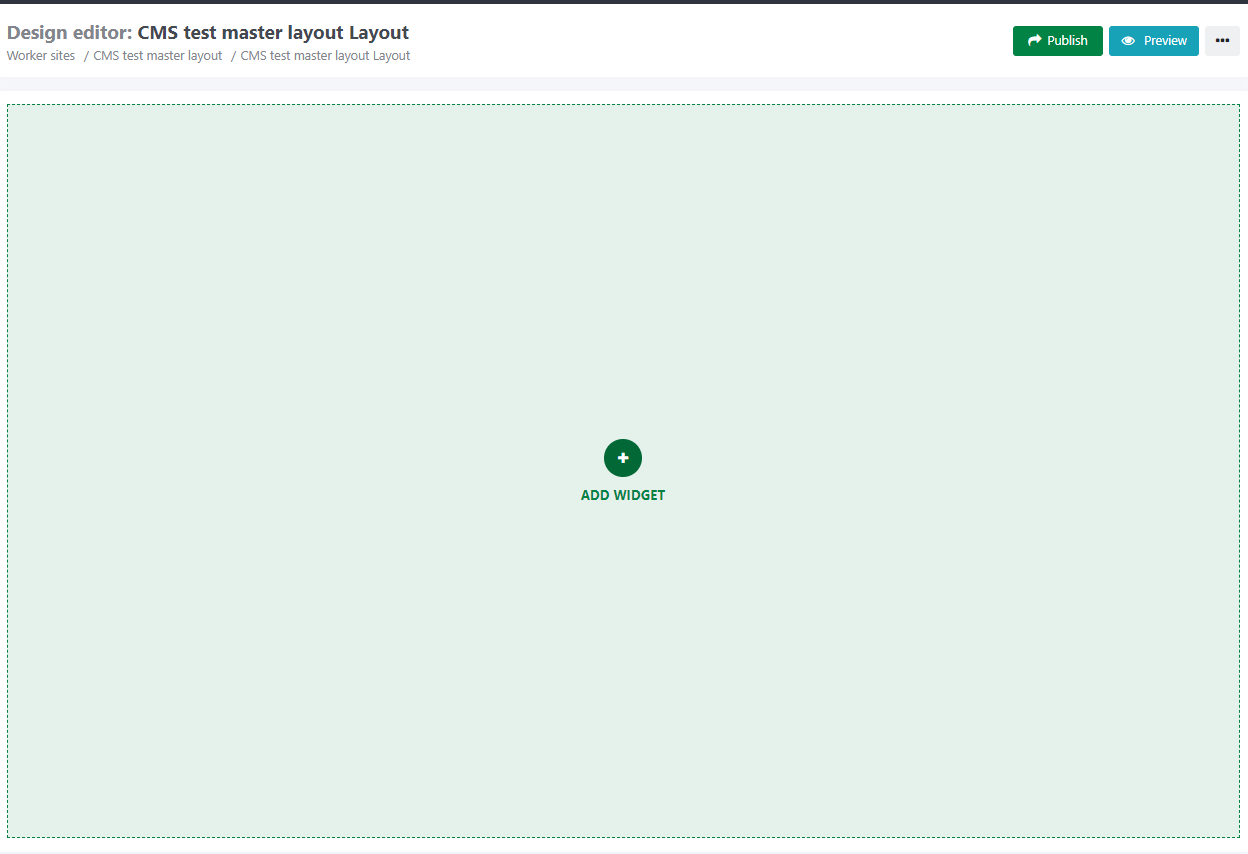
Guideline
A brand new master layout is totally blank. You can reuse an old layout, or in this article, you will learn how to create a new layout.
Step 1. Click ADD WIDGET
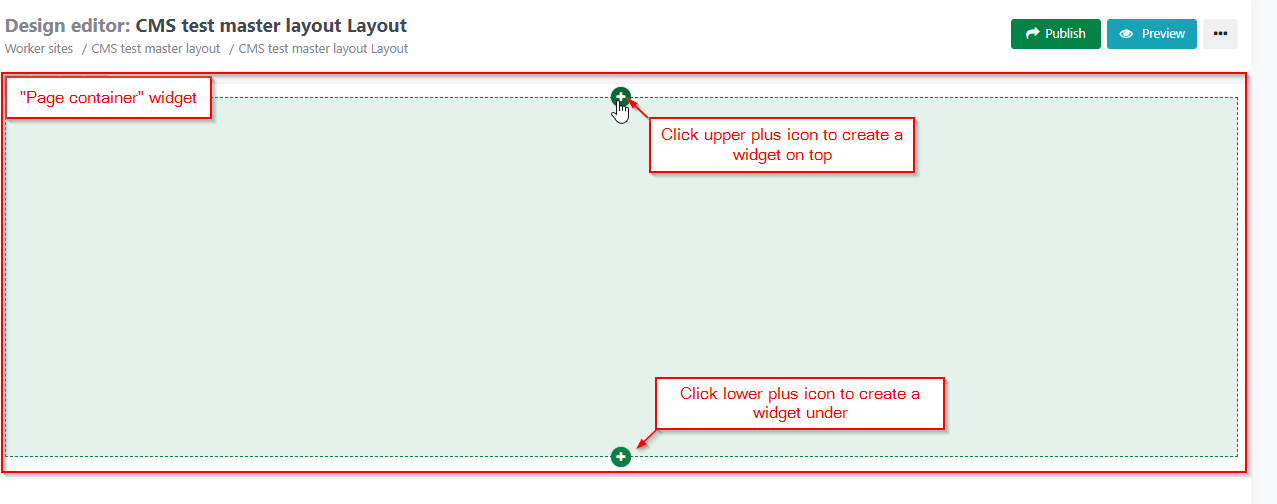
Step 2. Select the widget Page container
Page container widget is a placeholder for your pages, that you will learn how to config in the next sections.
Step 3. Click the upper or lower plus icon  to add more widgets.
Step 4. We will add a Rich Content and a Menu widget on top of, and a Row widget under the Page container widget.
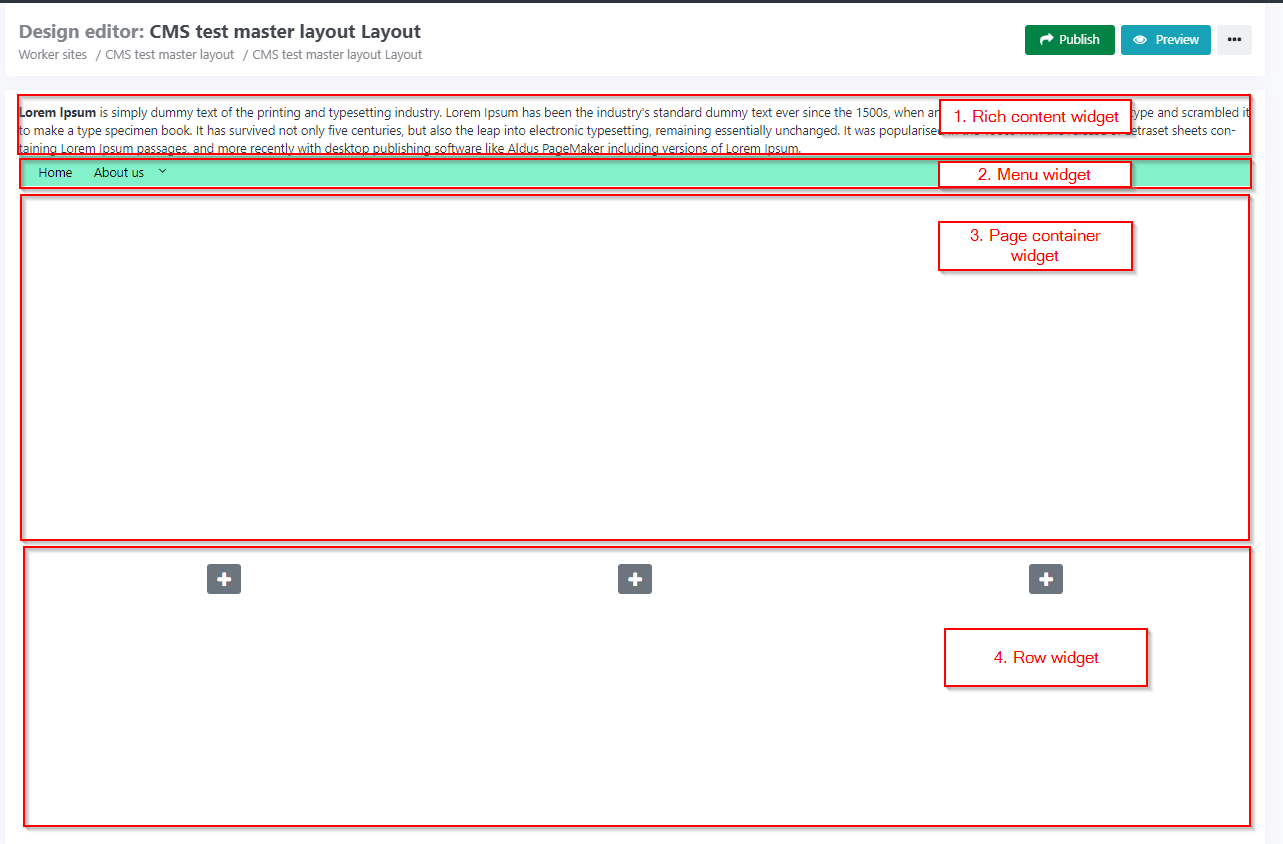
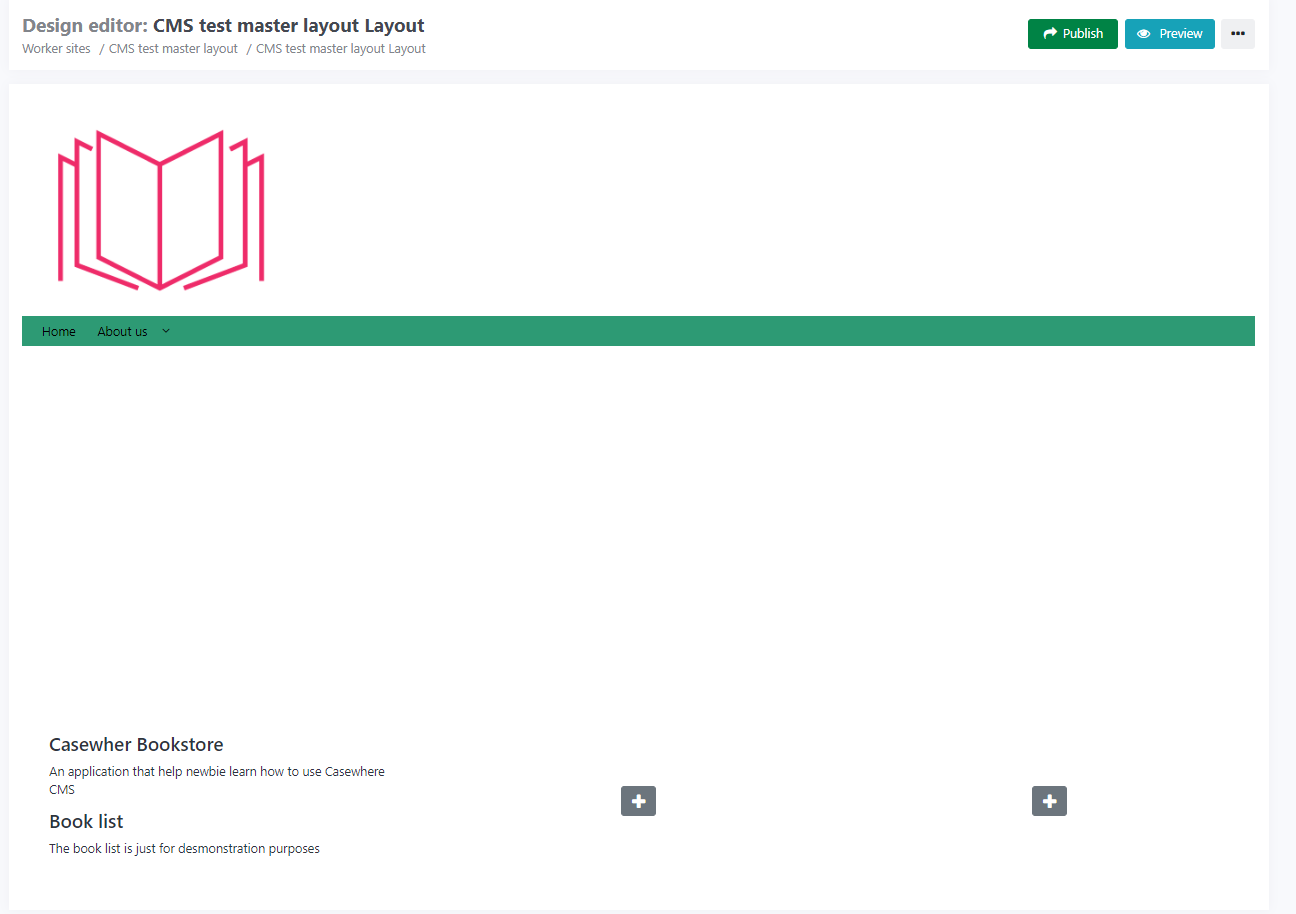
Now you can fill in the content placeholder with image and text.
Go to page list 
This button will get you enter the page managements interface, read section CMS page management for more.
Publish all 
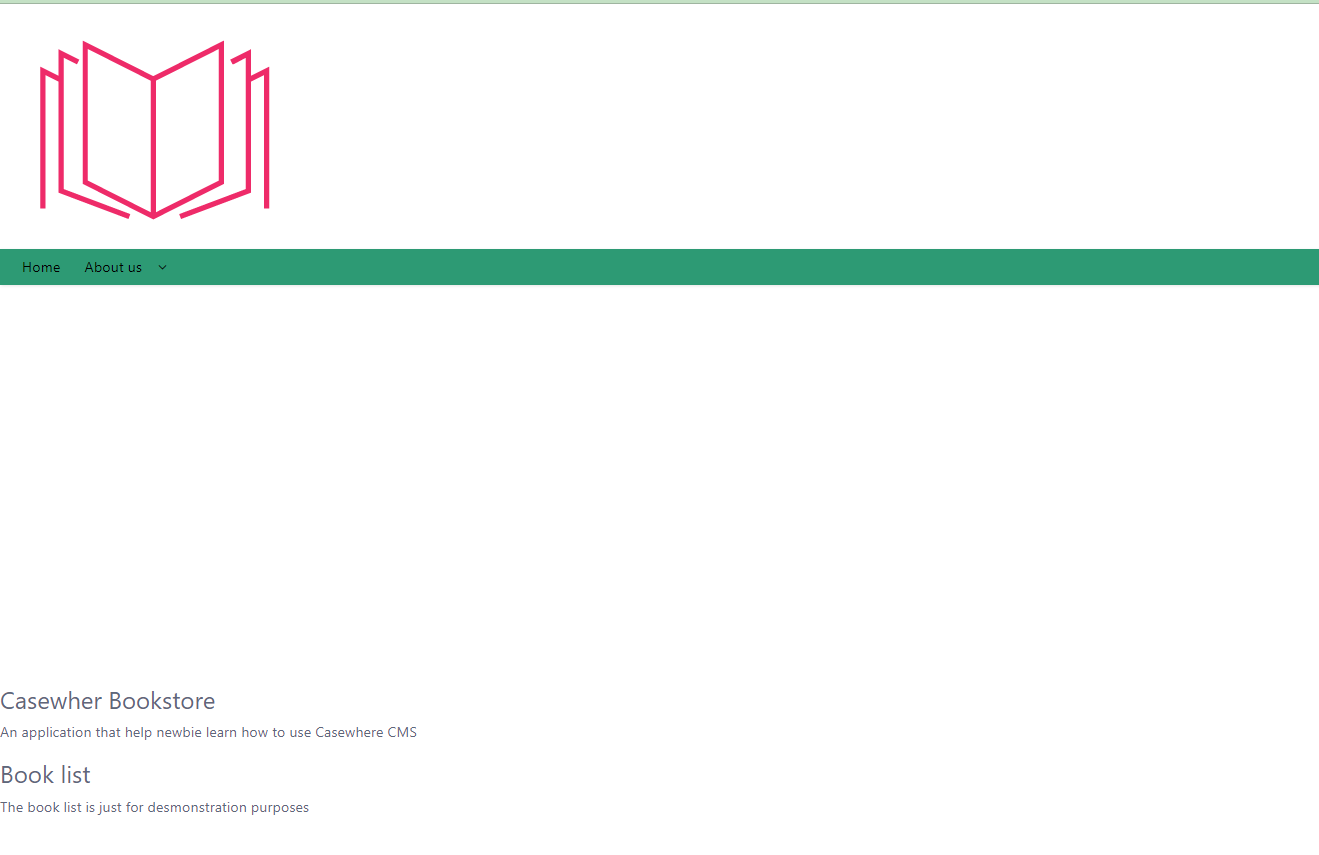
When you click this button, your master layout will be published, and you can see how it looks in a real site.
CMS pages management
Before you start create a new page, make sure your Page Container widget has been added to your master layout as a placeholder.
Create a new page
Click Add page  to create a totally new page.
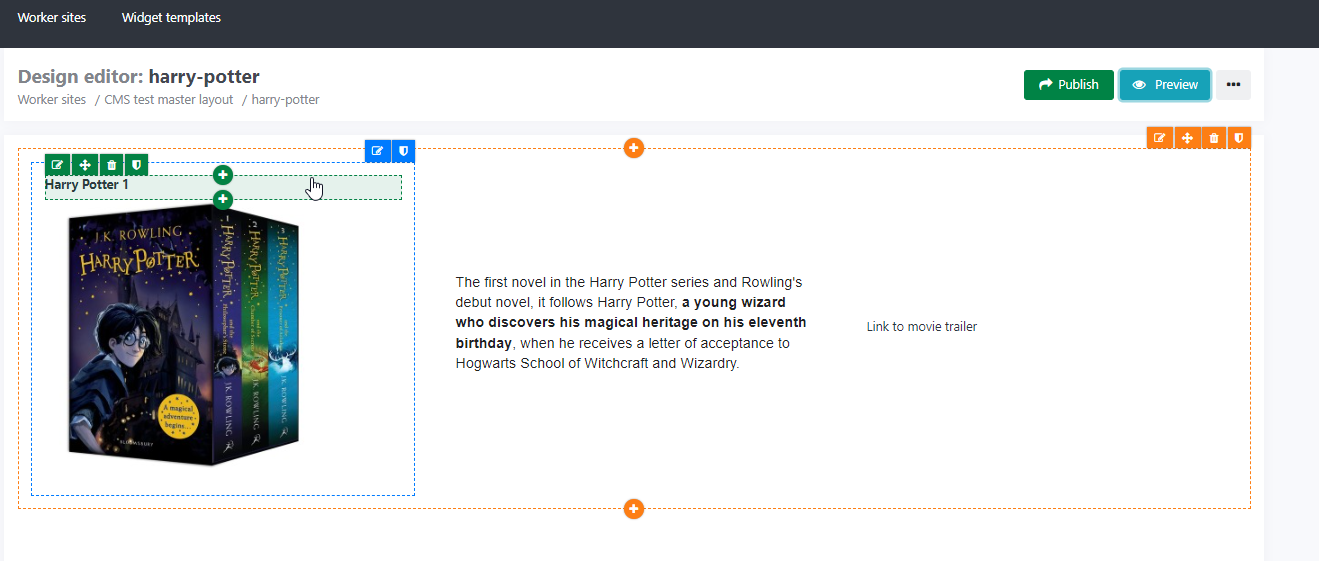
Edit page design
Click Edit page design button  to enter page editing mode.
The designing concept of CMS is not changed even you are working with a master layout or a page.
Reference Design your worker site section to learn how to add and arrange widgets.
Publish
You can click Publish button  to immediately publish your page.
Preview
You can click Preview button  to preview the page appearance before publish.
Read more about publish and preview in Content publishing.
Copy a page
Click Copy this page button  to quickly duplicate a page and inherit from that page's design.
Setting
Click the Setting button  to edit page info such as title, parent page, and order.
Set a page as homepage
Click Set at homepage  button to set the page as homepage. Each worker site only have 1 homepage.
Access rule 
There are sites that should only be accessed by a specific group of identities.
For example, the application designers can set up access rules to show or hide specific widgets for certain user roles.
To set such restriction to a site, users need to add some rules, read more in CMS access rule (coming soon)
Publish a page
Click Publish button  to publish. The published page will have both master layout and the page content.

Mark a page as template
Click Mark as template  button to add a page to the page template library.
So when you create a new page for the same worker site, you can inherit from another page's template and do not have to do double-works, especially if you want to keep the same page layout across some pages.

You can also unmark a page as a template  . This action will remove the page from the page template library.
Unlink from worker site
You can click Unlink from worker site  to seperate the page from its worker site. This action will not delete the page but will made it no longer accessible from the worker site.
Delete
You can click Delete  to delete a page. Be careful with this action since the page once deleted can not be recovered.