Create edit-object workflow
Introduction
In previous tutorials, you already learn how to create add-object workflow and also how to create a button to trigger the workflow.
In this tutorial, you will continue to define a edit-object workflow called "Edit book."
This edit action, as well as add and delete, are the fundamental functions that any application should be able to do.
Guide
Step 1. In Casewhere Admin site, navigate to Workflow Definition
Step 2. Click Create button

The Create New Workflow definition dialog will appear
- Step 3. Config General setting tab as below
| Field name | Actions |
|---|---|
| Name | Fill in "Edit book" |
| Display Name | Fill in "Edit book" |
| Used For Creating New Cases | Make sure this field is uncheck ☐ |
| Accept Input | ☑ |
| Require Input | ☑ |
| Window Size | Select Medium |

- Step 4. Switch to Data classes tab
Click Select data classes drop-down, and select "CwBook"
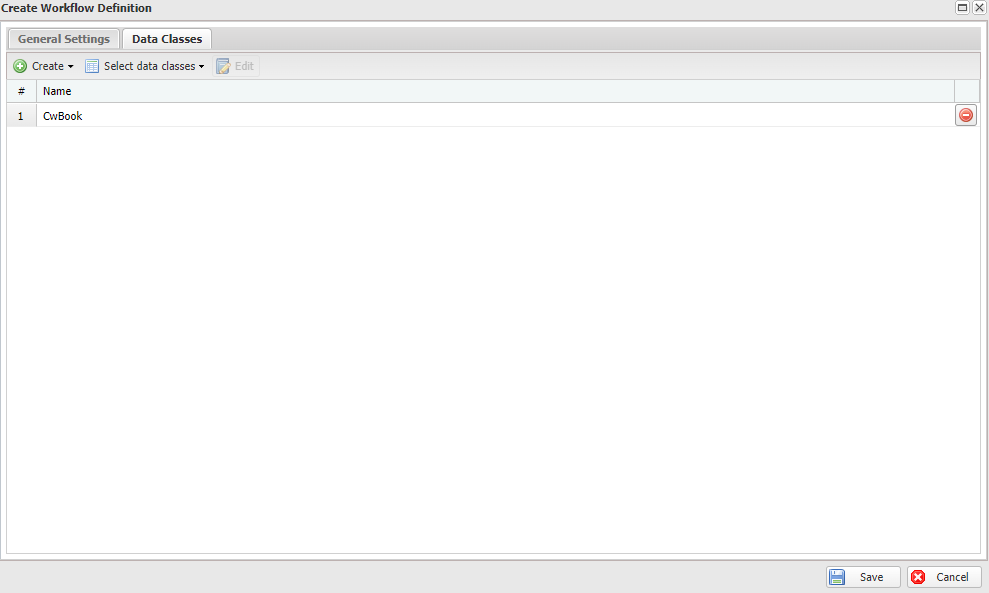
Click Save
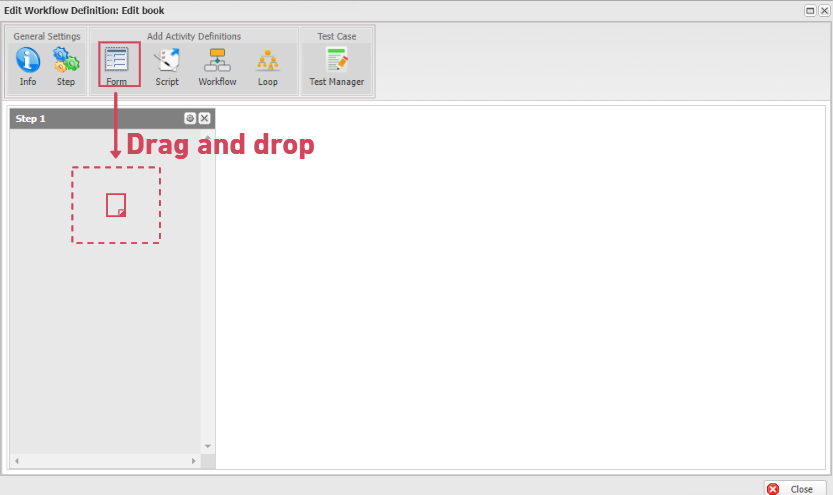
- Step 5. Edit Workflow Definition: Edit book dialog will display
Drag and drop Form activity definitions from Add Activity Definitions panel to the Step 1 container
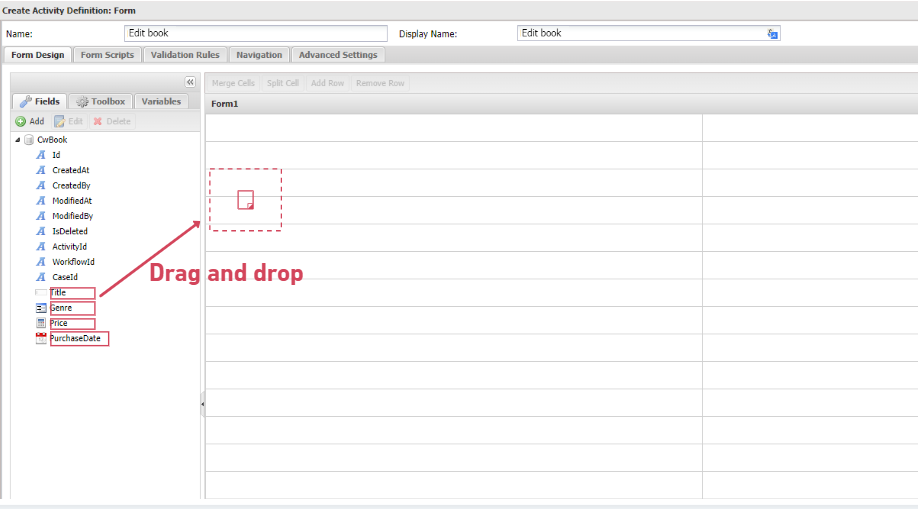
- Step 6: Create Activity Definition: Form will show up.
| Field name | Actions |
|---|---|
| Name | Fill in "Edit book" |
| Display Name | Fill in "Edit book" |

- Step 7. Click Add button
 to open the Add Data source dialog.
| Field name | Actions |
|---|---|
| Data Class | Select "CwBook" |
| Name | CwBook |
| Reference Type field | Select "Single Object" |
| Reference To | Select "Existing Object" |
| Data context | Input |
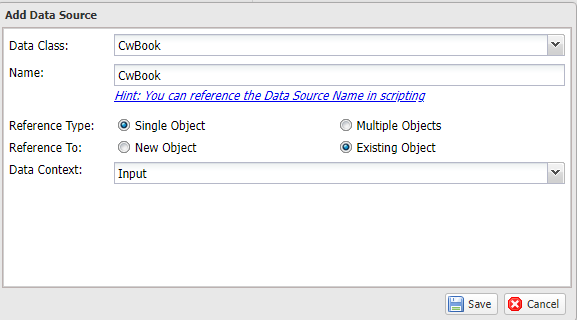
Click Save
- Step 8. Drag and drop these fields into form canvas:
- Title
- Genre
- Price
- PurchaseDate
After drag and drop all 4 fields as show below, click on Save & Close.
- Step 9. Create a button to trigger the workflow
Follow this guide to create and test a button to make "Edit book" button
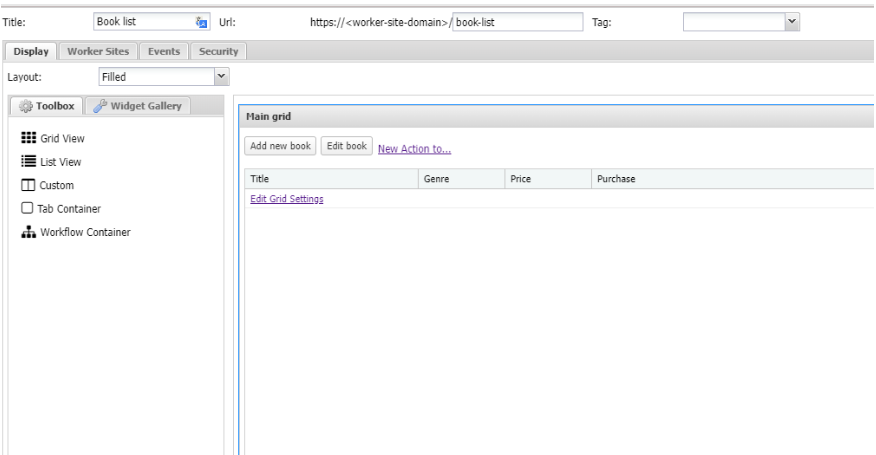
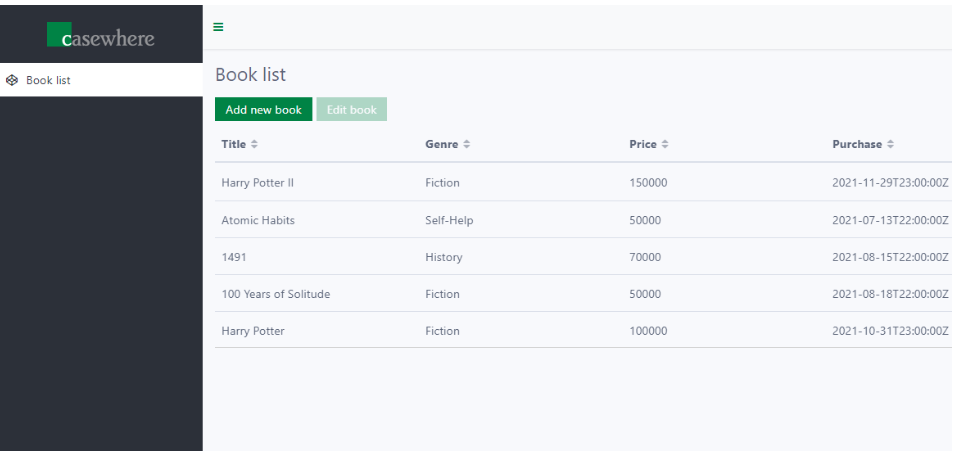
- Step 10. Reload your page to see the button on-live
Good job! You are ready to move to the next step - Create delete-object workflow