Enable grid widget features
Searching and filtering are basic functionalities that most applications provide.
In this tutorial you will learn how to quickly config those functionalities using Casewhere.
Guide
- Step 1. In Casewhere Admin site, navigate to Pages
Choose the pages name "book-list" that you already made in create a page step
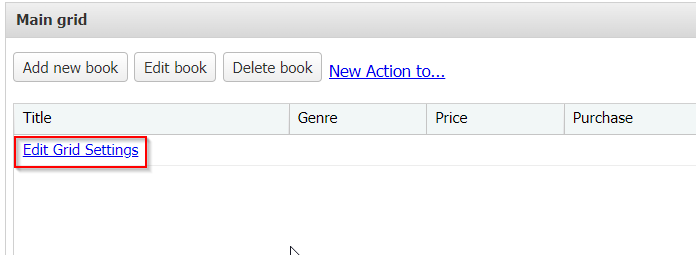
- Step 2. In the Main grid widget, click Edit Grid Setting
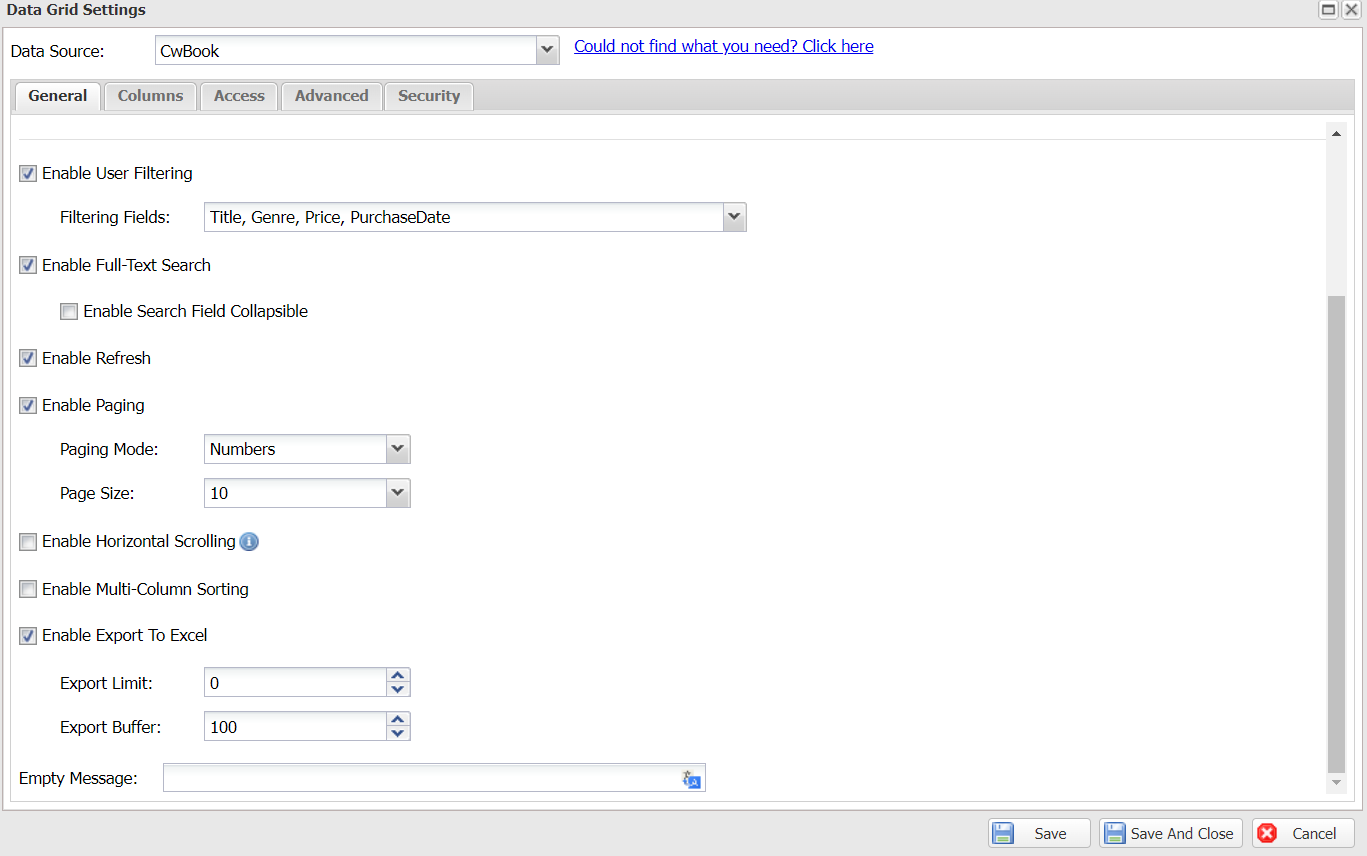
- Step 3. Data Grid Settings dialog will show up allowing you to config the Main grid. Simply check box ☑ to enable the field.
- Enable User Filtering: allow end-users to create custom filters in the worker site
- Enable Full-Text Search: allow end-users to search
- Enable Refresh: provide end-users a shortcut to quickly refresh data
- Enable Paging: allow end-users to enable loading and displaying data page by page. This should be enabled when you have a large data collection
- Enable Horizontal Scrolling: allow end-users to scroll left and right to reveal content from the sides of the window
- Enable Multi-Column Sorting: allow end-users to sort on multiple columns
- Enable Export To Excel: allow end-users to export the displayed data to an .xlsx file
- Empty message: allow end-users to define the content of empty message when downloading the file
For your application, let enable the functions below:
| Field name | Actions | How it will look in UI |
|---|---|---|
| Enable User Filtering | ☑ |  |
| Enable Full-Text Search | ☑ |  |
| Enable Refresh | ☑ |  |
| Enable Paging | ☑ |  |
| Enable Export To Excel | ☑ |  |
Test
Reload your site, it should look like a fully-functional web page as below
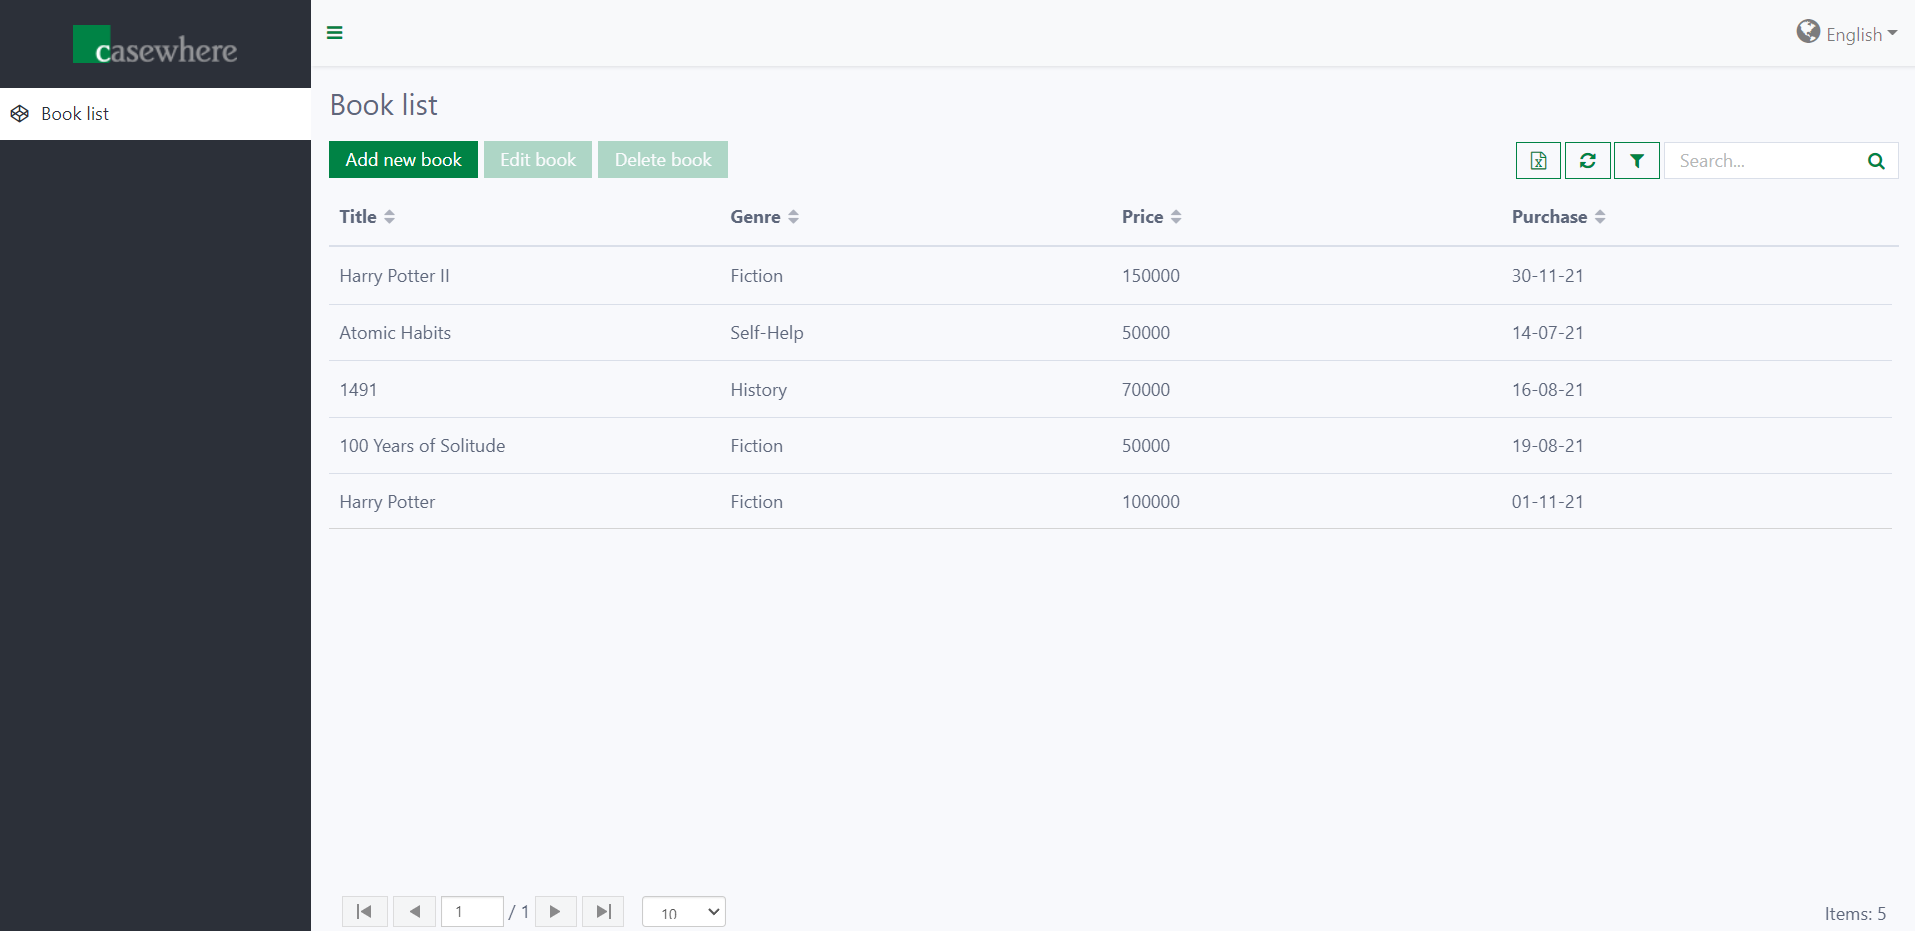
Try it! Let's interact with all the cool functions that you created.
You can follow the following checklist:
- Add more 10 more books
- Edit the name/genre/price/purchase date of books
- Delete 1 book
- Refresh your site
- Switch between pages
- Filter for all "History" books
- Search for "Harry Potter" book
- Export the list to .xlxs
Way to go, now you are ready to move to the next step!