Component: Form management - Receipt form
Introduction
The receipt form is displayed after the end user submits the form. A receipt form is a digital message confirming that information has been submitted successfully.
The receipt forms are displayed in the list with information such as Name, Status, Description, Last published time, Last modified time, Last modified by, and Active status.
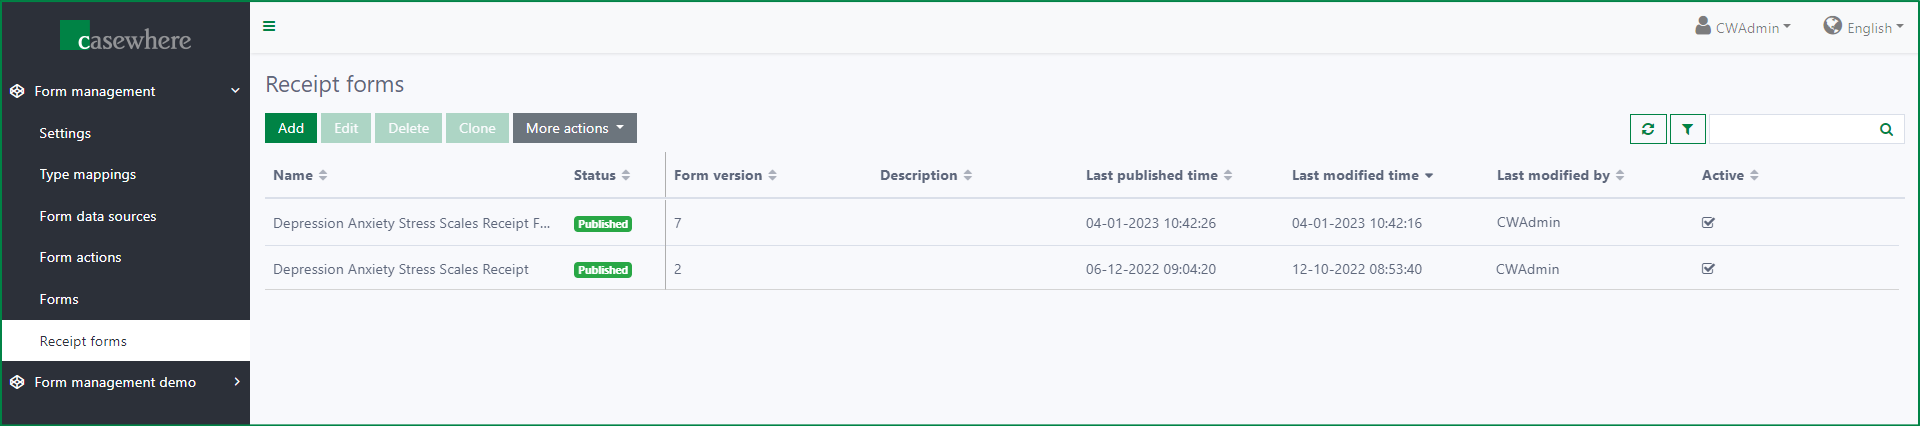
You can add, edit, and delete receipt forms. You can also clone a new receipt form from an existing one, publish forms, import forms from a JSON file, and export them to a JSON file.
Guideline
Add receipt form
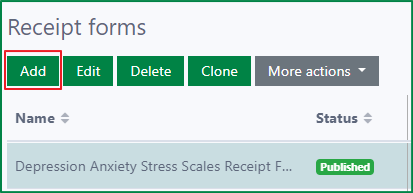
By clicking the Add button, the Add new receipt form dialog will be opened.
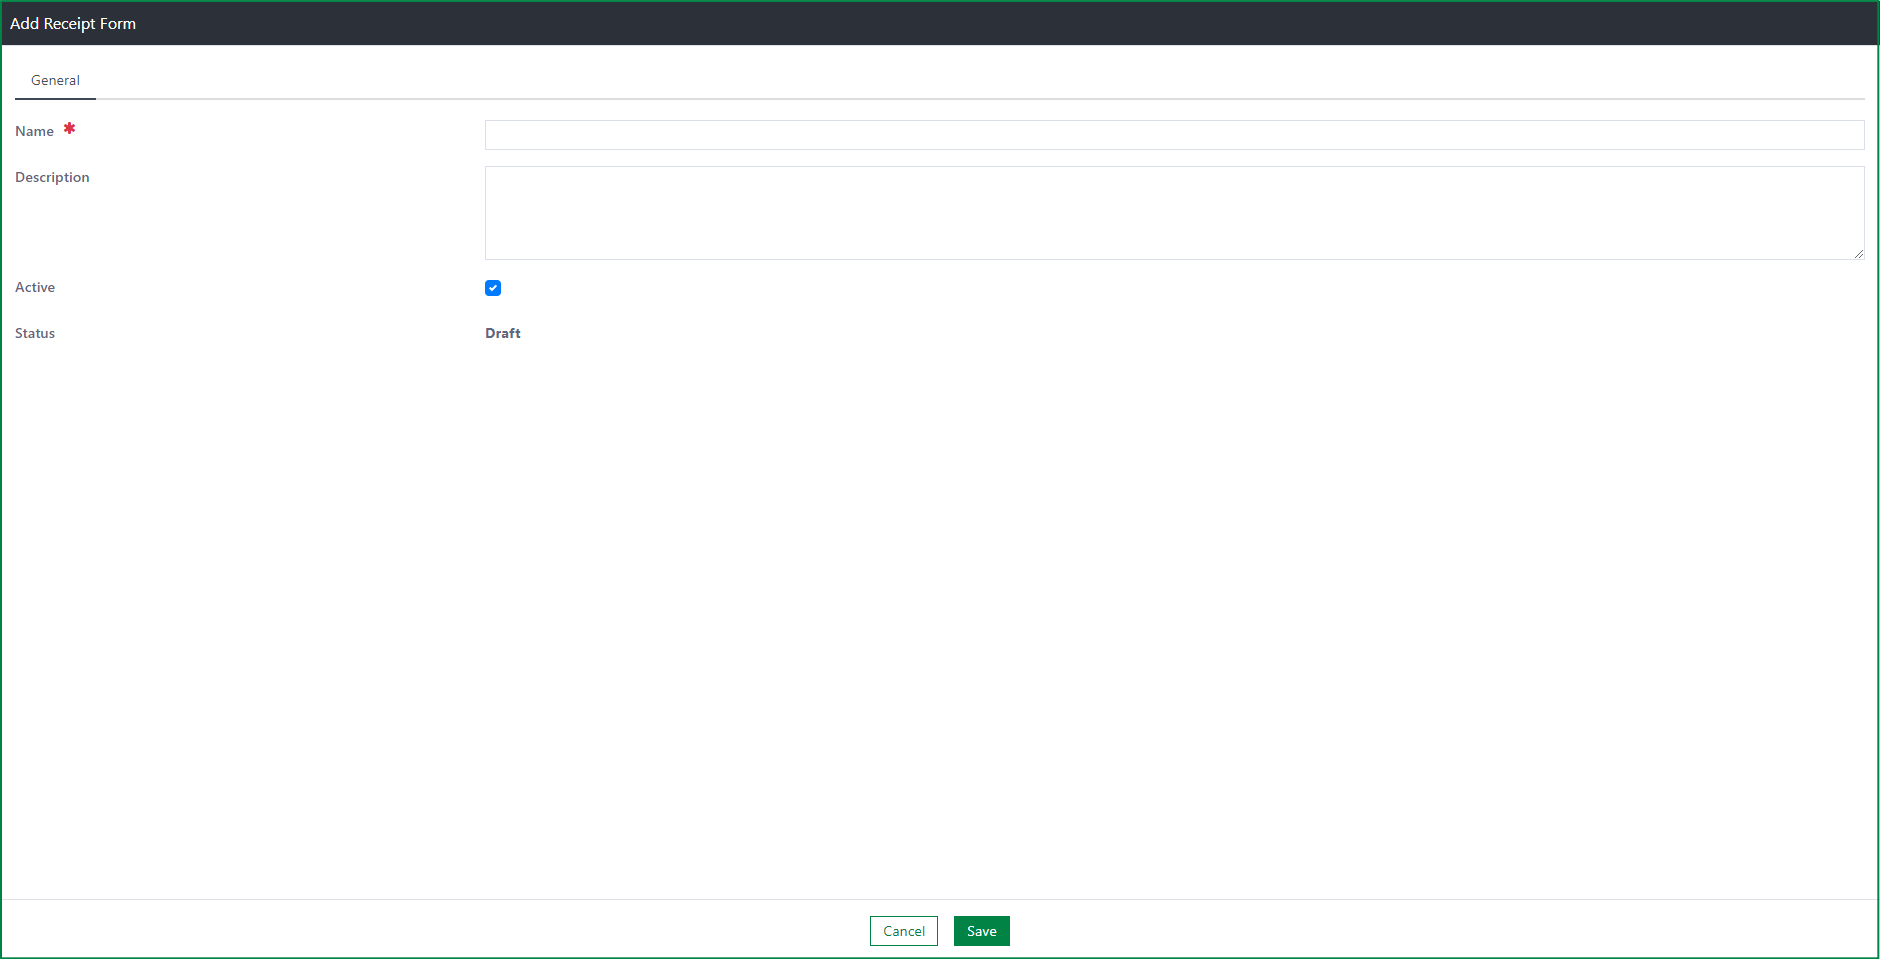
The dialog includes General tab with the following fields:
Name
- This field is required.
- The name of the receipt form must be unique.
Description
- This field is optional.
- You can add more information about the receipt form.
Active
- By default, the receipt form is active. You can deactivate it by unticking the checkbox.
- An inactive receipt form will not be available in the Receipt page configuration in the Form's Action configuration.
Status
- The default status of a new receipt form is Draft.
- A form can have one of these statuses: Draft or Published.
- Draft: A receipt form has Draft status when it is newly created, or it is edited after being published.
- Published: A receipt form has Published status after it is published successfully.
Edit receipt form
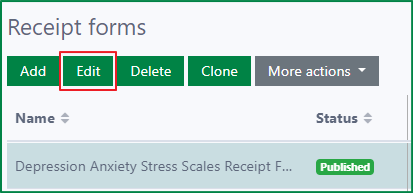
The Edit receipt form dialog will be opened after a new form is created successfully, or via the Edit button.
The Edit receipt form dialog includes 3 tabs: General, Design, and Preview.
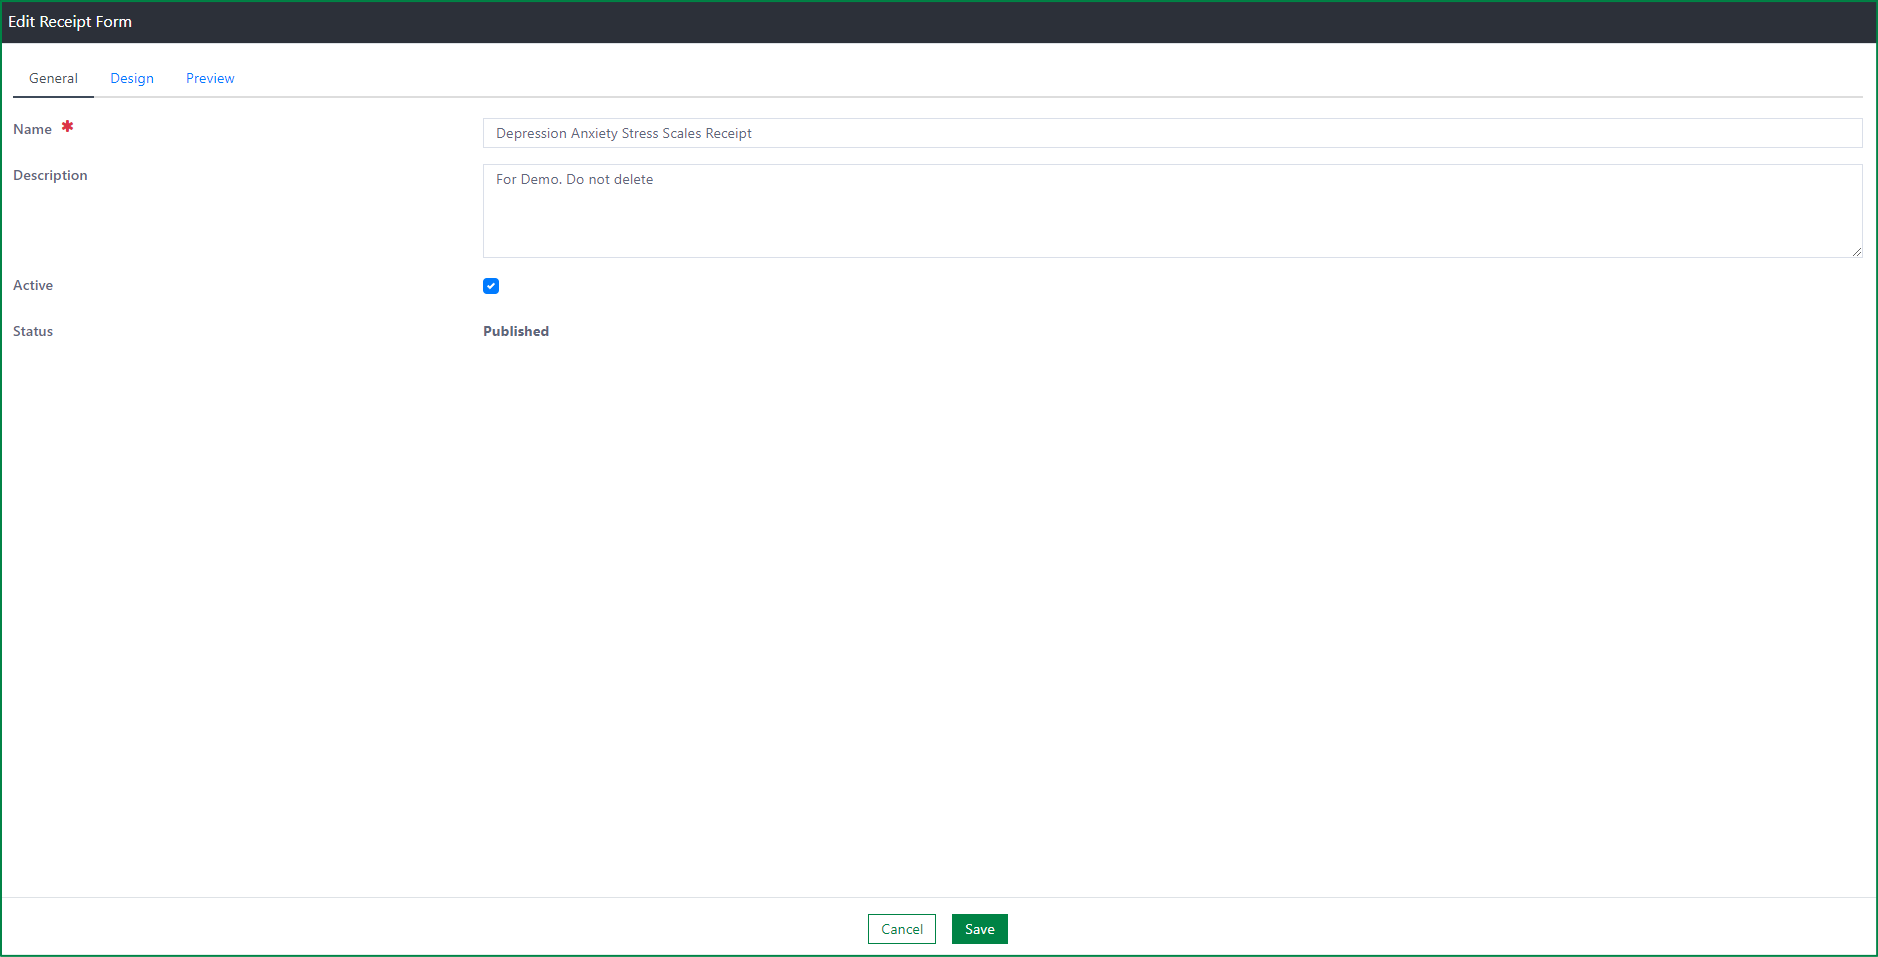
General
This tab displays all the saved general information of the receipt form, such as Name, Description, Active, and Status. These fields are available to update.
Design
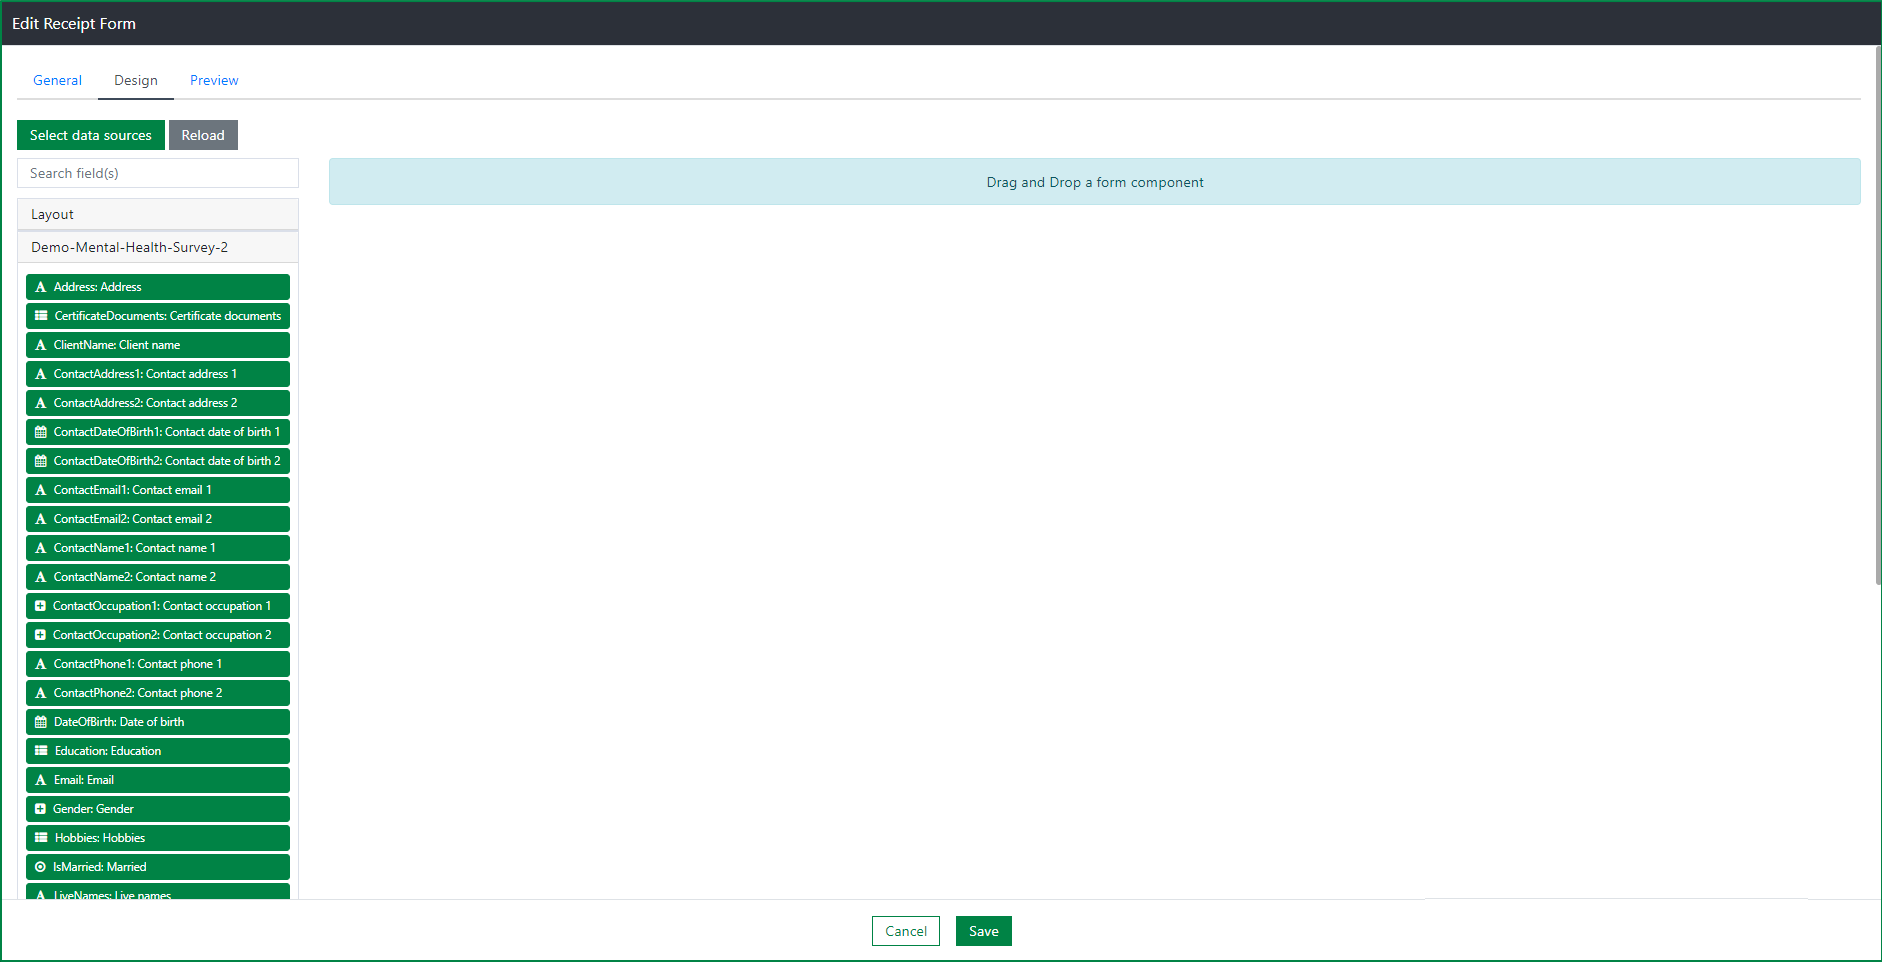
The Design tab includes 2 sections: fields list, and form design area.
The fields list includes 2 types of field: layout fields from Form.io, and fields from the form data source.
Similar to the Form design, you must select the form data sources, then drag and drop the fields to design the receipt form. You can explore more in this article: Component: Form Management - Forms
Preview
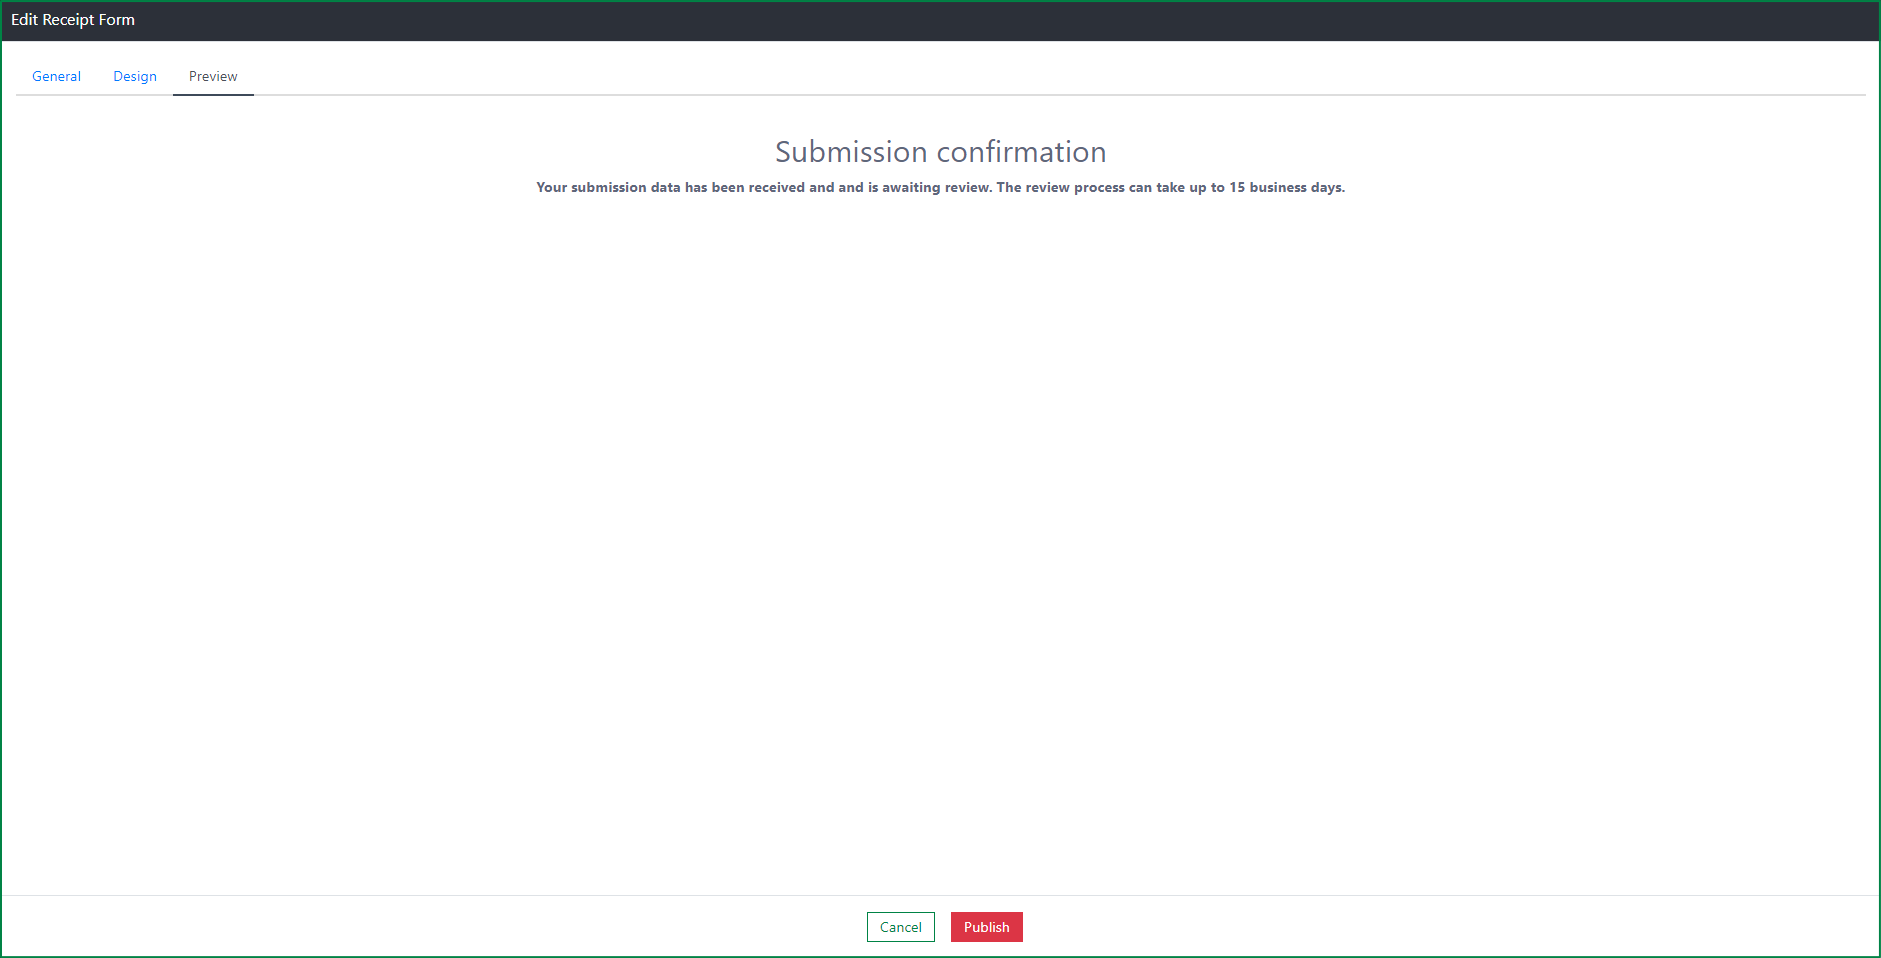
After you finish designing, you must save the changes before going to the Preview tab to preview the rendered form and publish it.
In preview mode, you can view how the designed form displays after being published. The receipt form is a read-only form, so all fields in preview mode are also read-only.
Besides previewing the designed receipt form, you can publish the form with the Public button.
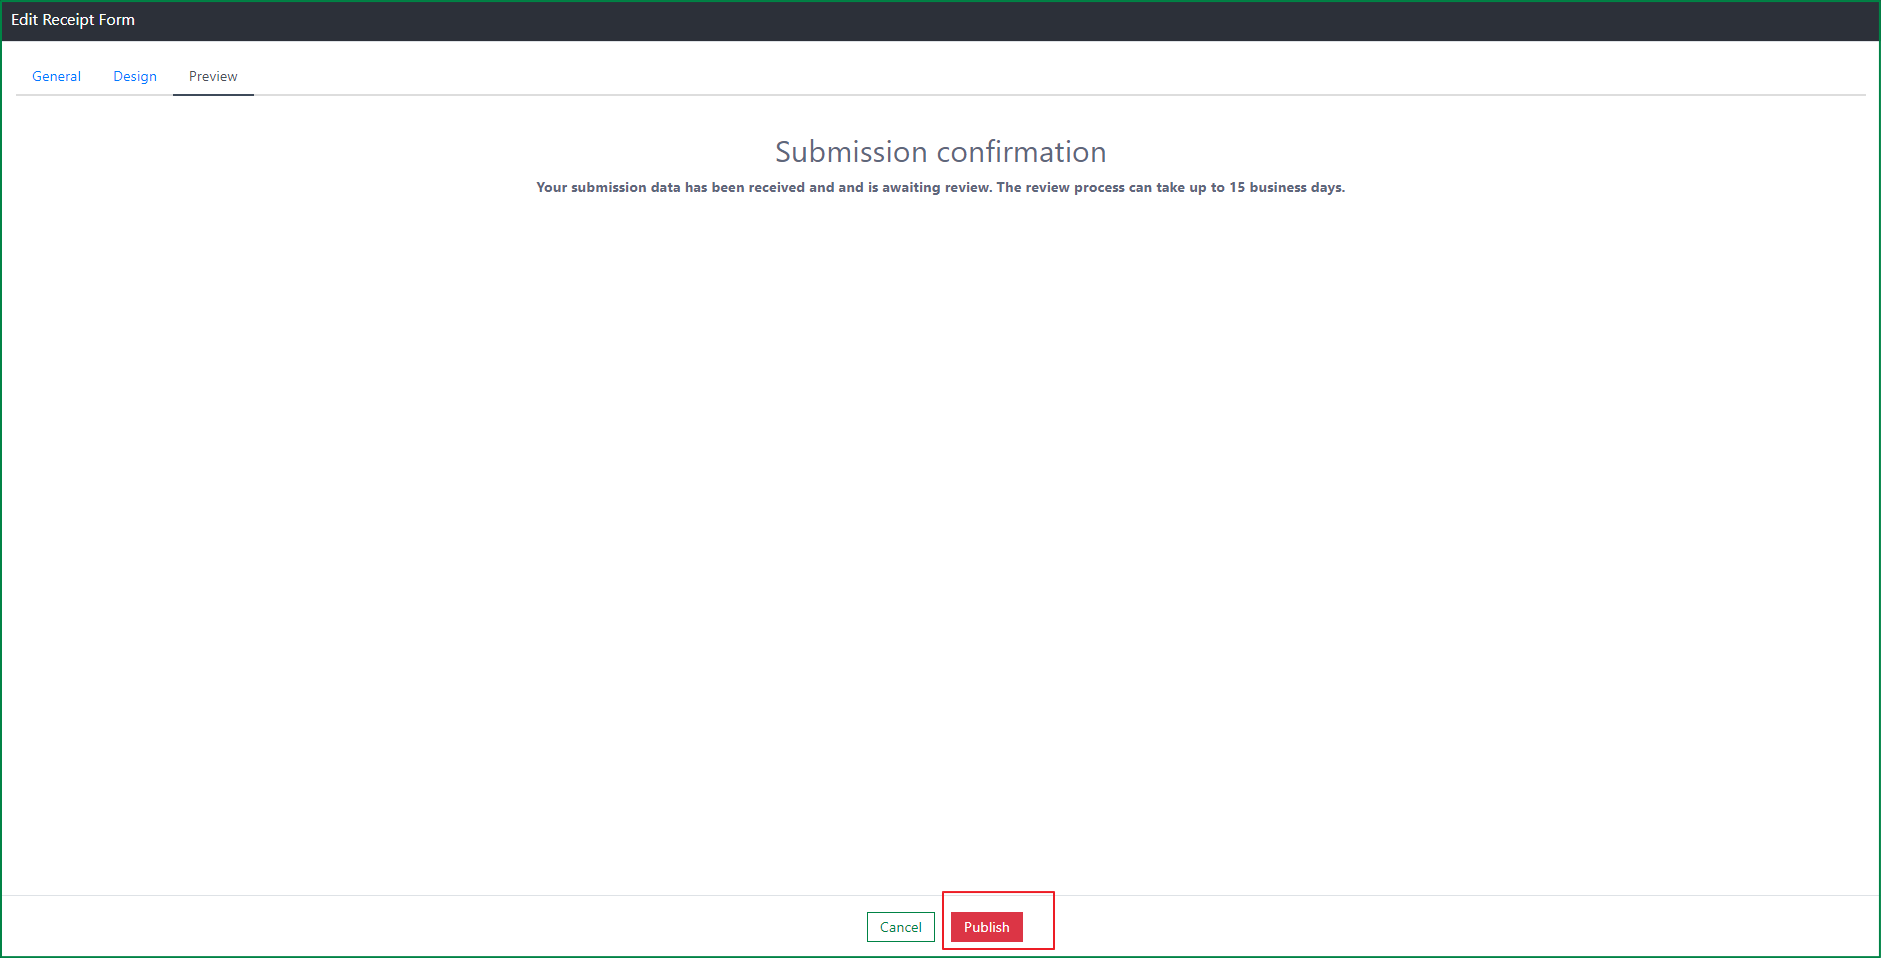
By clicking the Public button, a confirmation dialog will be opened.
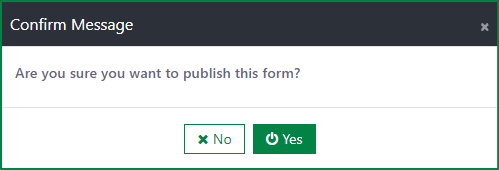
If you select the Yes button, the receipt form will be published immediately. If you select the No button, the publication will be cancelled.
Delete receipt form
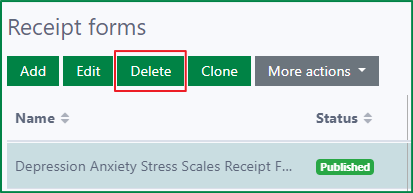
The Delete button is only enabled after a receipt form is selected.
By clicking the Delete button, the deletion confirmation dialog will be opened.
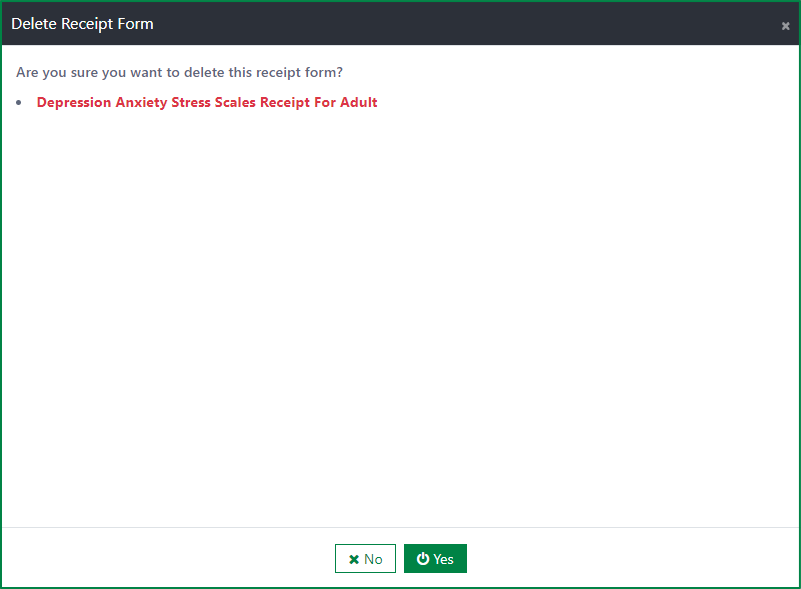
If you select the No button, the deletion will be cancelled.
If you select the Yes button, the receipt form will be deleted immediately if it is not used for any form. If the receipt form is already in use, the deletion is disallowed. After the deletion process is completed, the deleted receipt form will no longer be accessible on the public site.
Other actions
Clone new receipt form
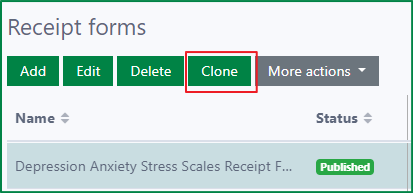
The Clone button is only enabled after an item in the list of receipt forms is selected.
By clicking the Clone button, a confirmation dialog for cloning will be opened.
If you select the No button, the cloning process will be cancelled. If you select the Yes button, the cloning process will start, and it will take a while to complete.
After the cloning process is completed, the new receipt form dialog will be opened. The name of the new form includes the name of the original form and a suffix. The status of the new receipt form is Draft by default.
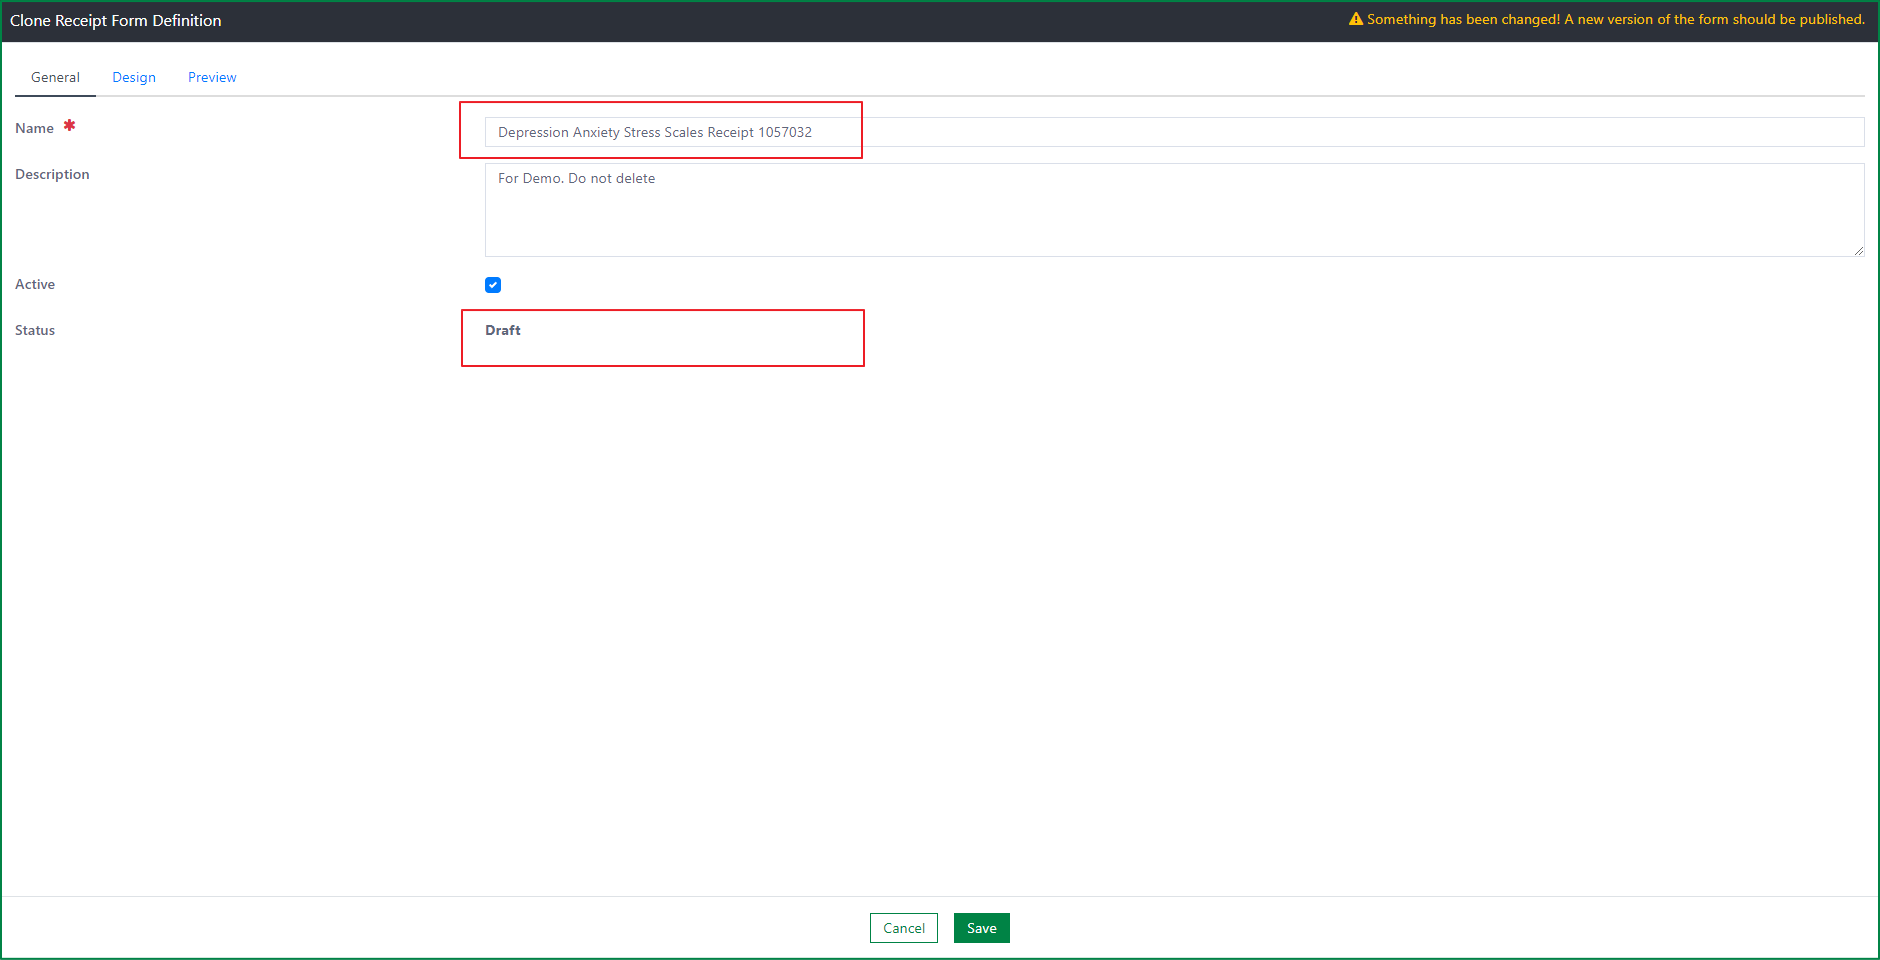
The new receipt form inherits the form design and all configurations of the original receipt form.
Publish receipt form
Besides publishing a form in the Edit receipt form dialog, you can also publish a single form, multiple forms, or all forms without having to open each form to publish it.
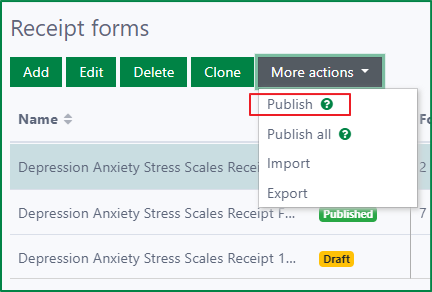
- Publish a receipt form
- You can select a form and then click the Publish button; the selected form will be published immediately.
- Publish multiple receipt forms
- You can select multiple forms and then click the Publish button; the selected forms will be published immediately.

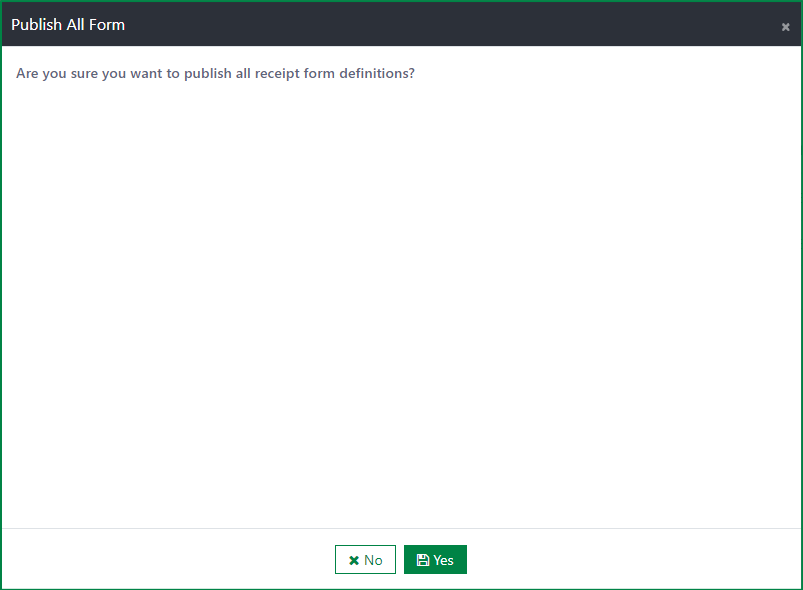
Publish all receipt forms
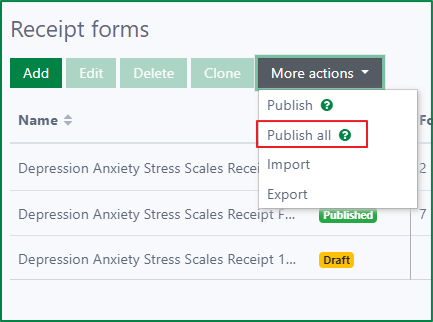
- By clicking the Publish all button, a publication confirmation dialog will be opened. If you select the Yes button, all receipt forms whose status is Draft will be published immediately. If you select the No button, the publication will be cancelled.
Import receipt forms
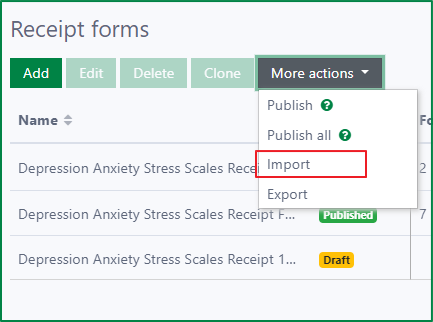
Besides creating receipt forms manually, you can import a list of receipt forms from a JSON file.
By clicking the Import button, the Import form actions dialog will be opened. You can select a JSON file and upload it via the File upload field.
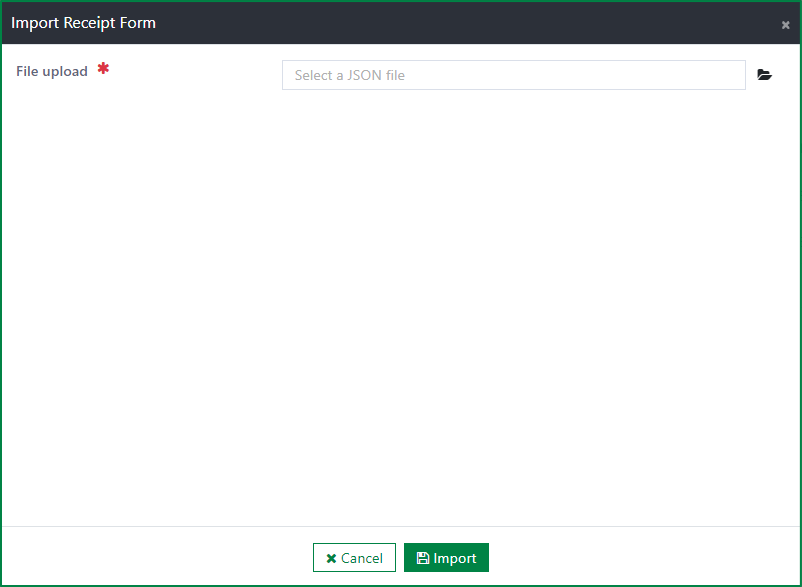
The imported receipt forms will be displayed on the Receipt forms list after the import process finishes.
Export receipt forms
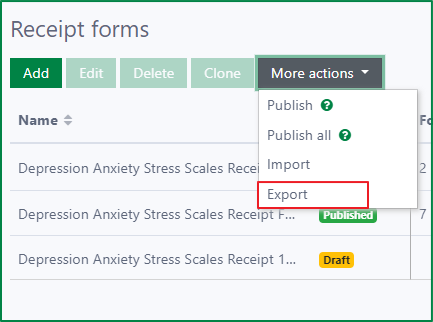
By clicking the Export button, the list of receipt forms will be exported immediately as a JSON file. You can also export one or multiple forms instead of the whole list by selecting the receipt forms and then clicking the Export button.