Model the data
Introduction
A data class describes a kind of record your application stores, much like a table in a database. The tutorial needs one: GaApplication, a grant application.
| Attribute | Type | Filled in by |
|---|---|---|
| ReferenceNumber | String | the submission workflow, for example GA-2026-0001 |
| ProjectTitle | String | the applicant |
| RequestedAmount | Double | the applicant |
| ProjectDescription | String | the applicant |
| ApplicantName | String | the submission workflow, from the user's sign-in |
| ApplicantUsername | String | the submission workflow, from the user's sign-in |
| Status | String | the workflows: Submitted, Approved or Rejected |
| SubmittedAt | DateTime | the submission workflow |
| DecisionNote | String | the caseworker |
| DecidedBy | String | the decision workflows |
| DecidedAt | DateTime | the decision workflows |
Casewhere adds system attributes to every data class, such as Id, CreatedAt, CreatedBy and CaseId. You don't add them yourself.
Create the data class
Check that Grant Applications is selected in the product selector at the top.
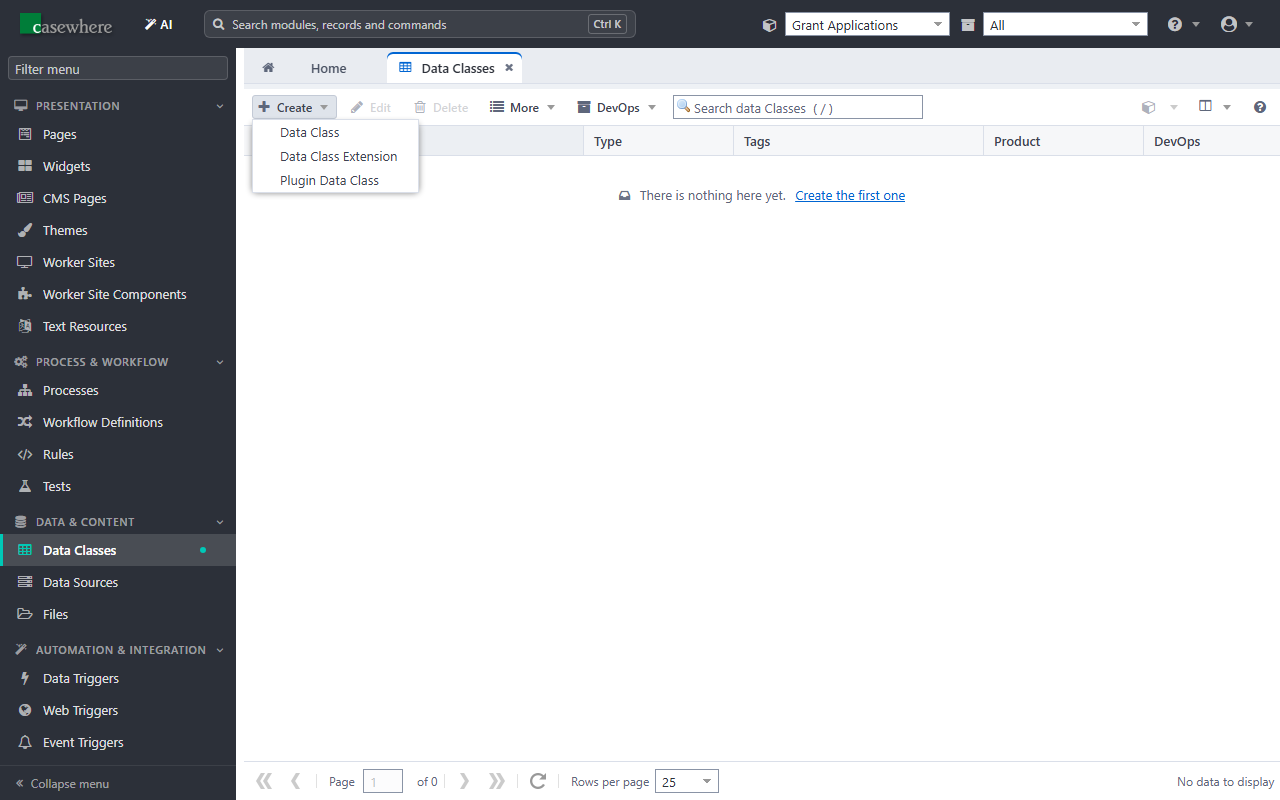
Open Data Classes in the menu, click Create and choose Data Class.
In Name, type
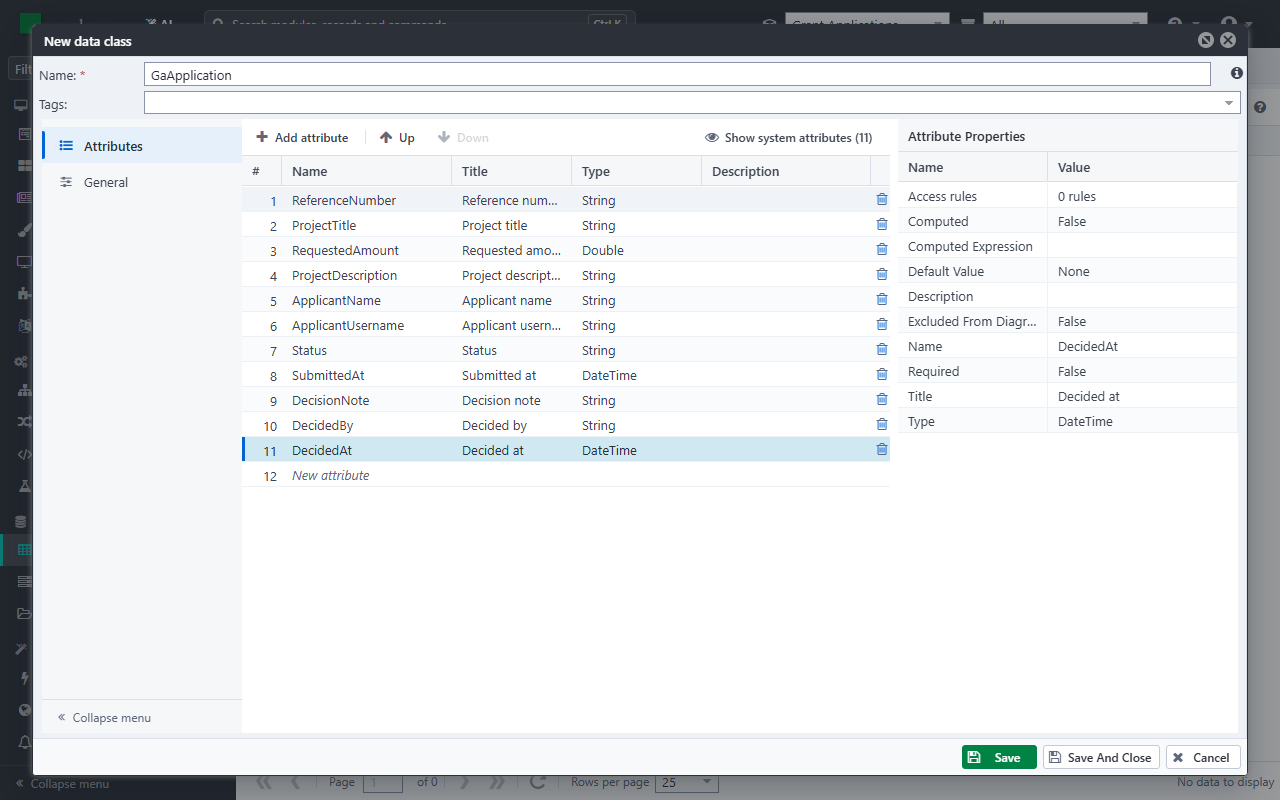
GaApplication.Add the attributes. For each row of the table above:
- Click Add attribute. A new row opens with the cursor in Name.
- Type the name, press Tab, type the title (for example
Project title), press Tab and choose the type.
The Title is the label forms and lists show for the attribute. The panel on the right shows the selected attribute's other settings.
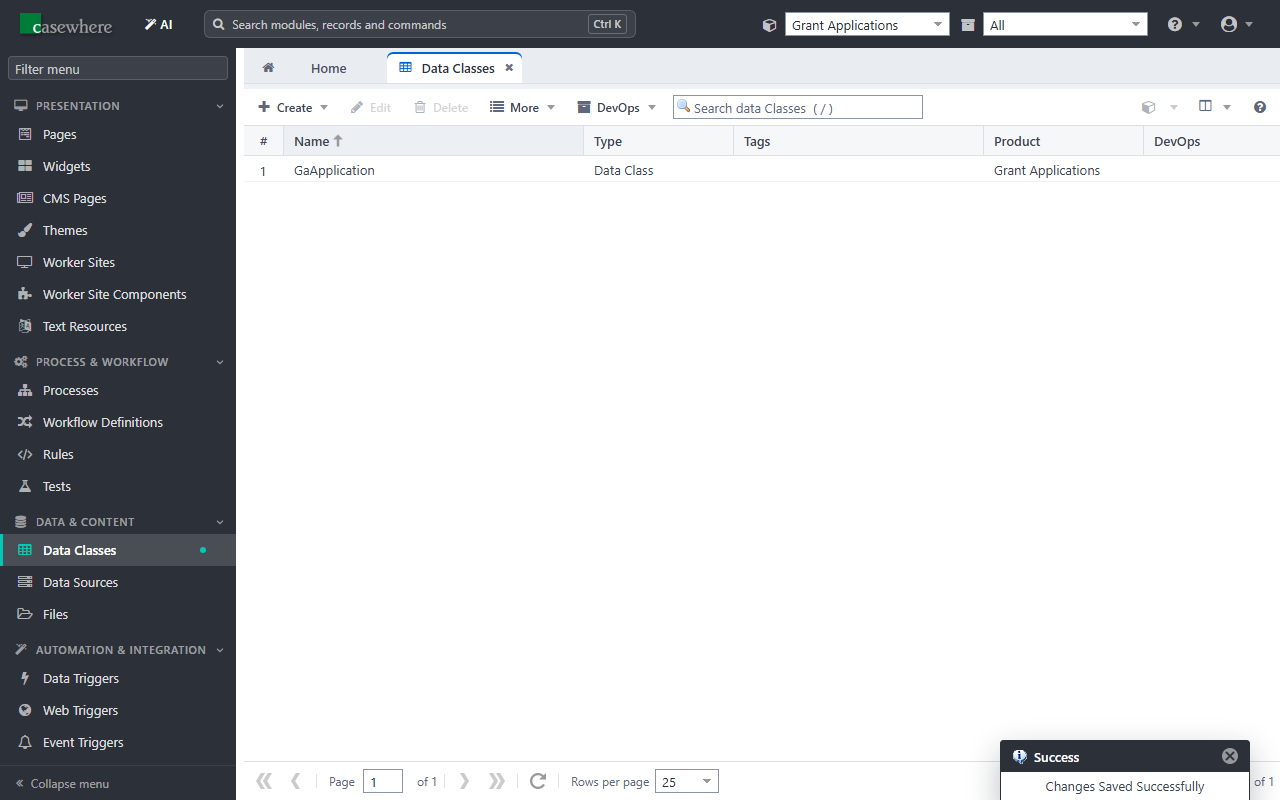
Click Save And Close.
Look at the data source
Widgets and rules don't read data classes directly: they read data sources, queries that return the fields you choose, possibly joined with other data classes. When you save a data class, Casewhere creates a data source with the same name that returns all of its attributes.
Open Data Sources in the menu. The list shows
GaApplication.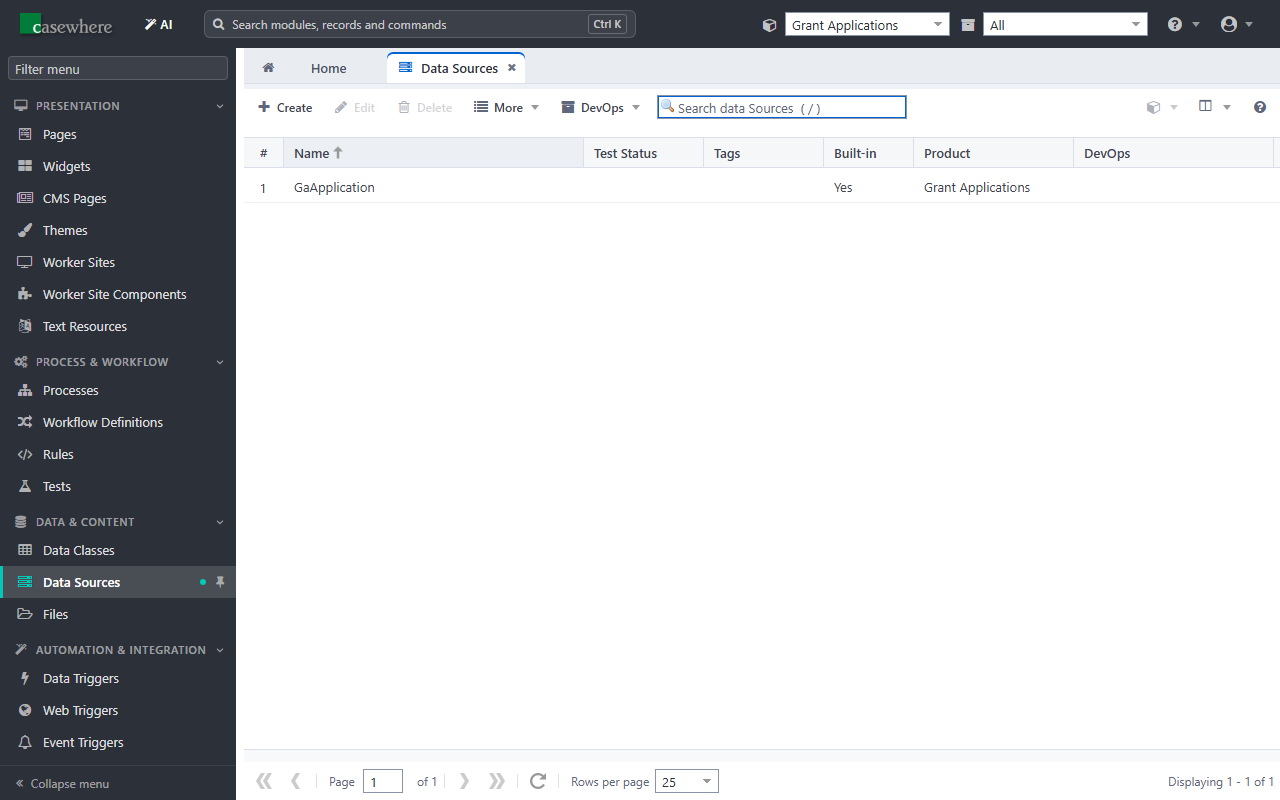
Open
GaApplicationand choose Design. The tree lists the fields it returns: every attribute of the data class.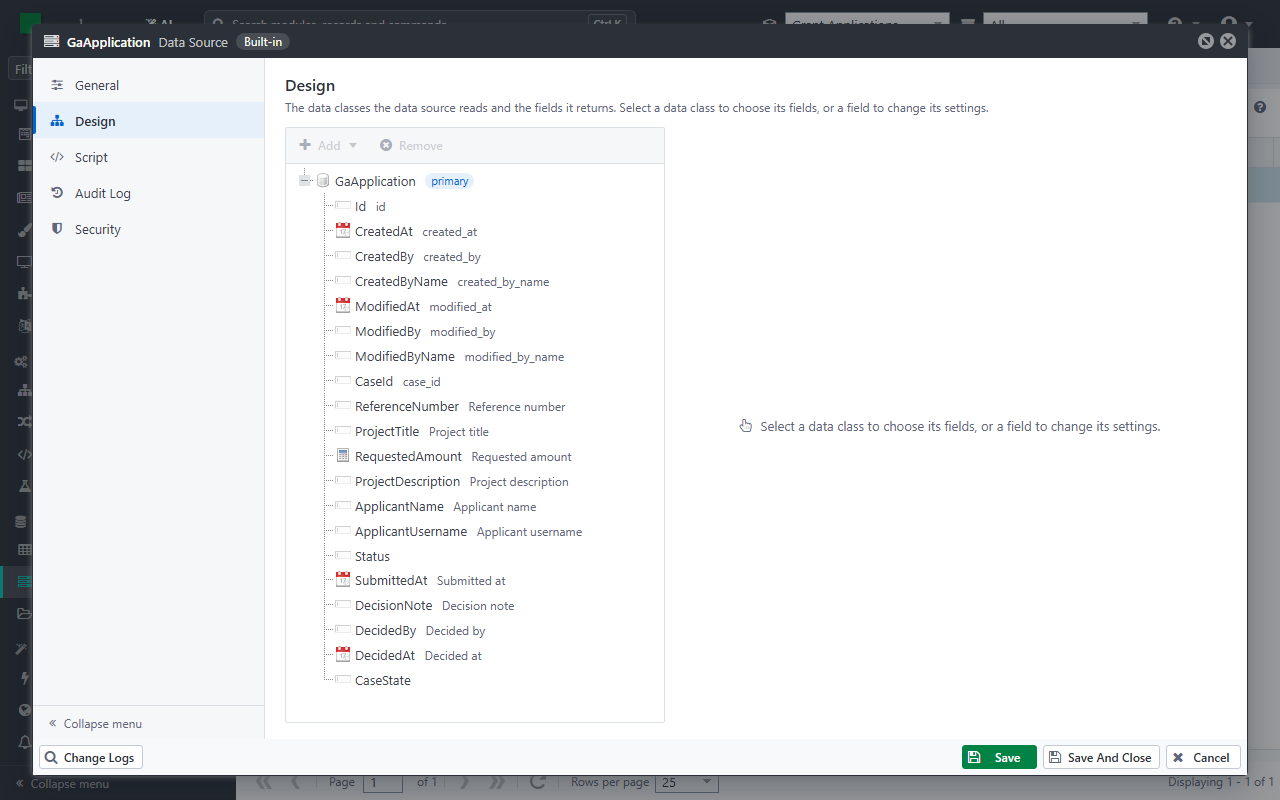
Click Cancel.
The tutorial uses this data source for both lists: the applicant's own applications, and the caseworker's list of all applications. In Build the applicant portal you see how a list shows only the signed-in applicant's applications.
Next: Connect sign-in.