Tutorial: grant applications
Introduction
In this tutorial you build a small but complete Casewhere application: people apply for a grant in a portal, and caseworkers review the applications and approve or reject them. On the way you use the features a real Casewhere solution is made of, in the order a team usually builds one.
You will learn how to:
- Prepare a new Casewhere instance: languages and Casewhere's own texts
- Keep your work together in a product
- Model the data with a data class and look at its data source
- Let users sign in through an identity provider (SAML 2.0) and give them roles
- Publish two worker sites, styled by a theme: a portal for applicants and a site for caseworkers
- Build workflows with a form activity and a scripted activity
- Show the data in pages and widgets, and start workflows from widget buttons
- Run the whole application: apply as an applicant, decide as a caseworker
What you will build
| Who | Site | What they can do |
|---|---|---|
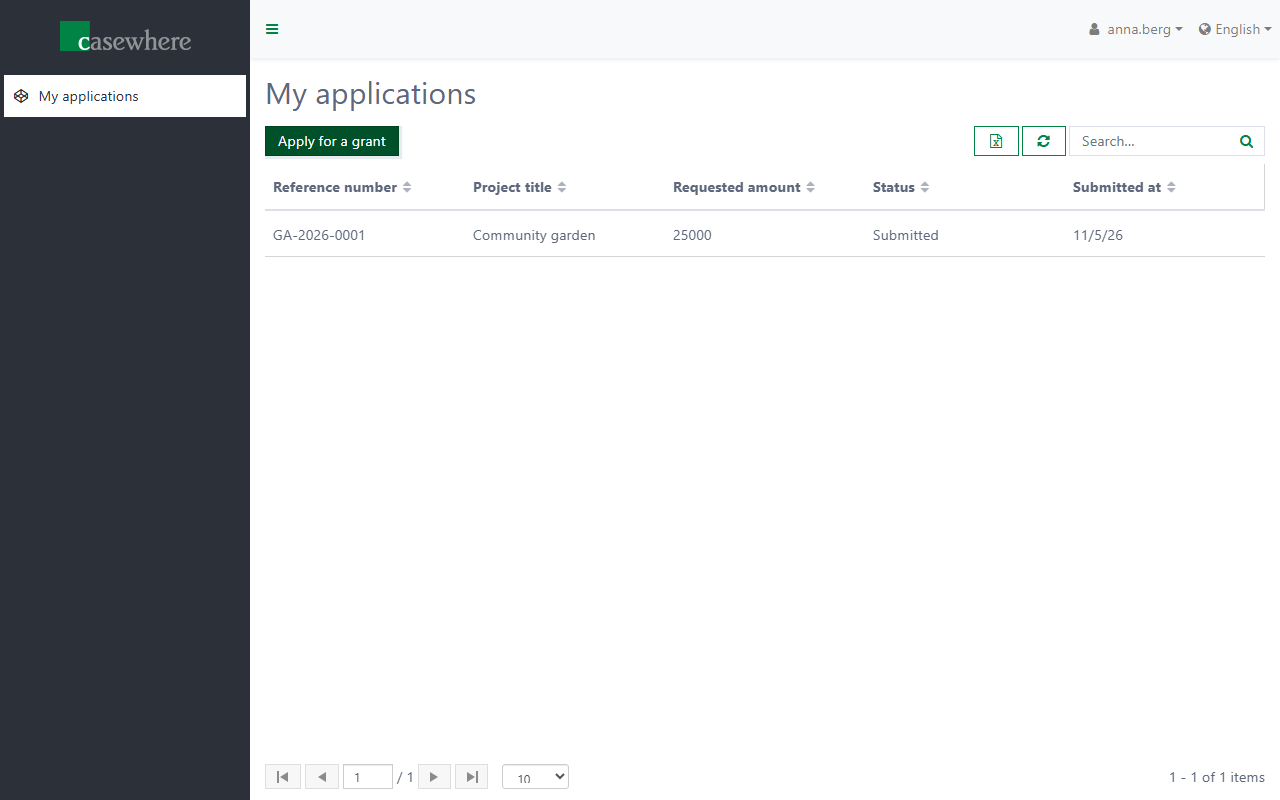
| Applicants | Grant Portal | Apply for a grant and follow their applications |
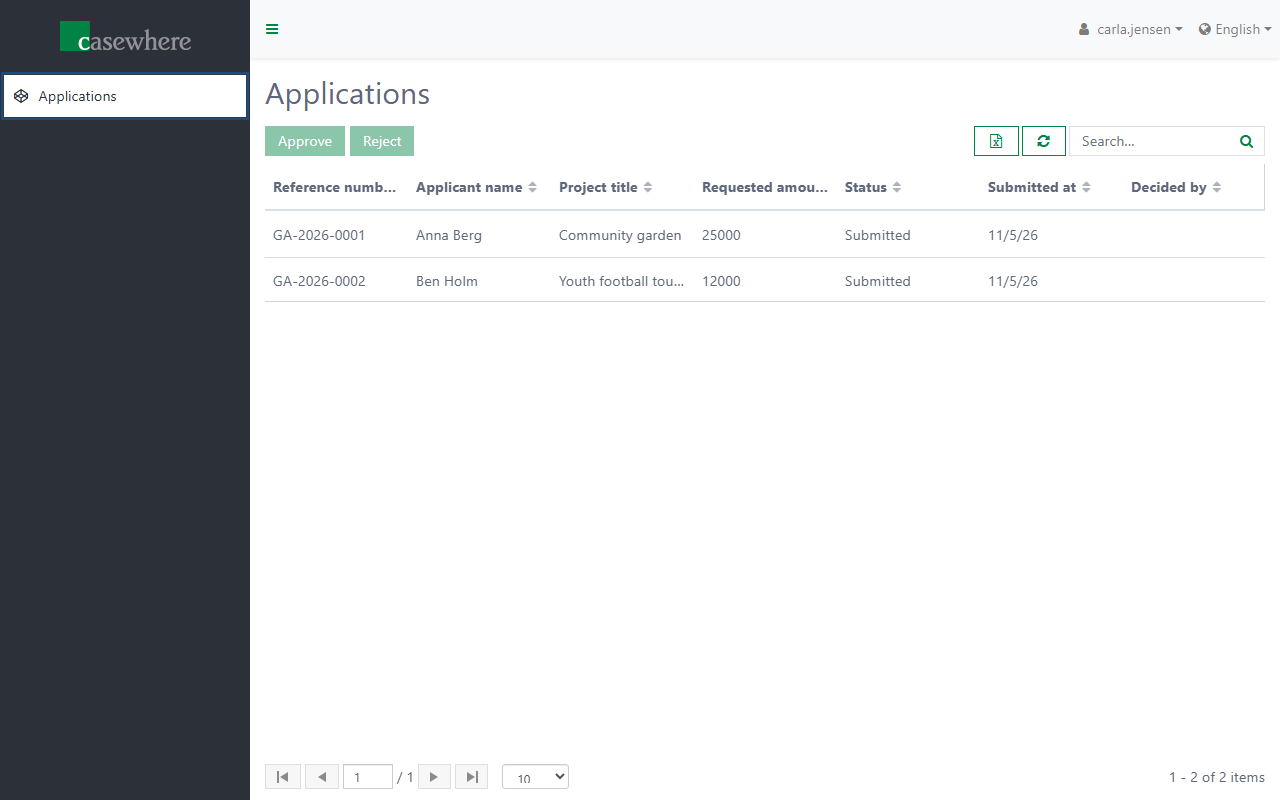
| Caseworkers | Grant Caseworker | See all applications, and approve or reject them |
The applicant's list in Grant Portal:
The caseworker's list in Grant Caseworker:
An application moves through these statuses:
stateDiagram-v2
    [*] --> Submitted: applicant applies
    Submitted --> Approved: caseworker approves
    Submitted --> Rejected: caseworker rejects
Prerequisites
- A Casewhere instance, version 2.10 or later, and access to Casewhere Admin. We recommend an empty instance for the tutorial.
- An identity provider (IdP) that can sign users in with SAML 2.0 and send a role claim. The tutorial uses the Casewhere IdP Stub, a test IdP where you pick a user instead of typing a password. With another IdP, create users with the claims listed in Connect sign-in.
- Two host names that reach the Casewhere worker site, one for each worker site. The tutorial uses
grants.casewhere.comandgrants-caseworker.casewhere.com; replace them with your own.
Naming conventions
Everything you create belongs to the product Grant Applications and uses the short prefix Ga, so it is easy to find and does not clash with other products:
| Kind | Example |
|---|---|
| Data class | GaApplication |
| Process, workflow | Ga Grant Application, Ga Submit Application |
| Page, widget | ga-my-applications |
| Text resource key | ga_... |
Note
Every step of this tutorial is also an automated end-to-end test of Casewhere (Playwright, in the Casewhere repository under Tests/E2E). The screenshots are taken by that test, so they match the current Admin.
Chapters
- Prepare your instance
- Create the product
- Model the data
- Connect sign-in
- Create the worker sites
- Build the submission workflow
- Build the applicant portal
- Build the decision workflows
- Build the caseworker site
- Try it end to end
- Wrap up
Let's start: Prepare your instance.